


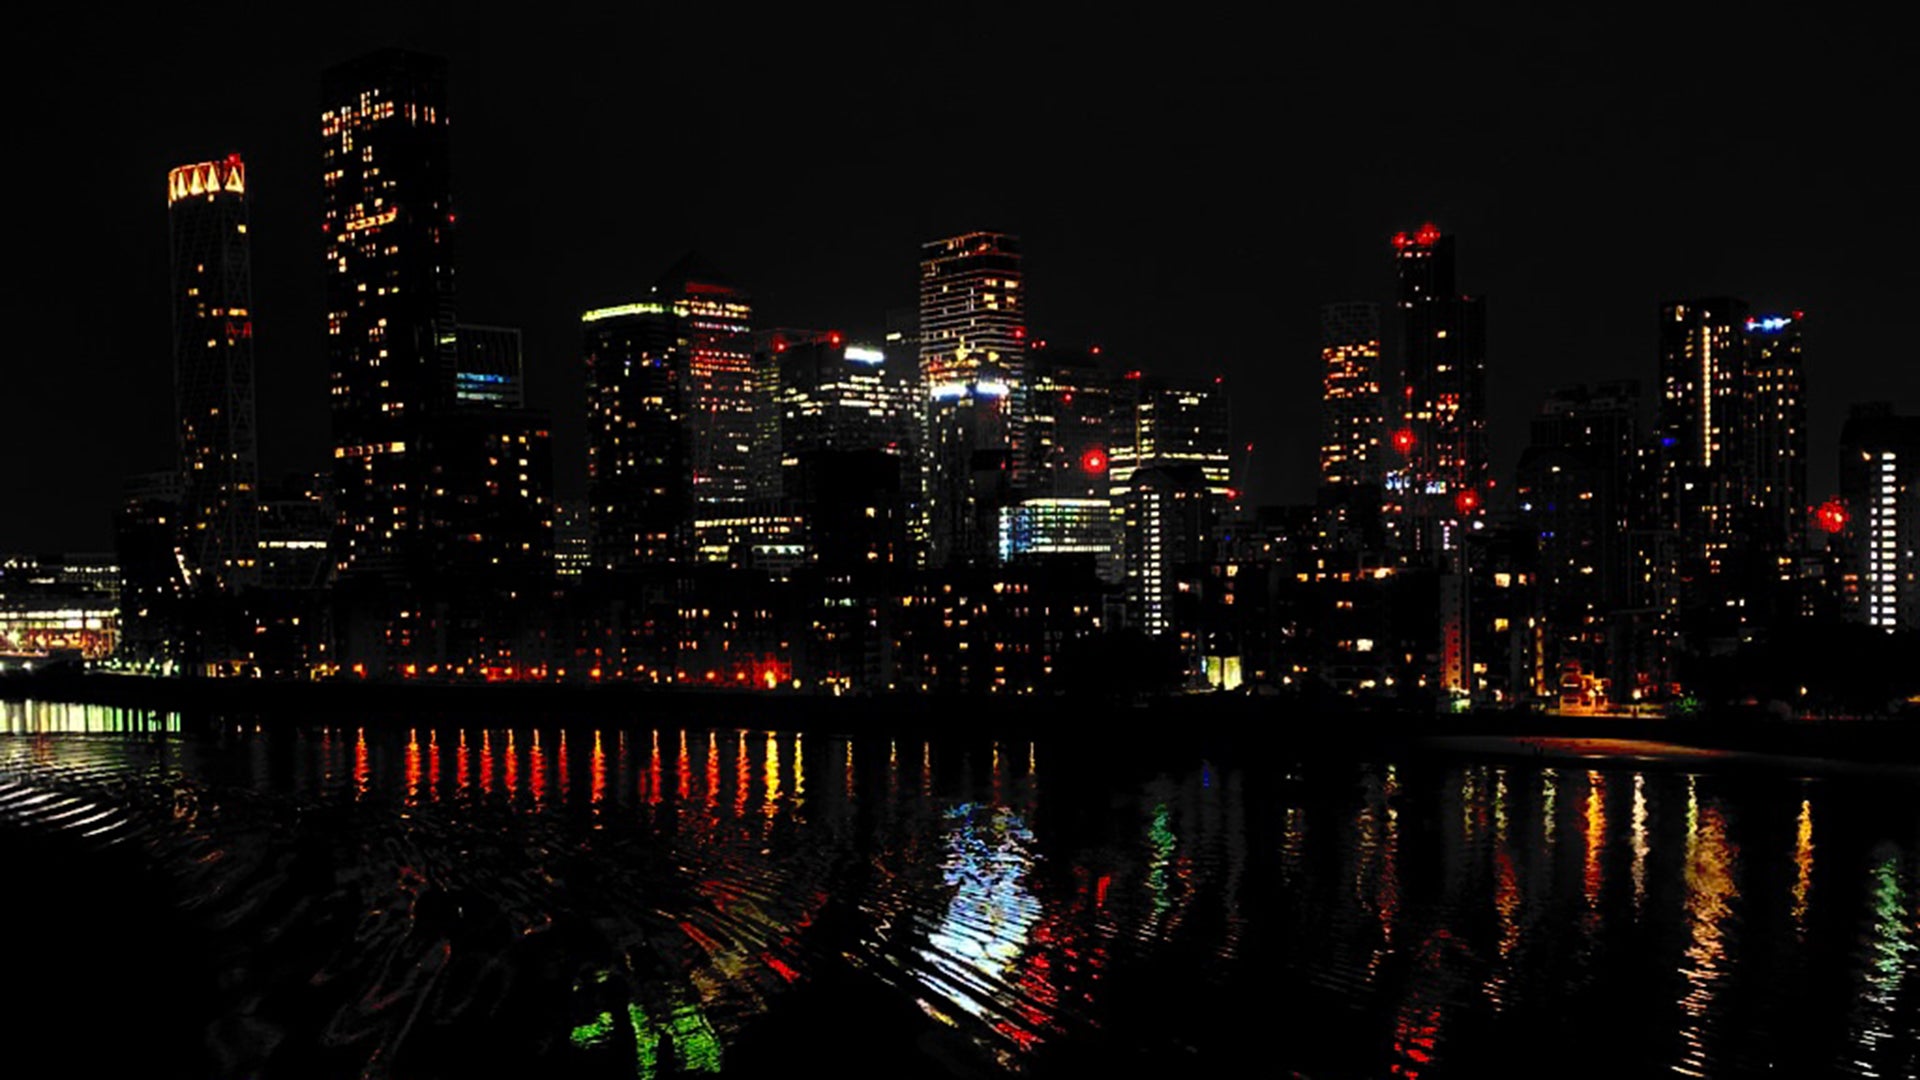
Photos provided by Nigel Spalding
Living so close to London, the bright lights of the big city have always captivated me. The stark contrast between the rural countryside I am used to and the hustle and bustle that London has to offer means that I am perpetually drawn to visit, like a moth to a flame. Since joining The Gearing Company, I have pursued my photography a lot more than I used to, and now often bring my tripod up to the city with me. I have found a penchant for photographing the bright lights at night and have learned a few tips as time has passed, that I thought I would share with our Gearing followers.
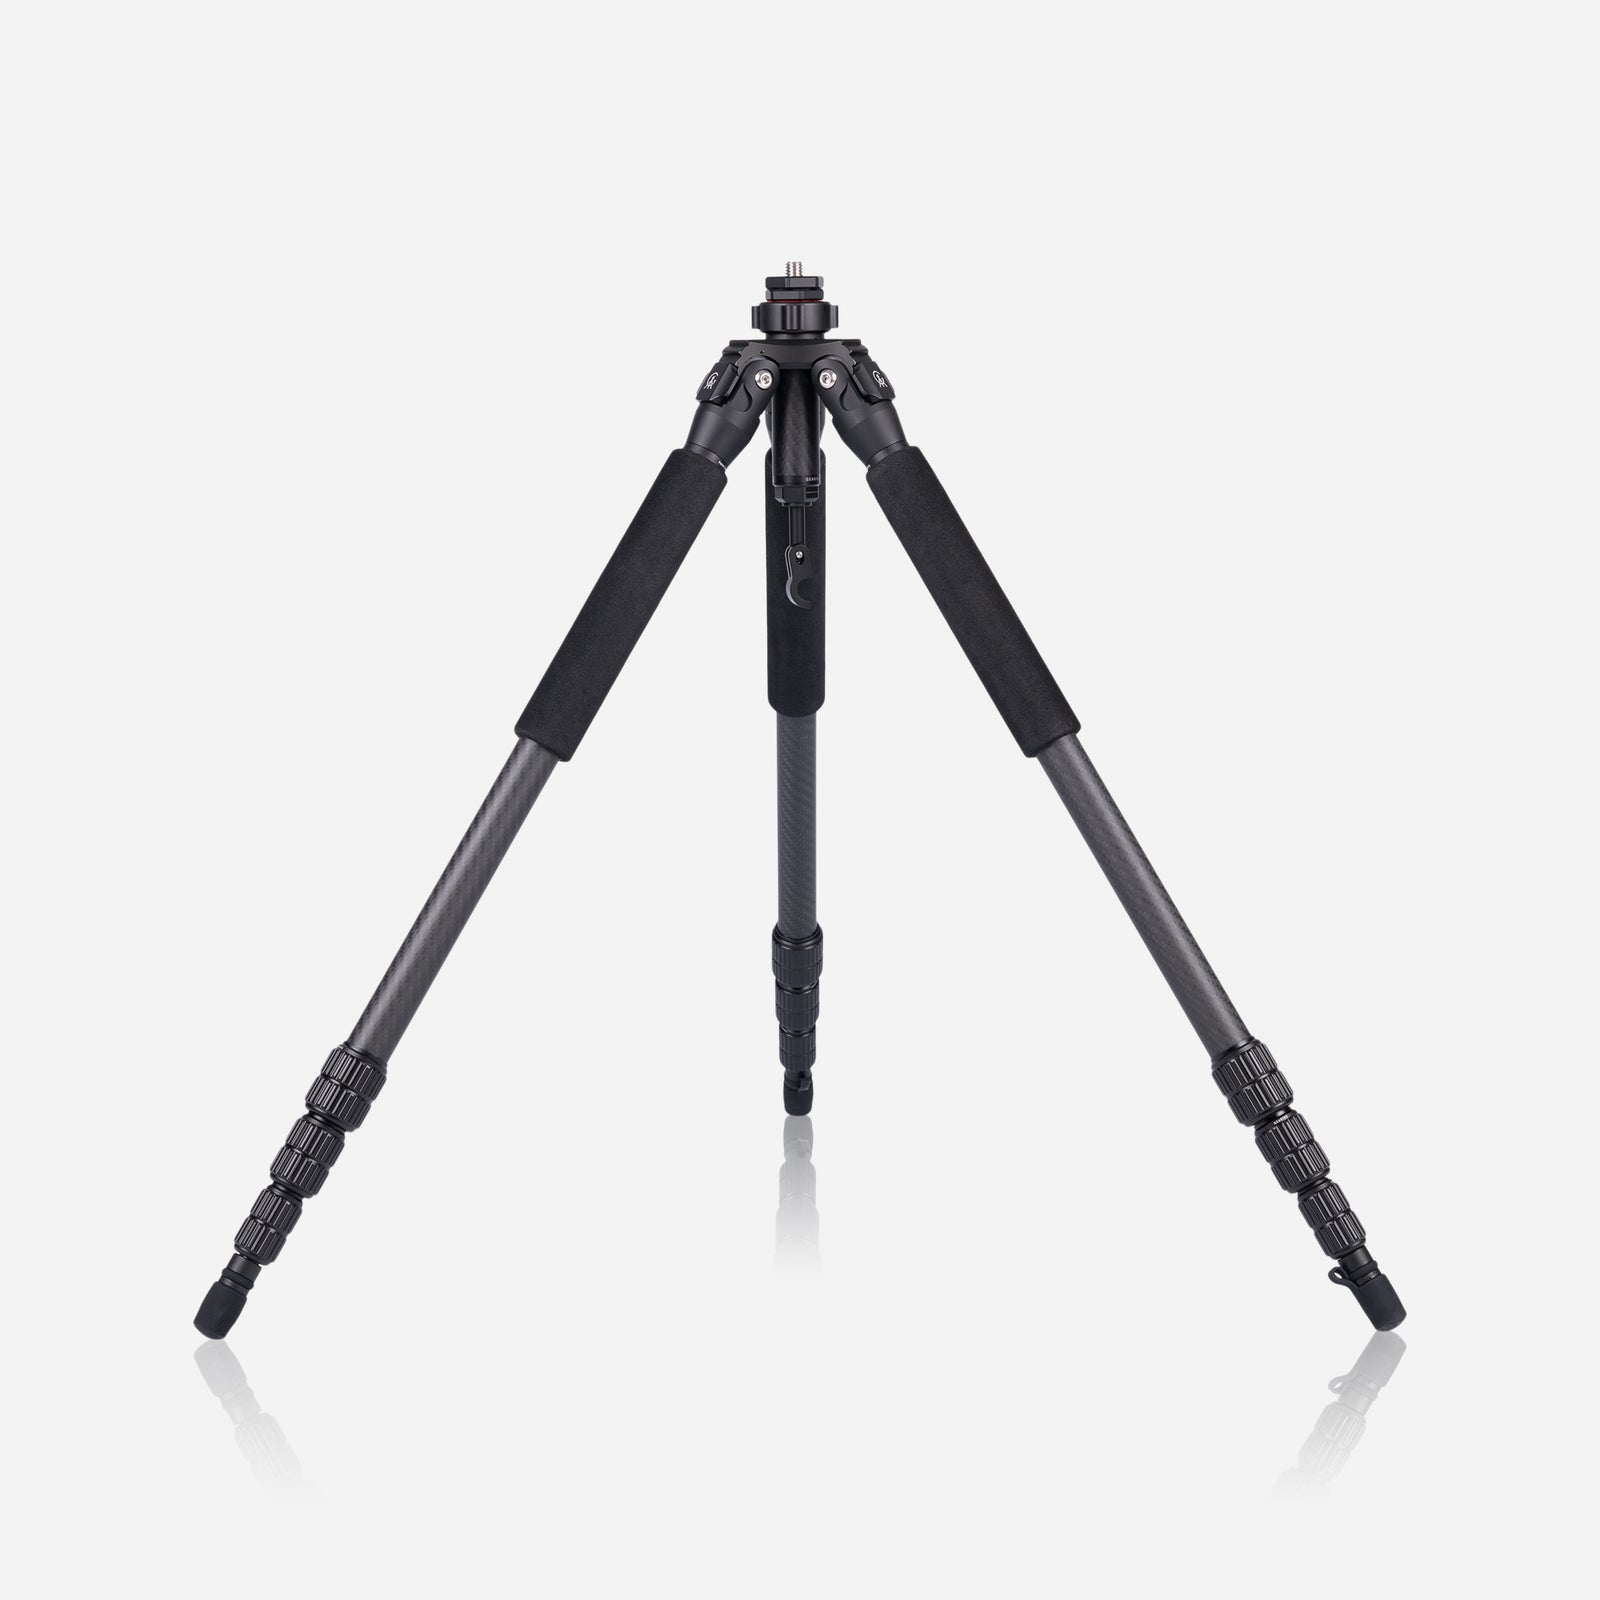
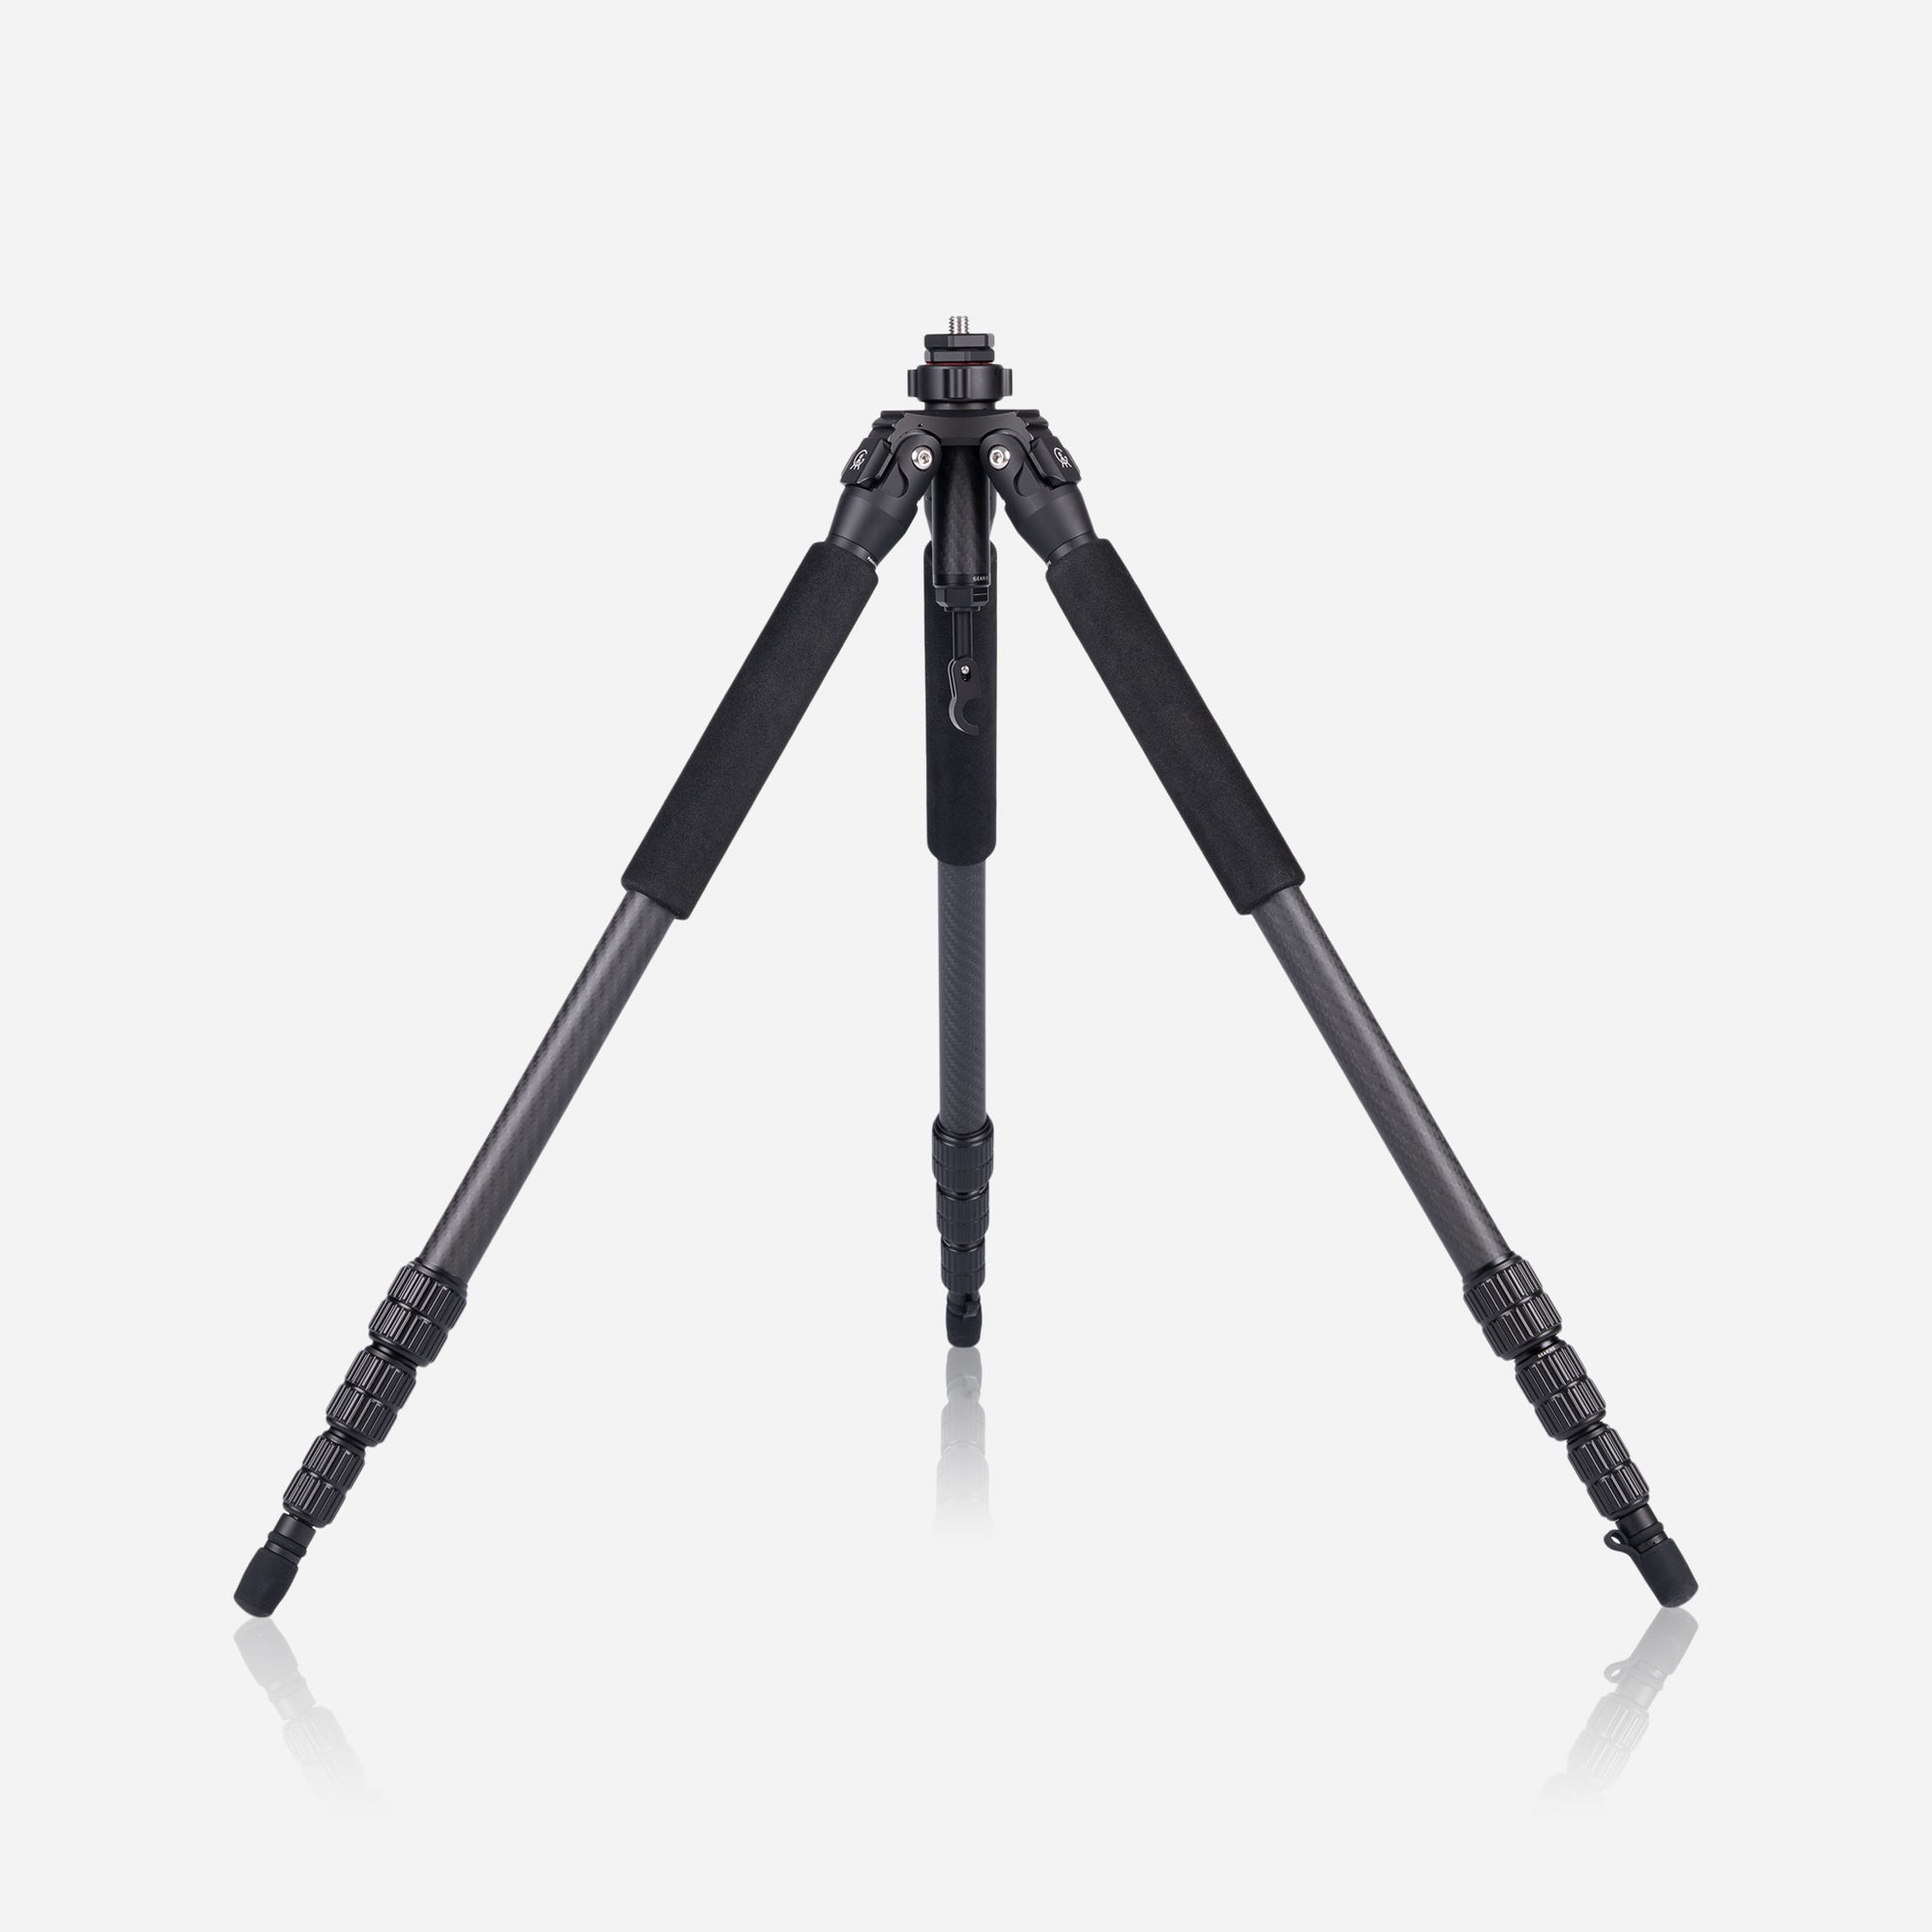
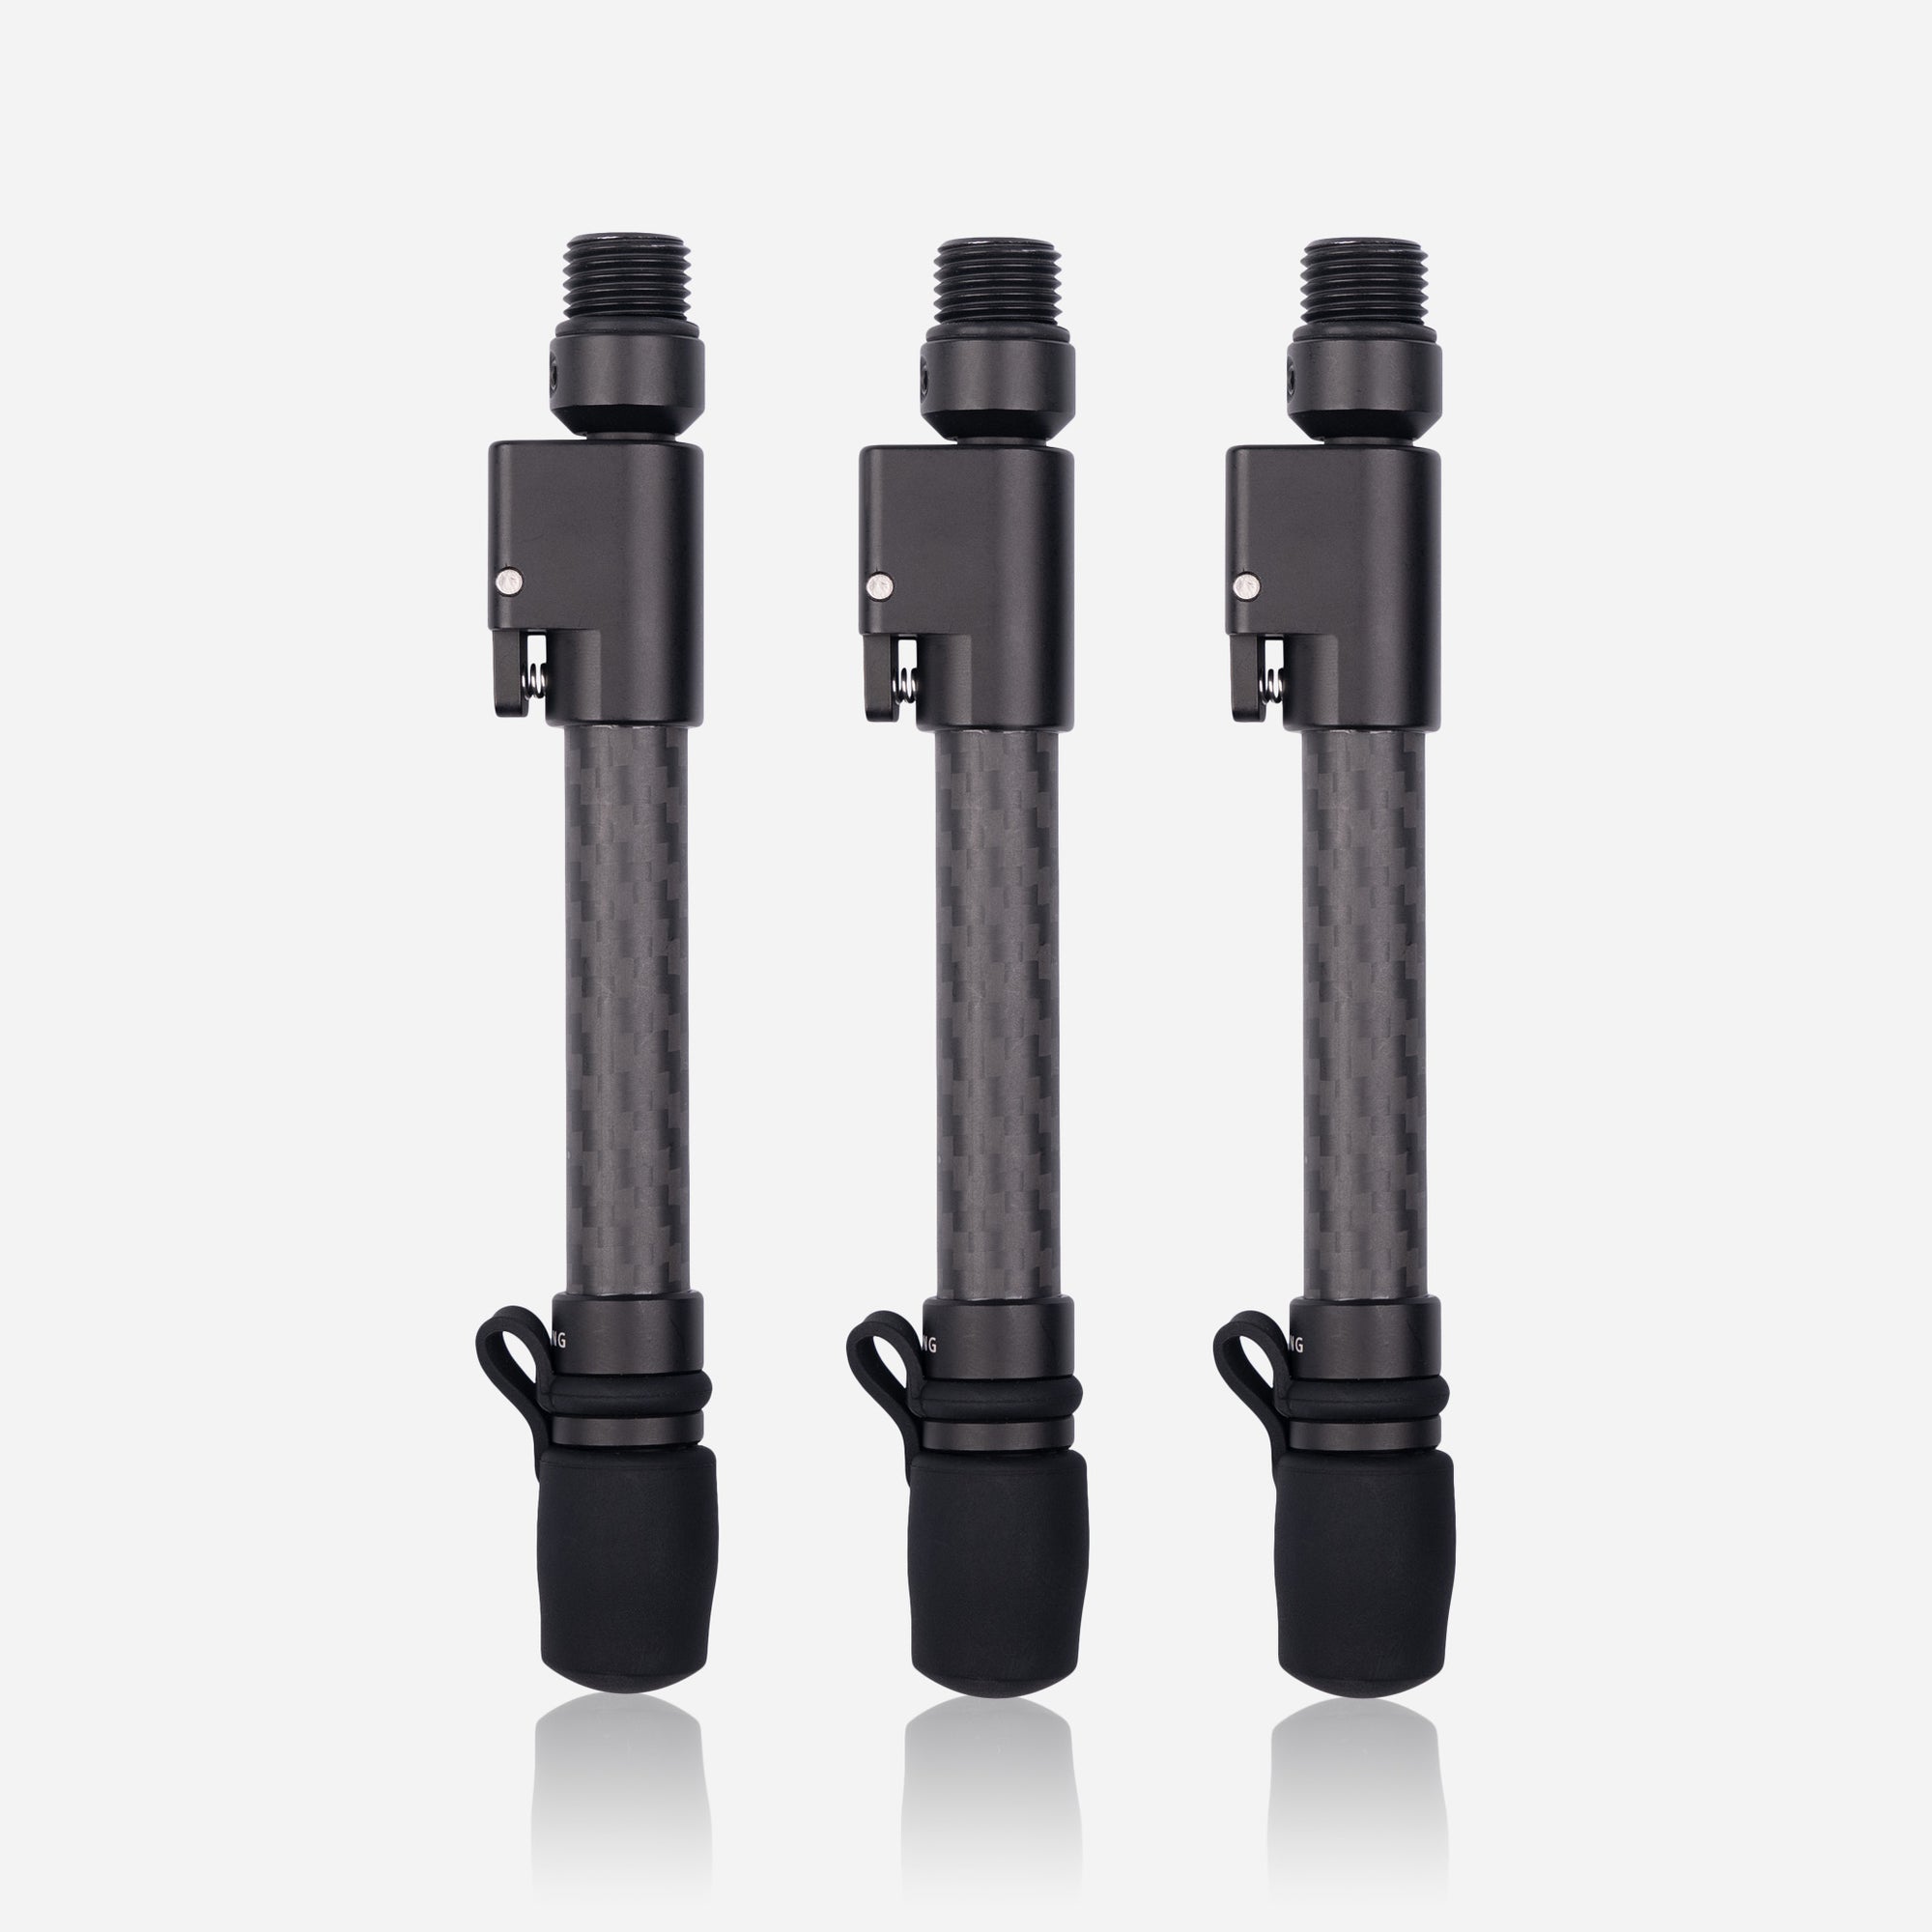
Firstly, as you will be completely unsurprised to hear by now, you need a sturdy travel tripod. A slow shutter speed is needed to capture the lights, and there is no way you can hold your camera still for several seconds. A travel tripod gives you the ability to chase the lights all around the city without tiring yourself out, and what better choice than the Gearing tripod. With a huge payload you can load it up with weights to increase stability in your photos, and therefore produce a cleaner image. By adding our centre column extender to your centre column, you give yourself an extra 16cm of height.

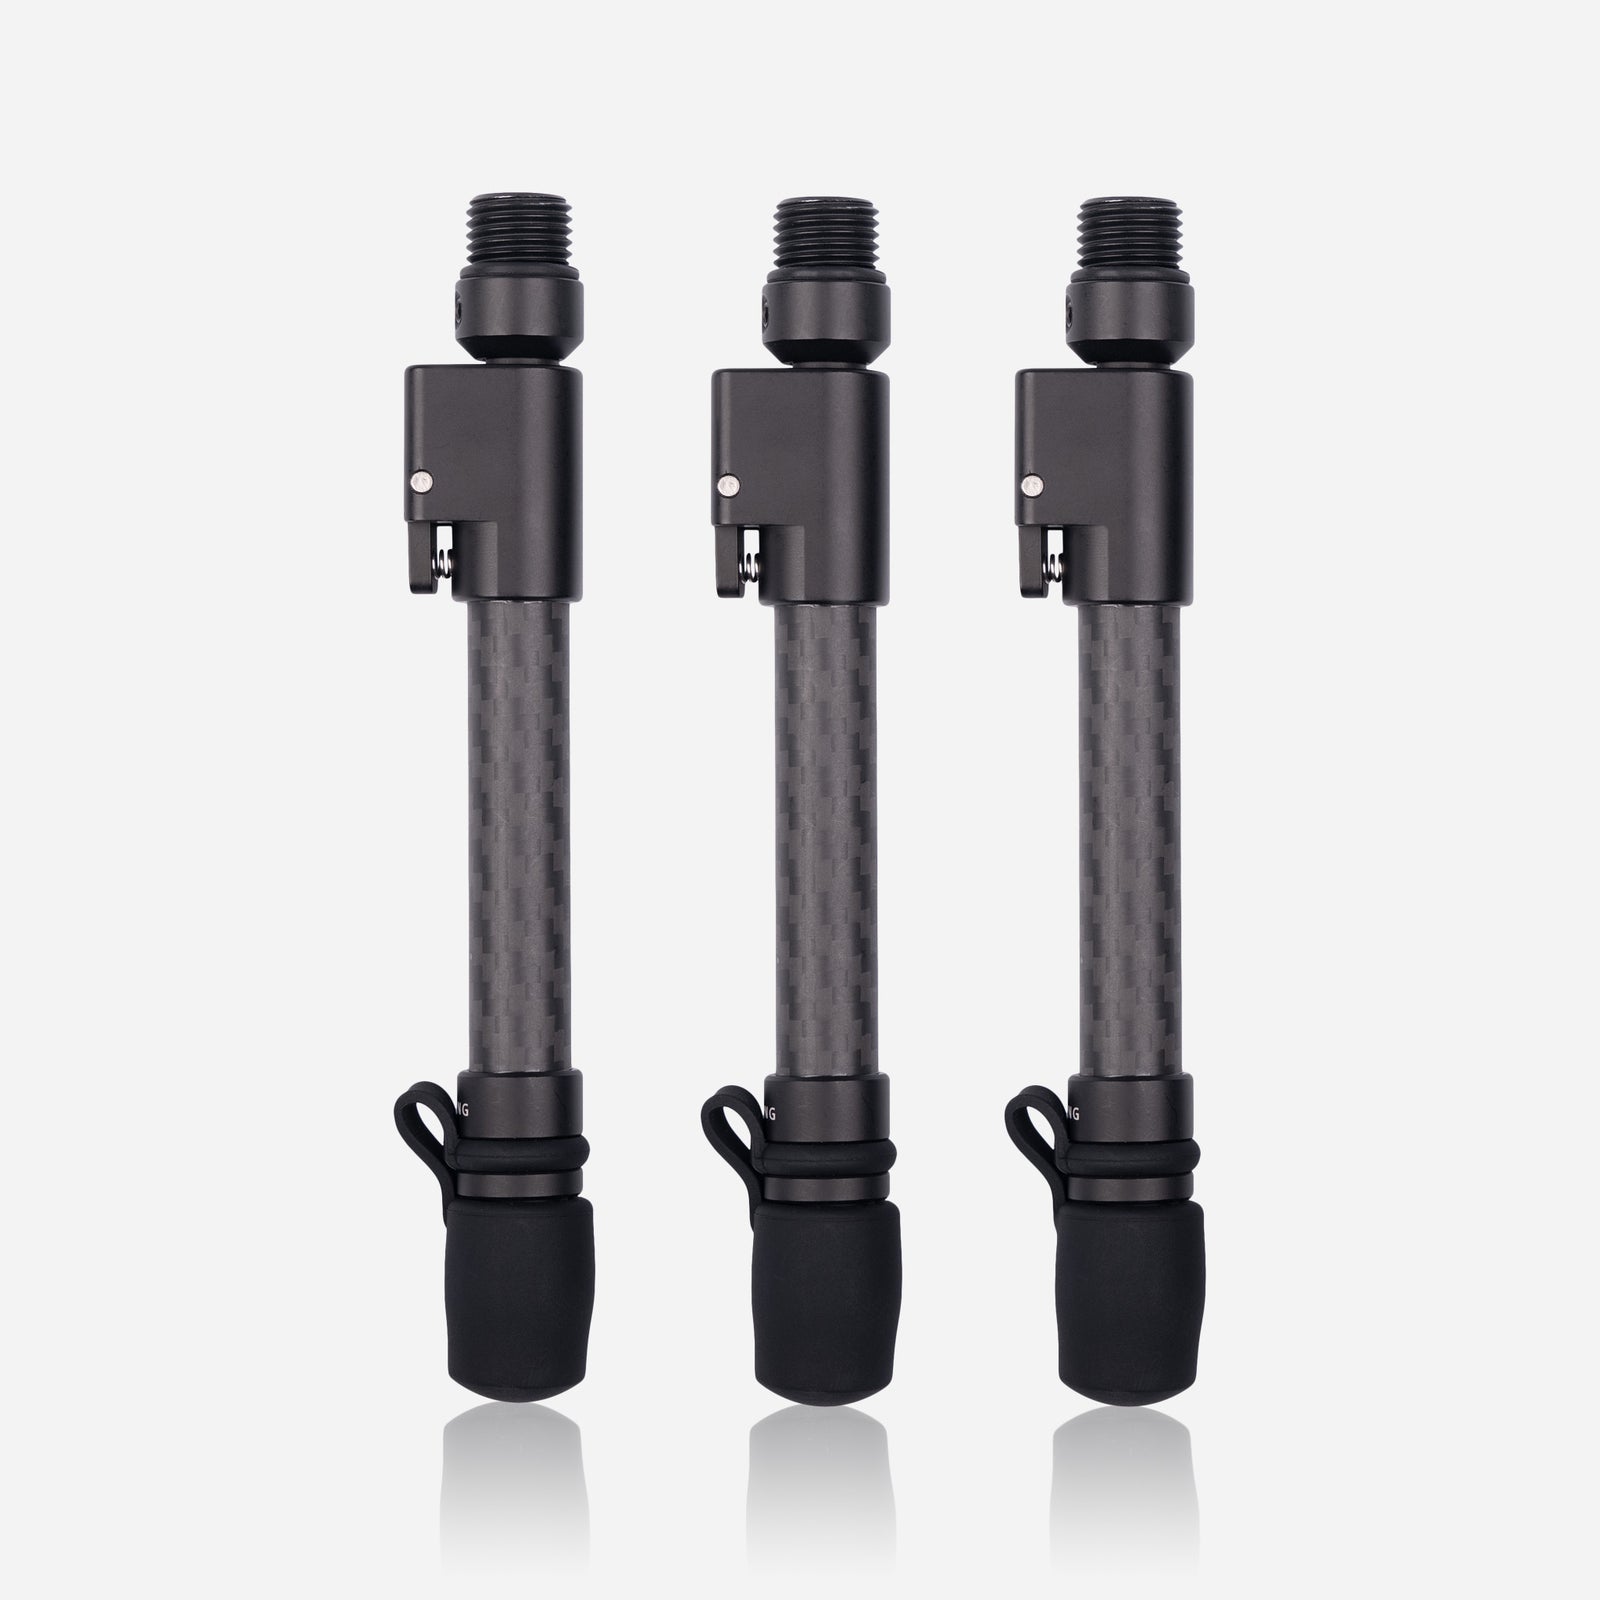
Another interesting way to photograph the lights is through macro photography. By using the tripod in inverted mode, I have positioned it onto a rain puddle in the street, where I captured the reflection of the lights, as well as the glow on the tarmac or pavement. The Gearing tripod offers the best of both worlds - macro for those incredibly detailed close ups and unusual angles, as well as being a great standard tripod with the added bonus of a centre column extender to give you a much larger field of view. If you were looking for a middle ground between inverted mode and the standard tripod at its lowest setting, then our mini legs are for you. The spring loaded legs give you the ability to change the height in seconds, and when used in conjunction with the centre column extender it fully covers the in-between area.
In terms of camera settings, there are some pretty standard settings it is best to stick to. You want your ISO to be at the absolute minimum - the higher the ISO the lighter the image will be, and we want to let the lights speak for themselves and keep the dark sky as it is. Most cameras have a minimum ISO of 100 or 200 - so stick with as low as you can. For the aperture, I tend to keep mine on Aperture Priority as the lights can change so quickly, especially when photographing on the streets. For the focus, I use Live View on my Canon, as this allows me to focus on one specific item and glaze over the rest slightly, which is a style I really like. One final suggestion is to use a remote for taking the photos, or put your camera on a self timer. This way, you remove all human error for creating movement in the photos, keeping the final image really crisp.

For the shutter speed, this completely depends on how you want your photos to come around. Play around and see what style you like best - anything from 1 second to 30 seconds will produce some really cool images but in very different ways. Standing on a bridge and capturing moving car lights but keeping the background of the building lights still looks really beautiful, and can be achieved with a slow shutter speed. Personally, I find about 20 seconds to be the sweet spot, in which you can capture the car's lights, but not the cars. Alternatively, if you were to stand on a bridge above train lines, you could shorten this right down to 5 seconds for the same effect as with cars. It is pretty rare to capture two trains crossing on parallel lines, so I personally like to take a photo of a train coming one way, then capture the train in the other direction, and cut them together on my computer. You can also completely change the results of your images on your computer, so make sure you try out lots of different editing styles to see what you feel best suits your desired end result. In these images by London based photographer Nigel Spalding I have used different editing options to offer a different vibe from each one. For example, the two photos featured in this blog post are exactly the same, just edited in different ways.
To summarise, the most important thing to remember about photographing the city lights at night is to have fun and play around with your camera. This style of photography can teach you a lot, and really open your eyes to new ways that your gear can work for you. It will also allow you to see the city in a whole new light - literally. So, head outside, bring your tripod and see what you can make of the night!