

A little bit of TLC will never go amiss for making sure your tripod is the best travel companion it can be. So, join us here to find out how to clean it, any tinkering it may need, and a bit of general info on the tripod itself!
We have built the tripod to be fully field serviceable, so you can rest easy knowing that wherever you are, there isn’t much that you can’t fix.
In the unlikely event that there is a more serious problem, drop us an email or call us. We are always here to help and together we will find a solution.
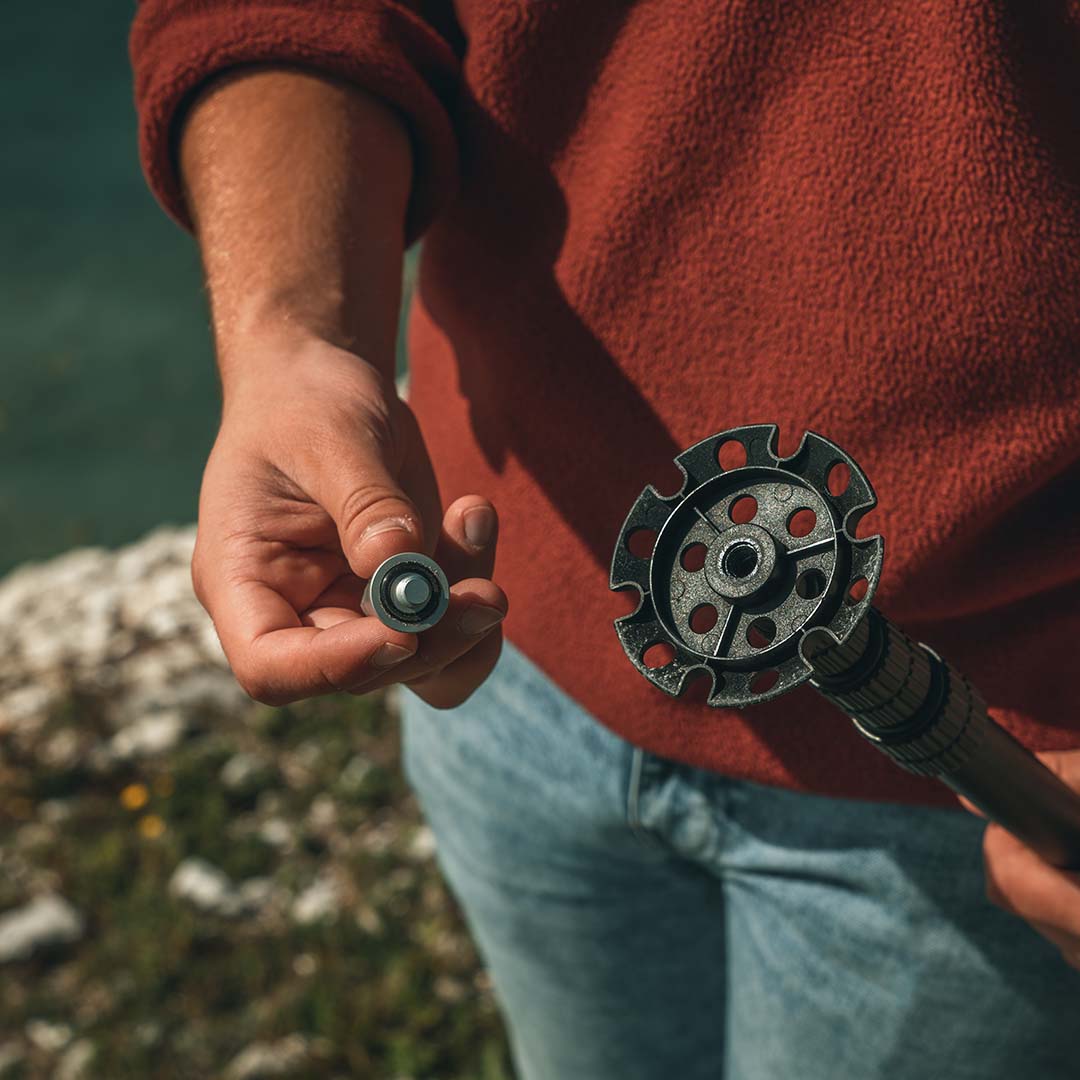
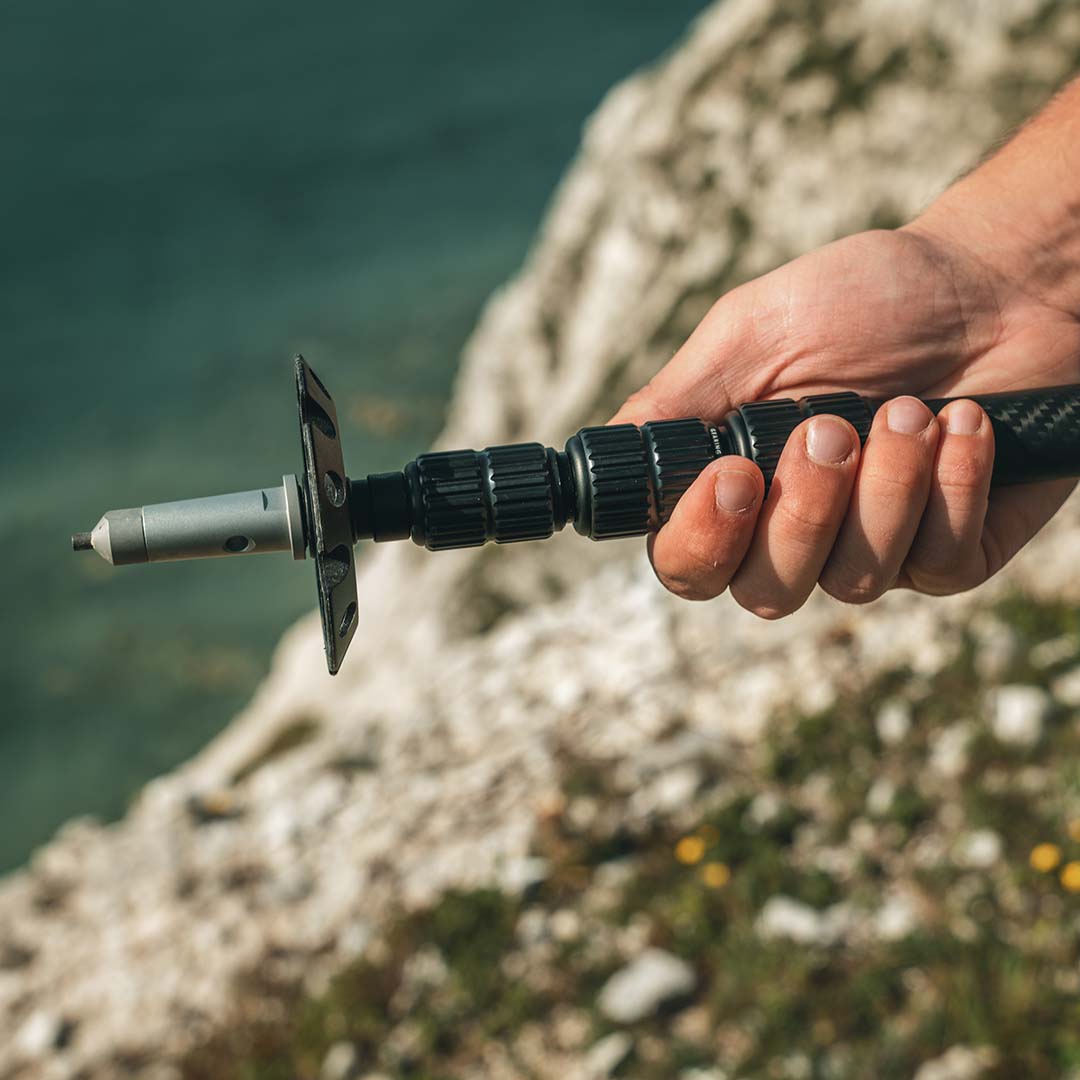
We offer three different feet options for our tripod, so that you have the best case scenario in a wide variety of environments. Our rubber boots come as standard and are found on top of our tungsten carbide tips.
In addition, you can remove the tungsten tip and rubber boot and replace it with a larger spike and snow basket. You can use the spike on its own or together with the snow basket - it’s really up to you to decide how to configure your tripod. All of these options are easily replaceable after excessive wear, ensuring your Gearing tripod lasts a lifetime.
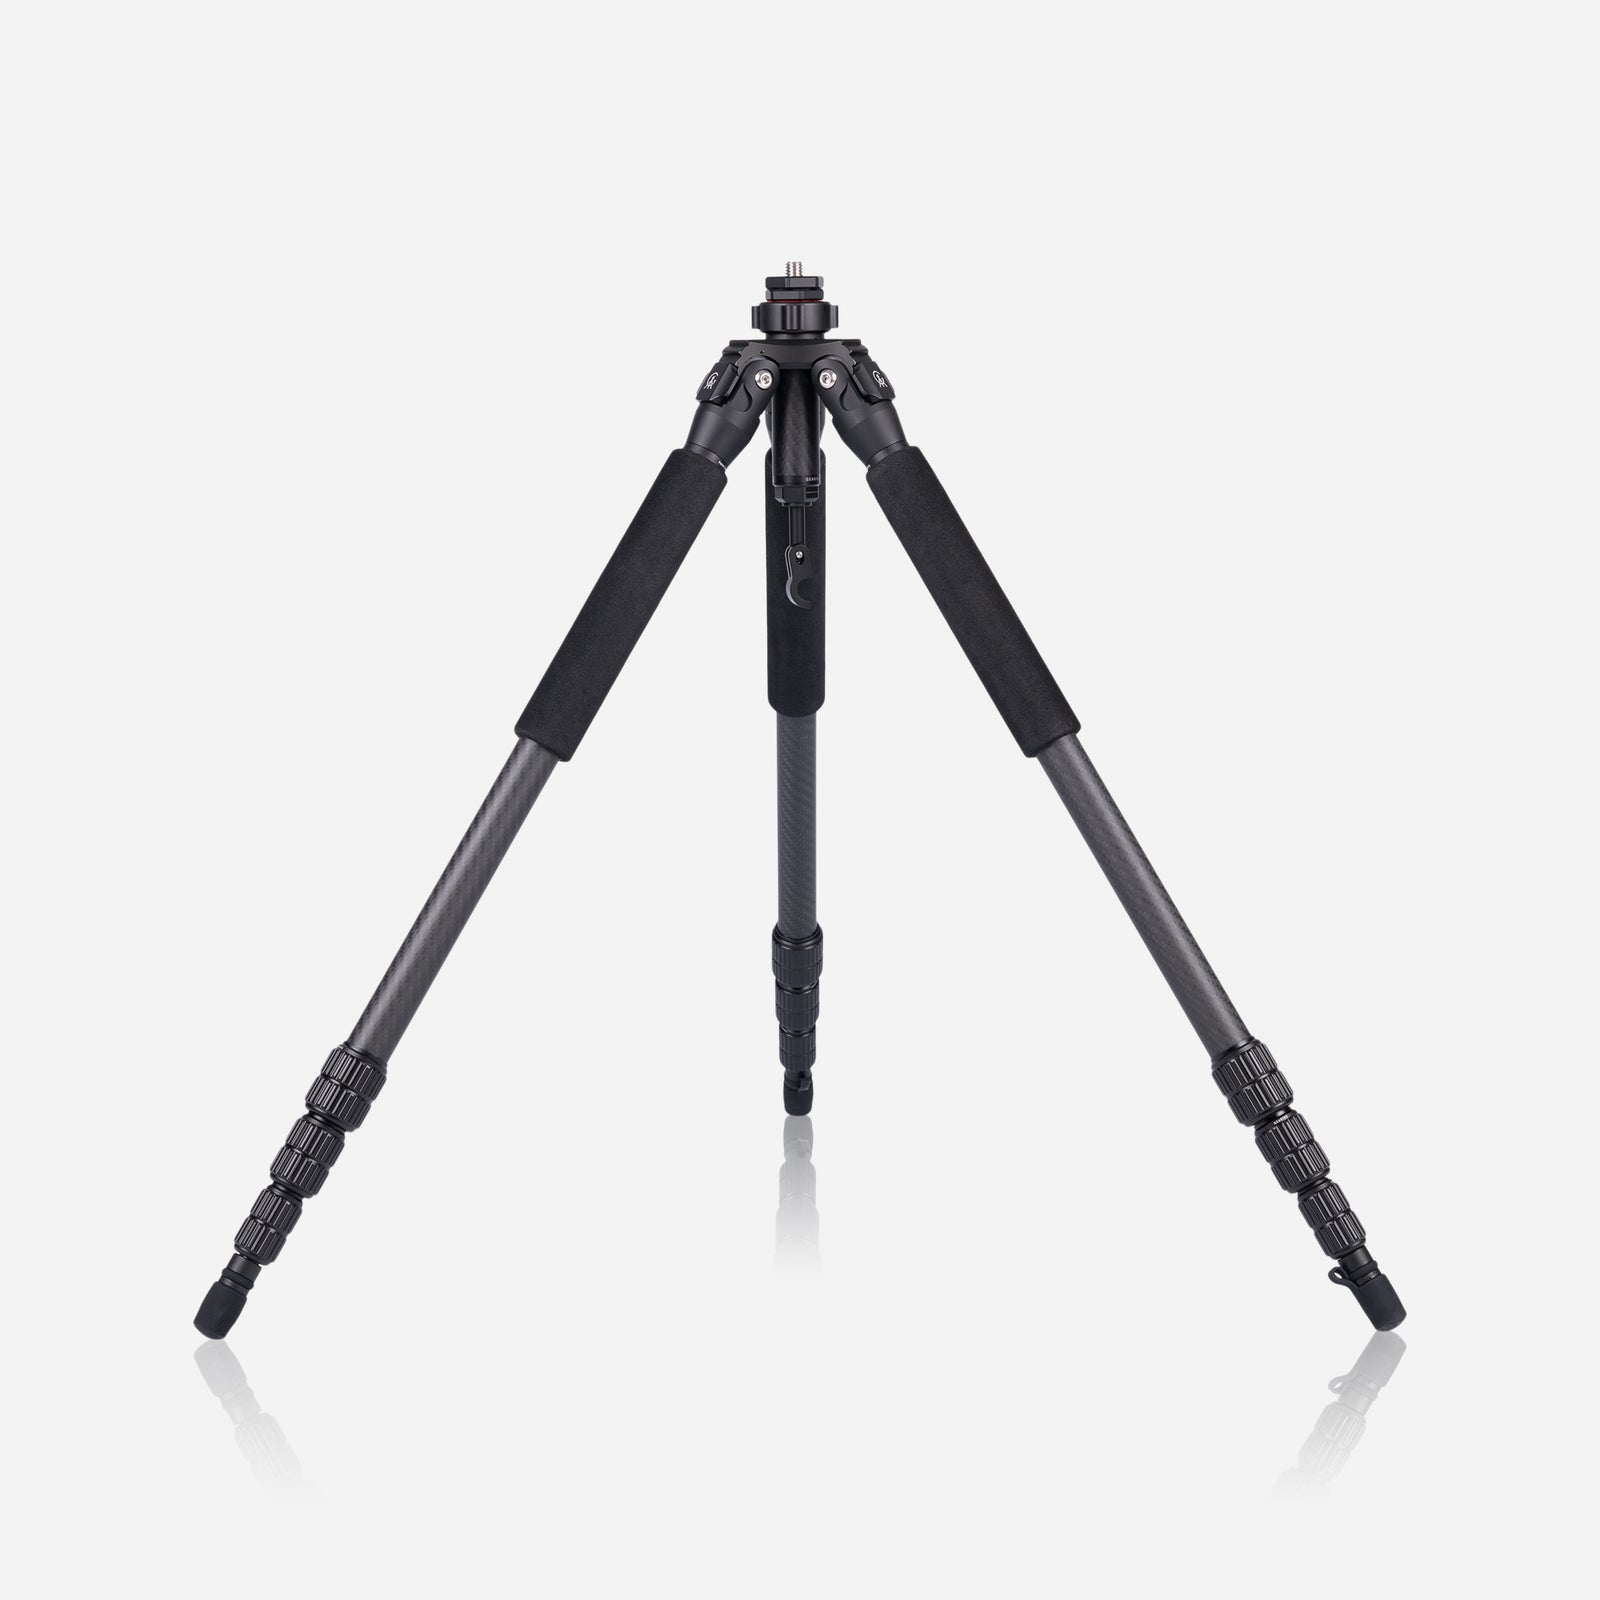
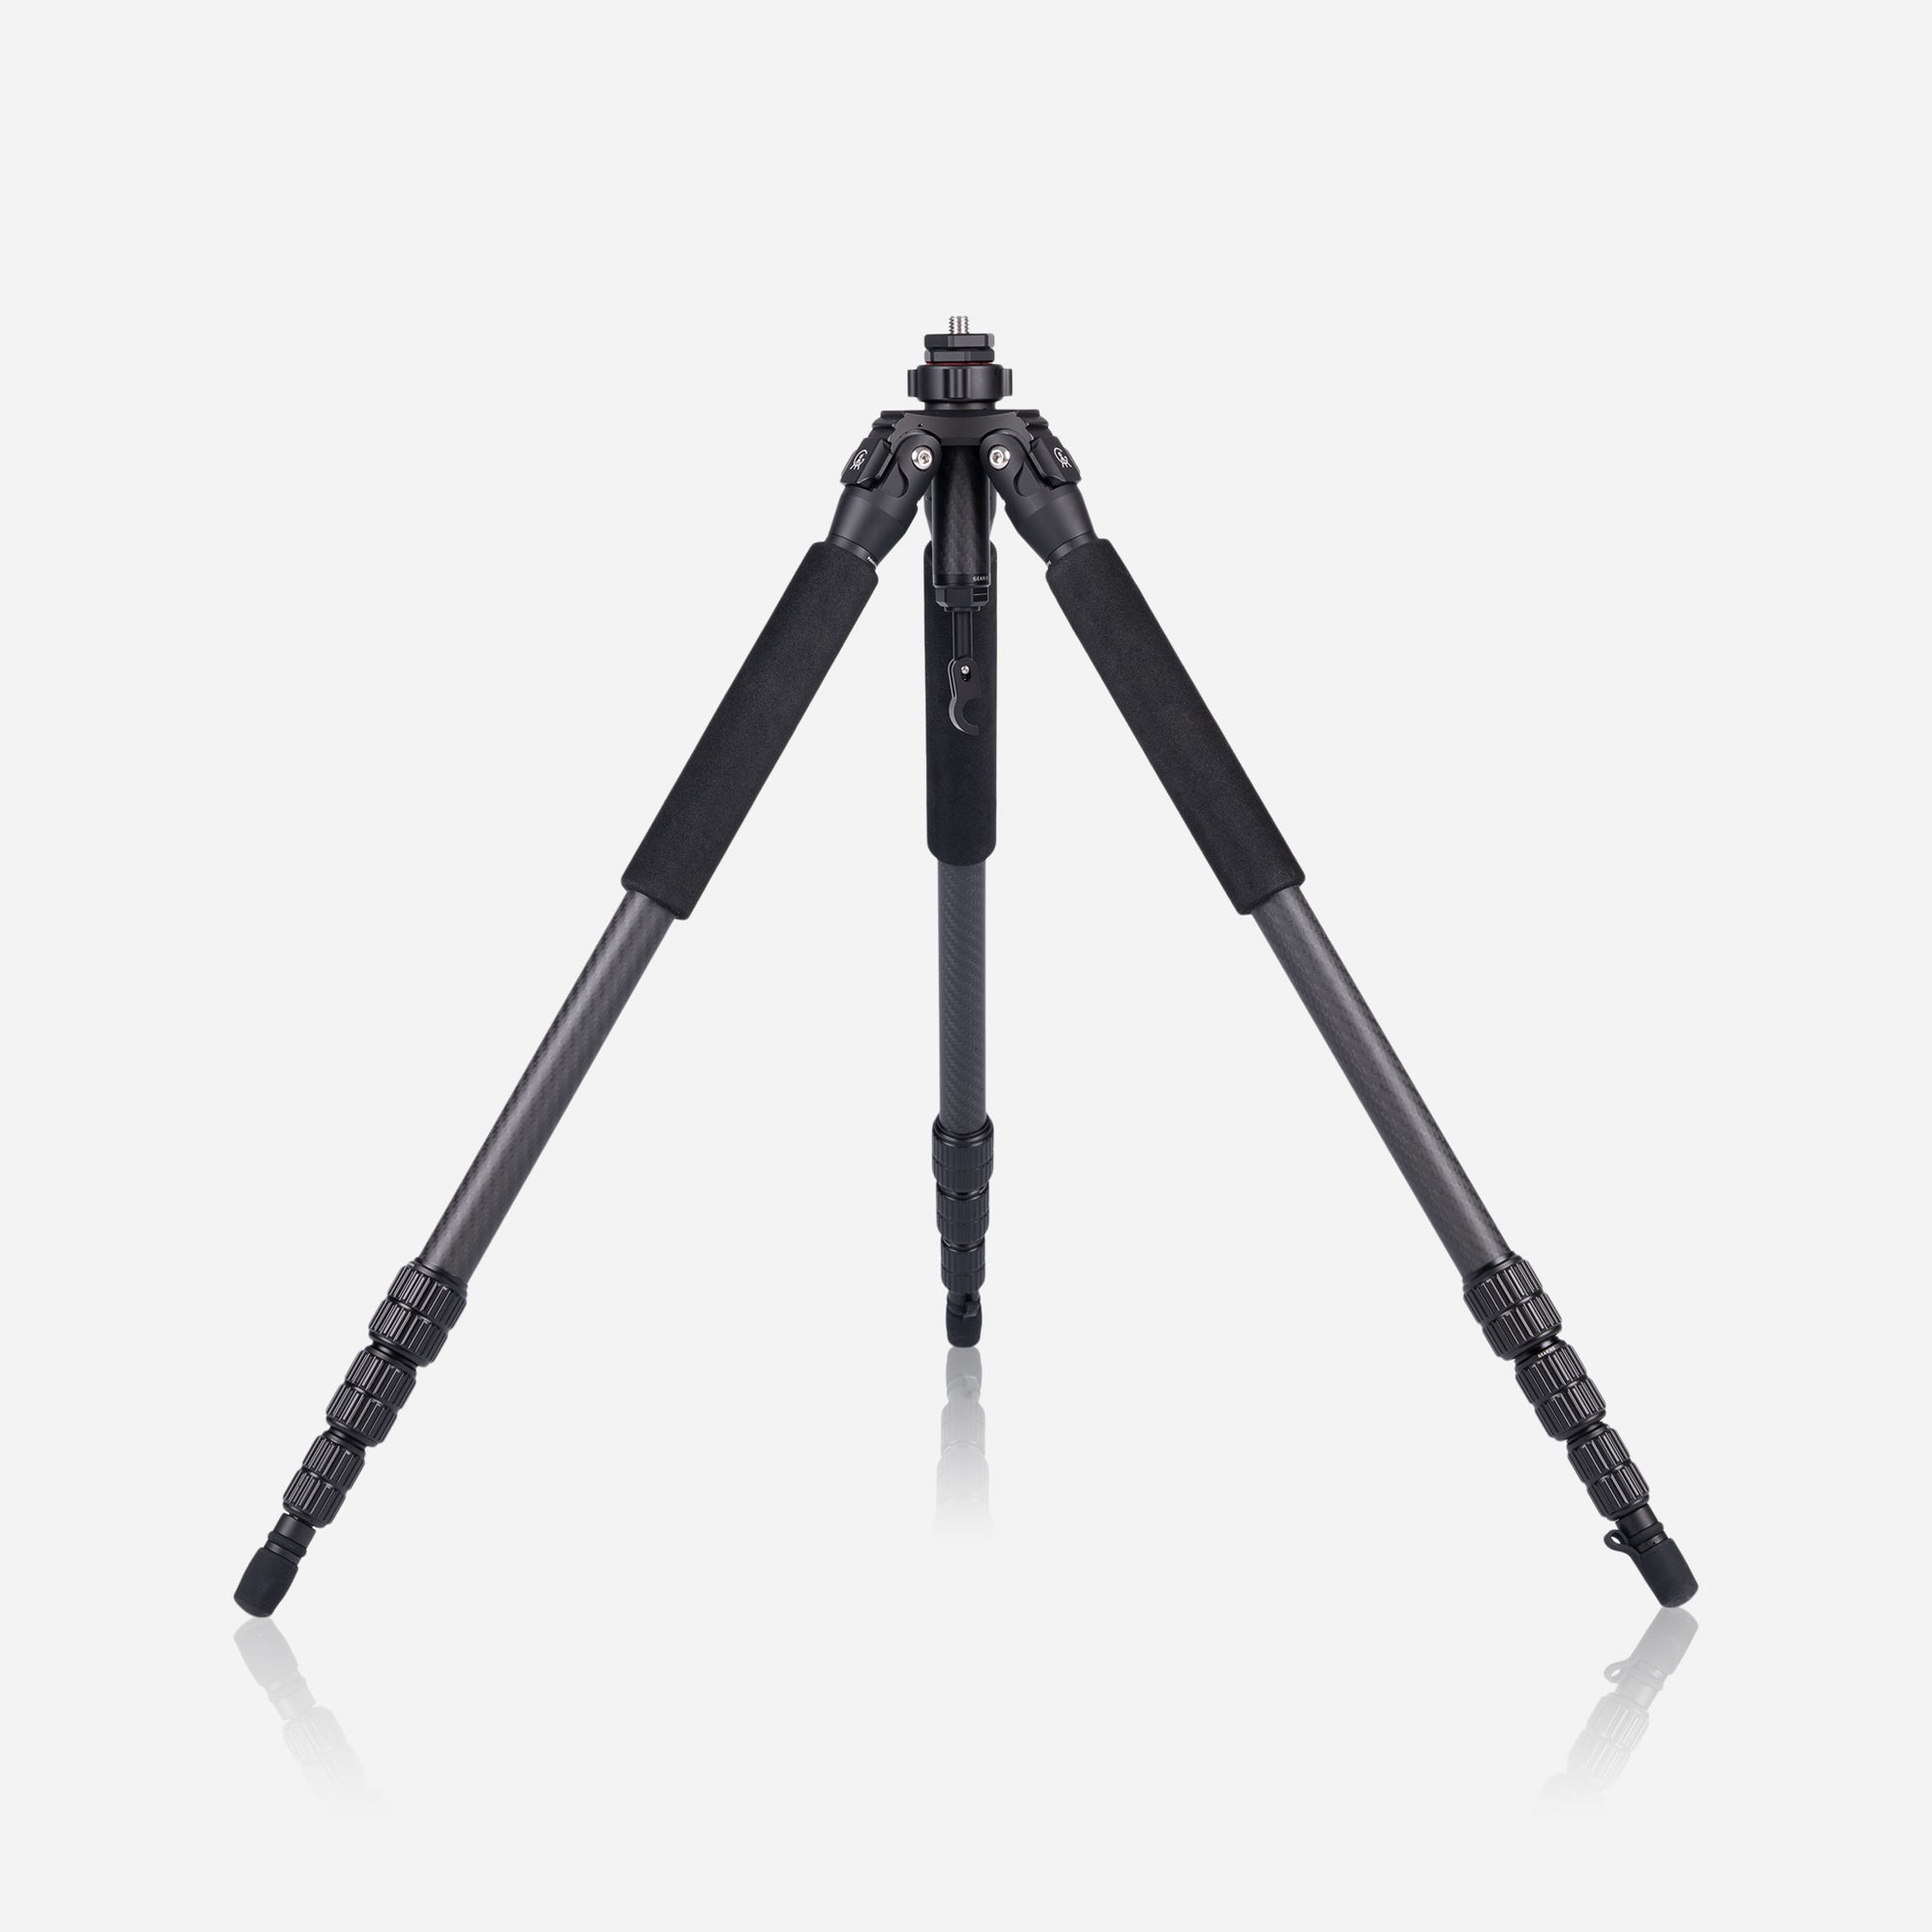
The carbon fibre legs are fully field serviceable. All four sections of the tripod leg can be detached from the heart, and then from one another and thoroughly cleaned.
Firstly, clean all of the dirt and grit from the female and male threads at the locking points with a clean cloth or brush, using running water if necessary. These need to be thoroughly dried to stop parts sticking - feel free to use a very small amount of dry lubricant here.
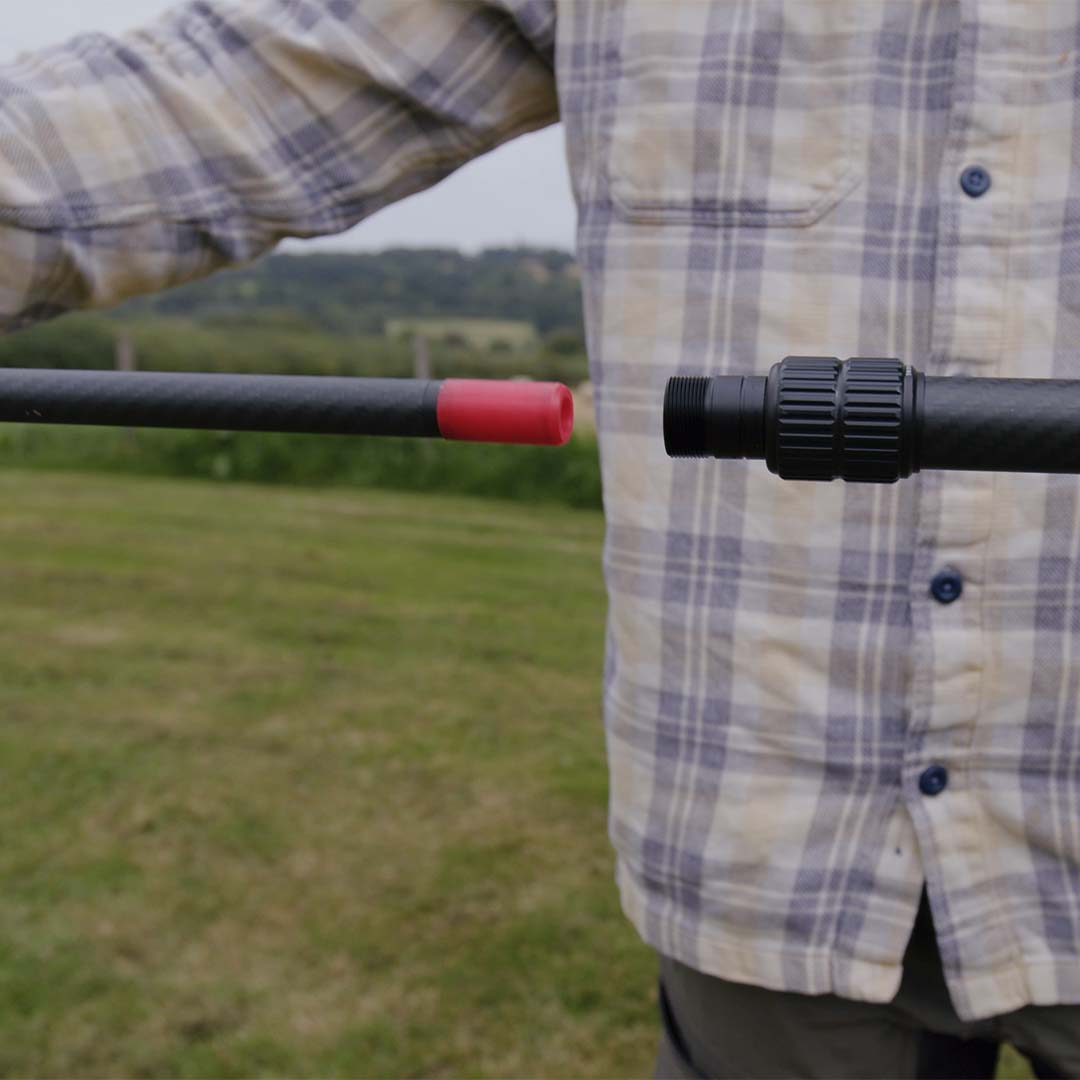
Examine the red or silver coloured leg stops. Ensure that they are in serviceable condition without excessive wear. Any chipped or split leg stops should be replaced by contacting The Gearing Company. These leg stops are part of the mechanism to prevent the legs from being completely pulled out during normal use.
Next, inspect the legs. These can also be cleaned under running water - any stream or river will do just fine if you are away from home. Once washed, thoroughly dry.
In our experience, the most likely component to break during use will be one of the leg sections when used as a trekking pole and subjected to too much dynamic loading. However, it is important to note that this is very rare indeed!
When overloaded, the carbon leg will eventually fail at the fulcrum point, which is usually just below the leg lock. In most cases, this occurs when moving over some rocky or slippery ground where the leg becomes trapped and the user stumbles or falls against the leg for support, causing the trapped leg to shear. This was designed to be the shear point to allow potential field repair.
Typically the lower leg section is the most vulnerable to this damage. In these cases, it may be possible to achieve a temporary field repair until the broken section is replaced. Loosen the leg lock and carefully reinsert the broken section back into the upper leg. Once the carbon leg section has passed the portion of the leg lock that grips the carbon section, the intact tubing will enable the leg lock to work in the normal way.
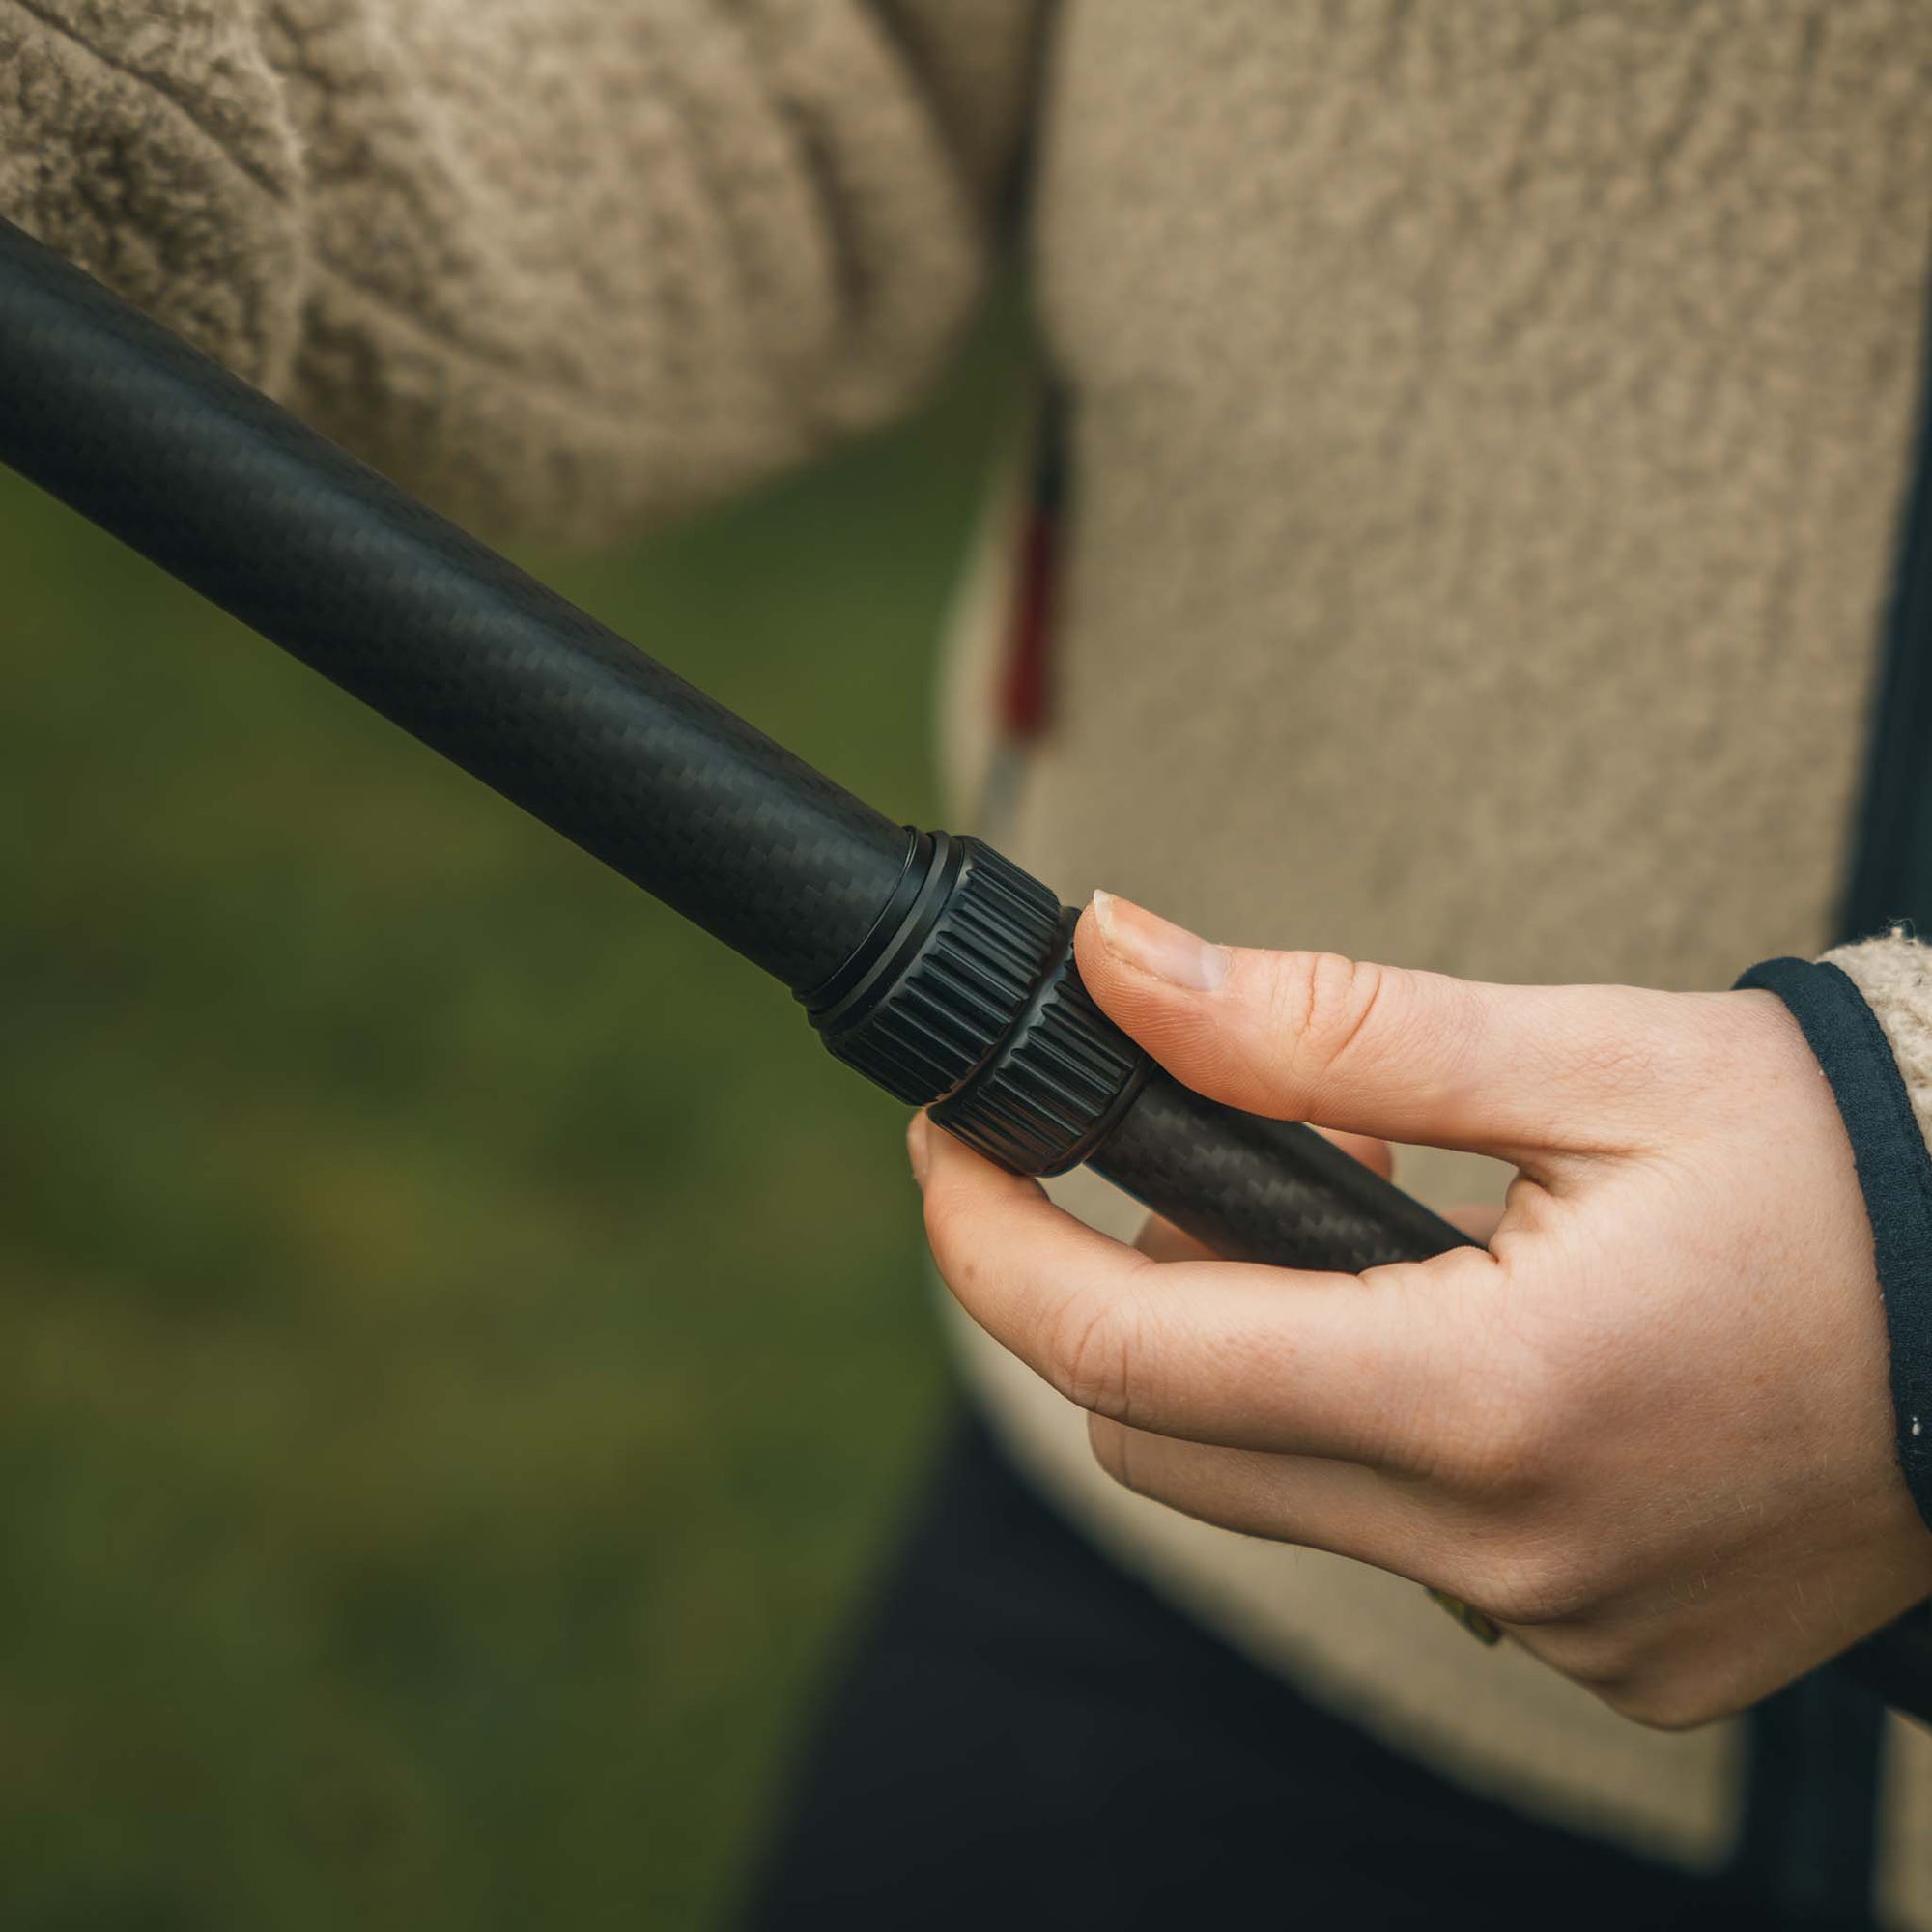
If you find that the legs aren't extending or retracting as smoothly as you would like, you can quickly remedy this by applying a small amount of ptfe dry lubricant or grease to the internal threads. Any screws, as well as the carbide tips, can also have some loctite applied to maintain tension.
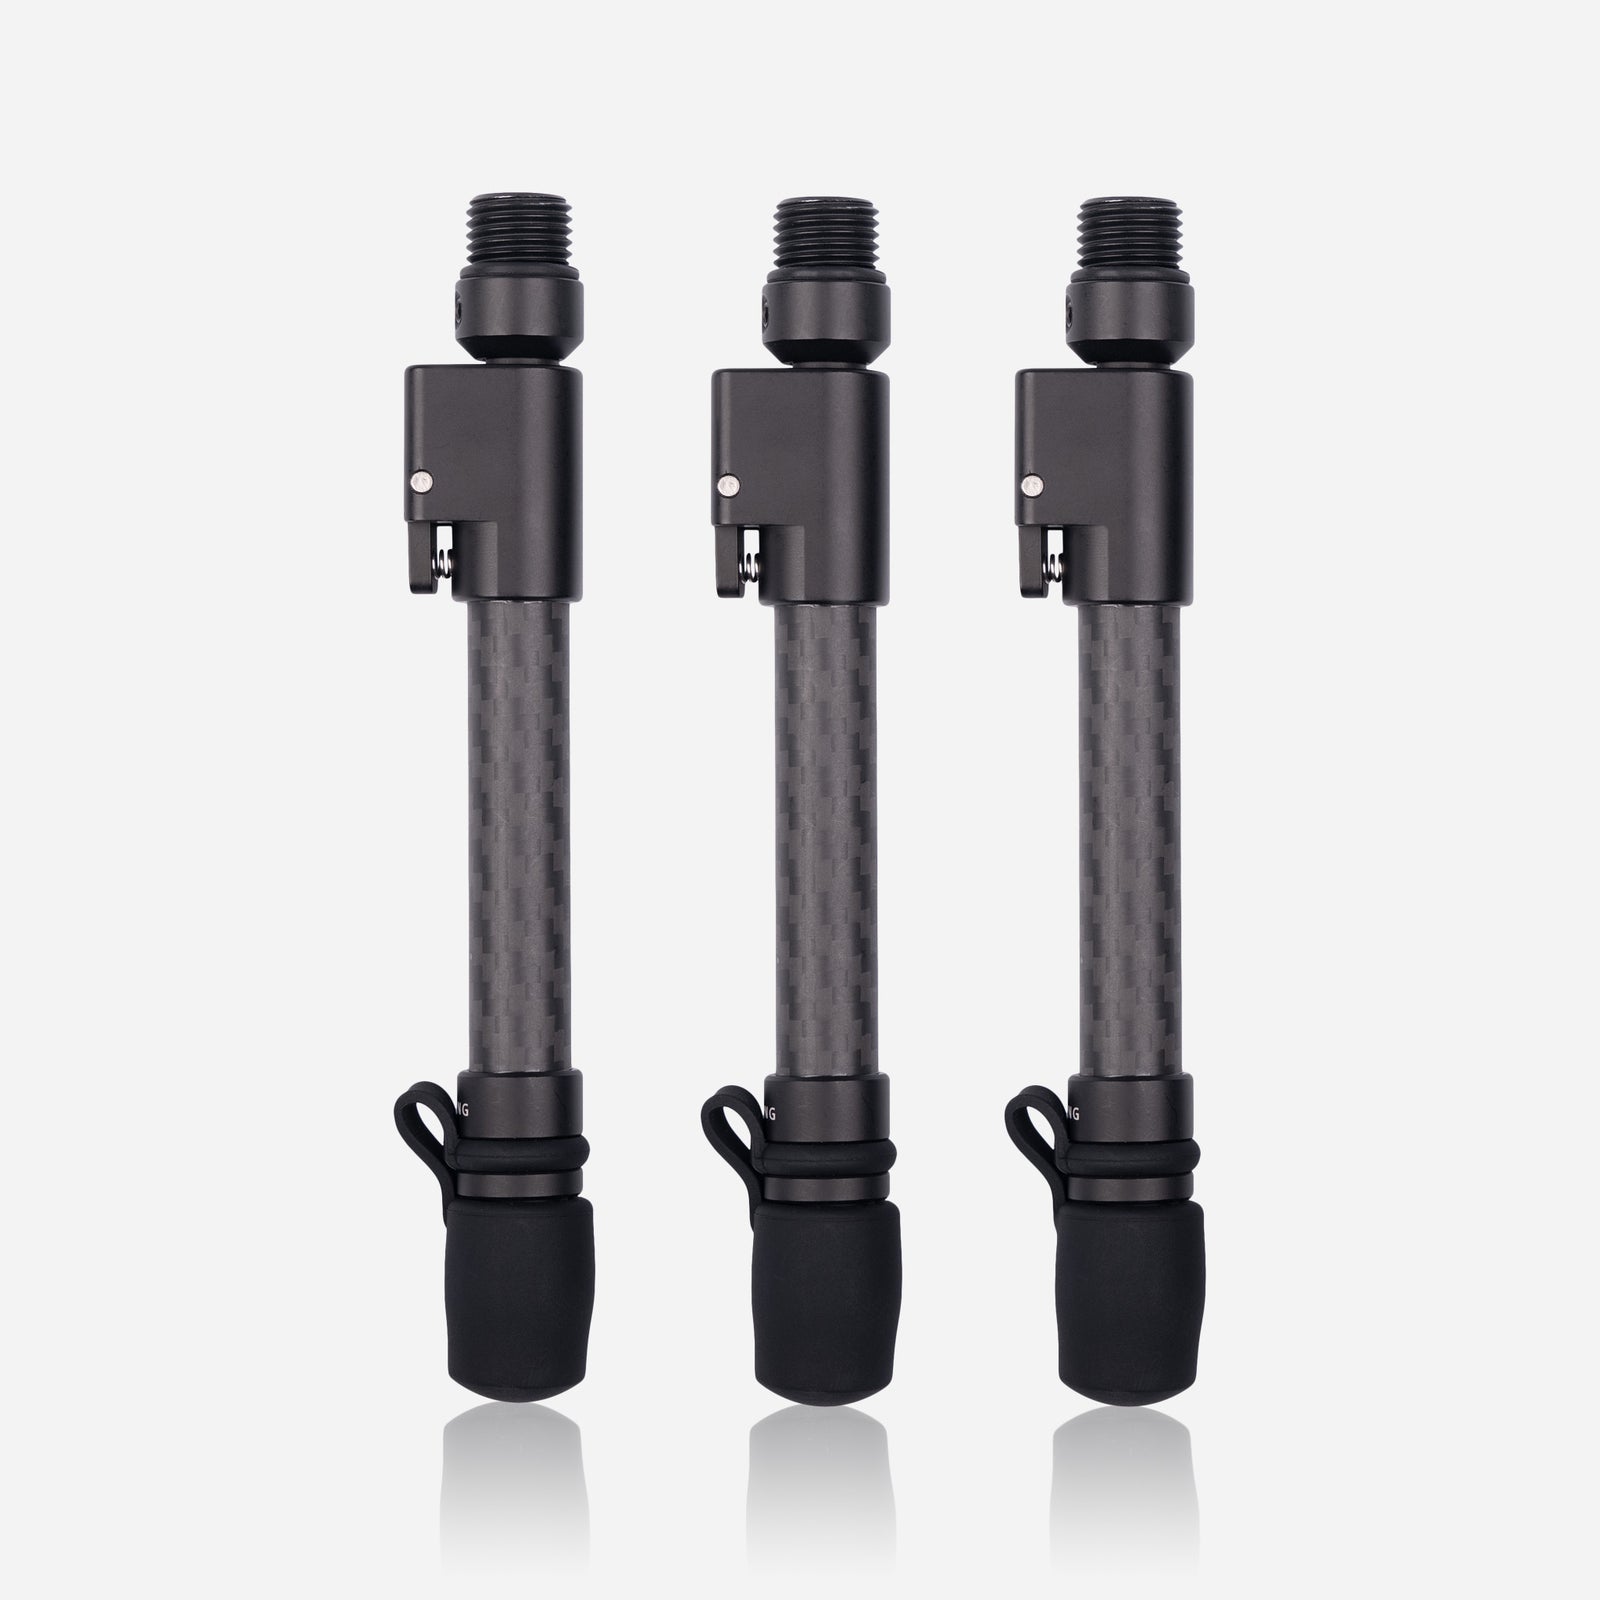
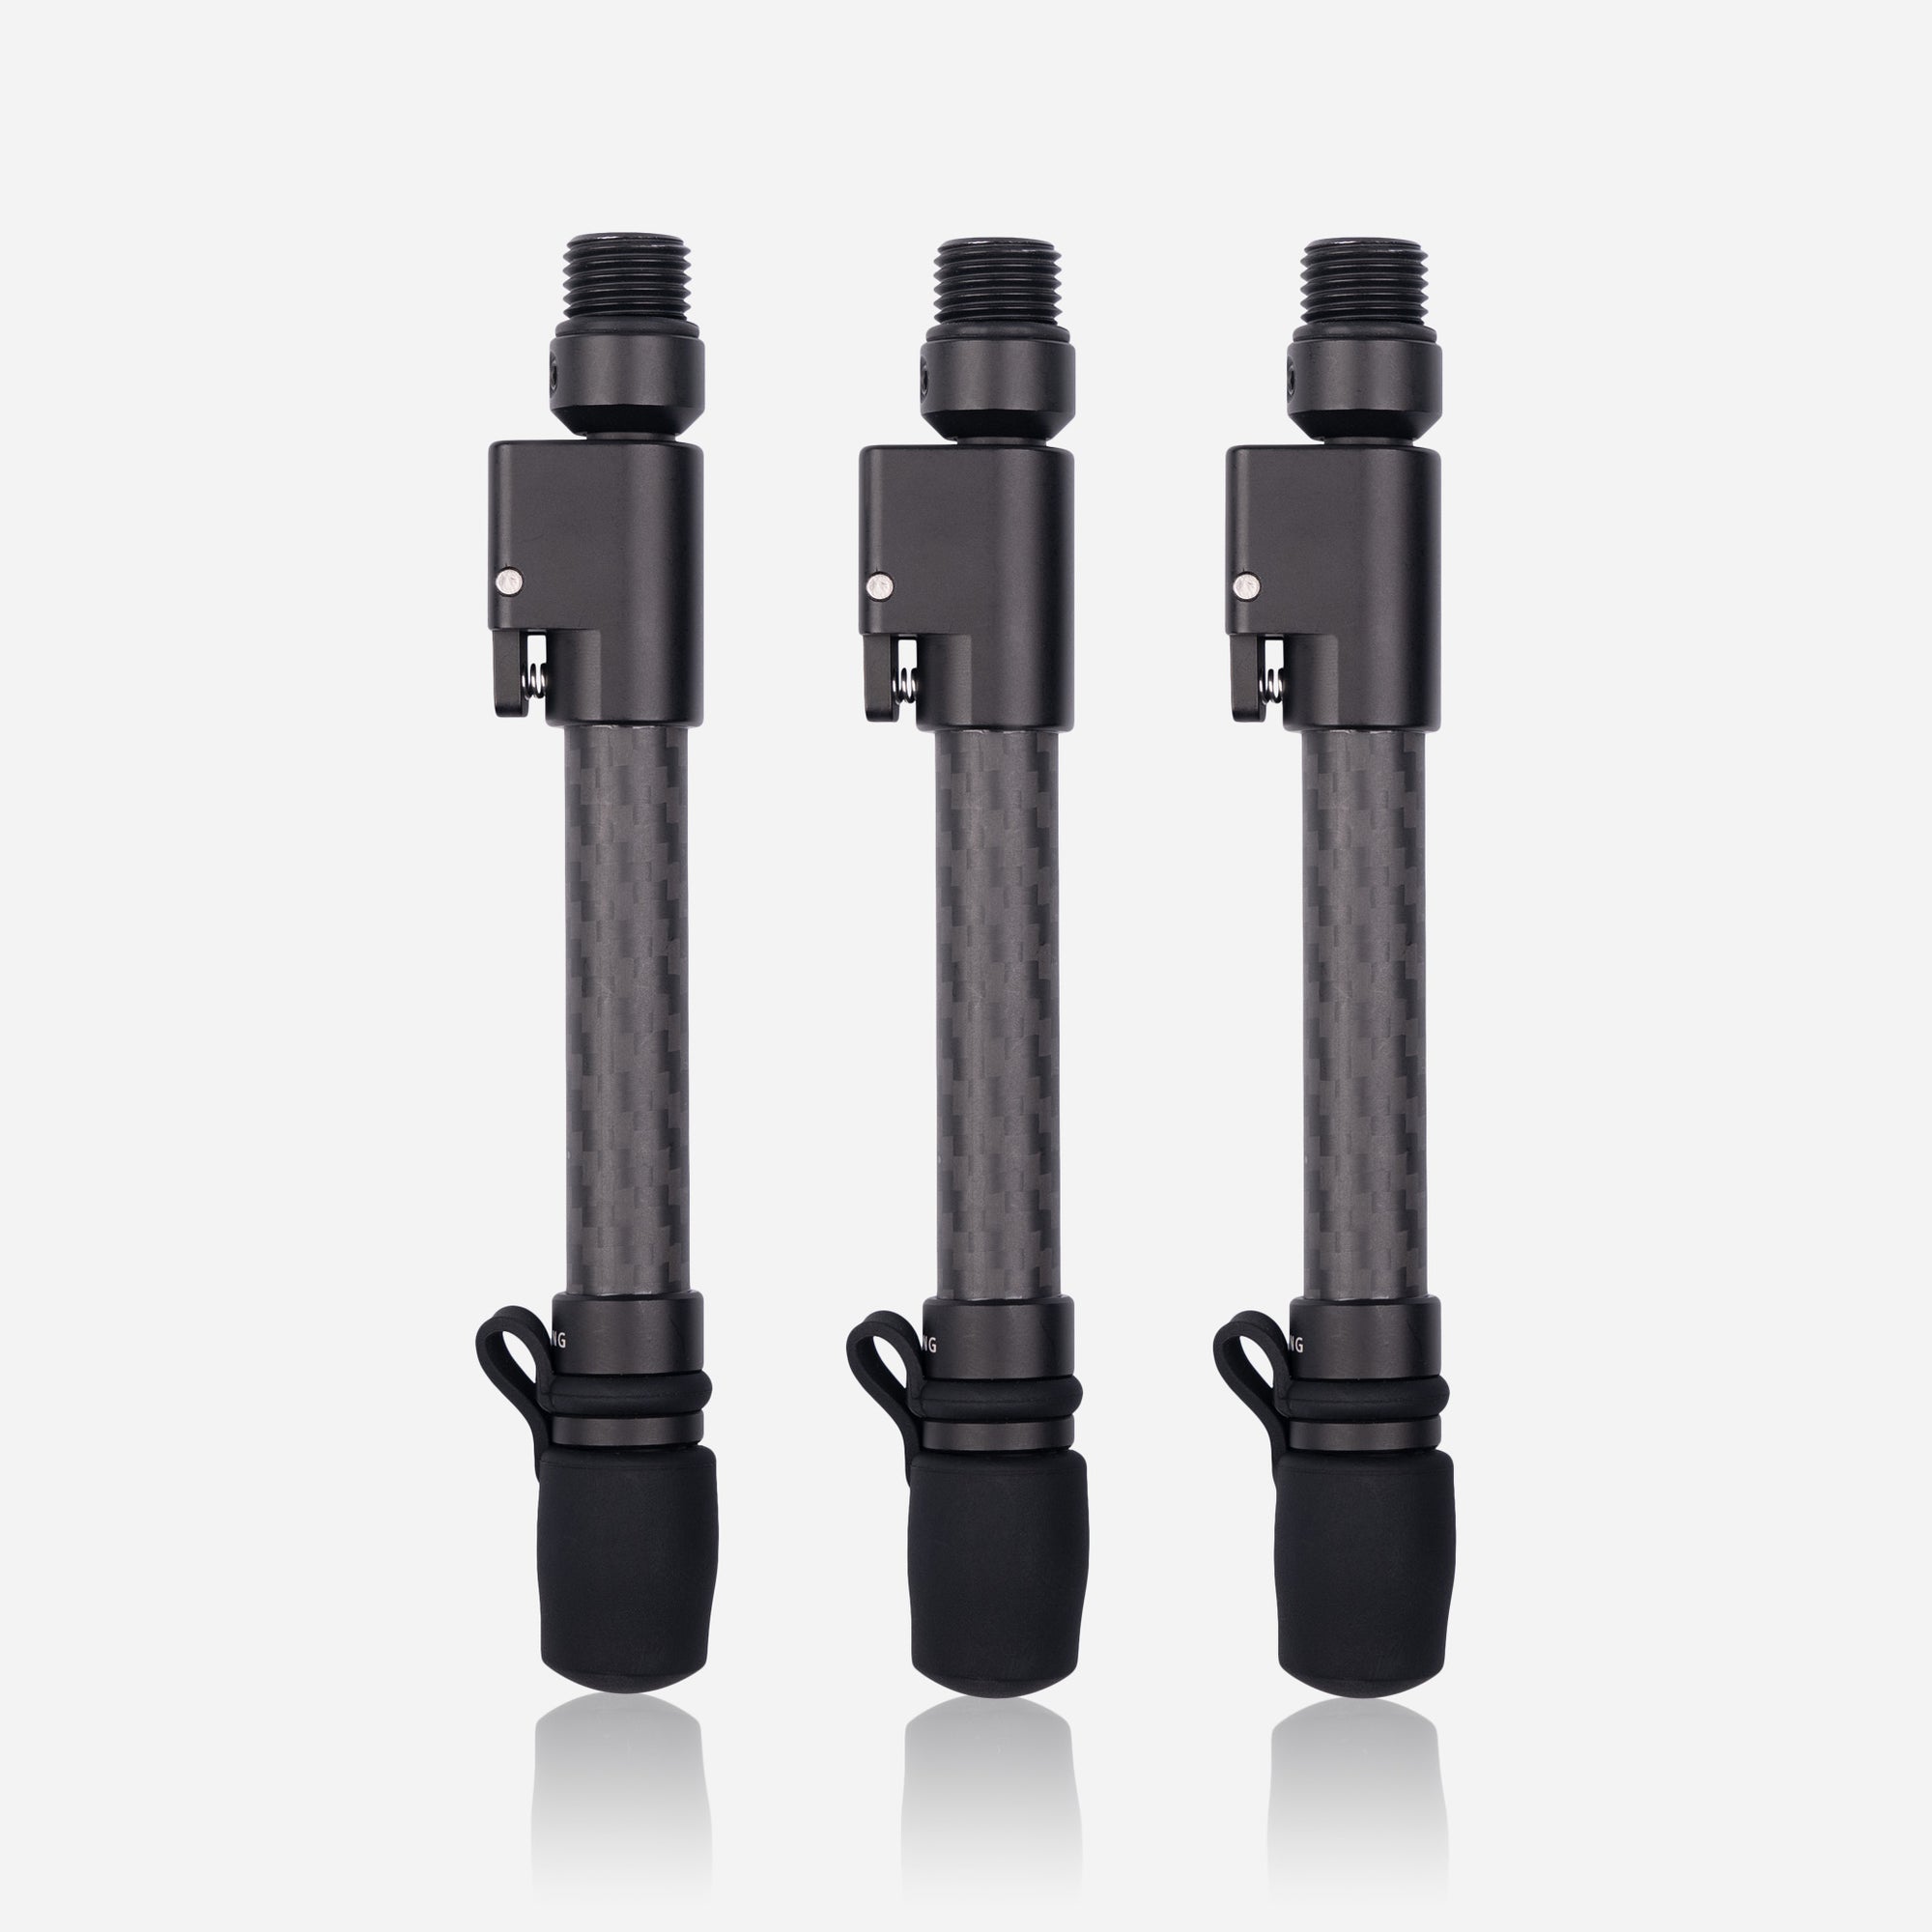
To convert the standard tripod to a table top tripod, all you need to do is attach our mini legs to the heart. These mini legs are, like the rest of the tripod, made of carbon fibre and extremely strong. Their feet are interchangeable and replaceable just like the standard tripod. You can choose the orientation of the legs by loosening the two grub screws found at the top of the leg, rotating the legs and then retightening the screws, but make sure that they are not overtightened.

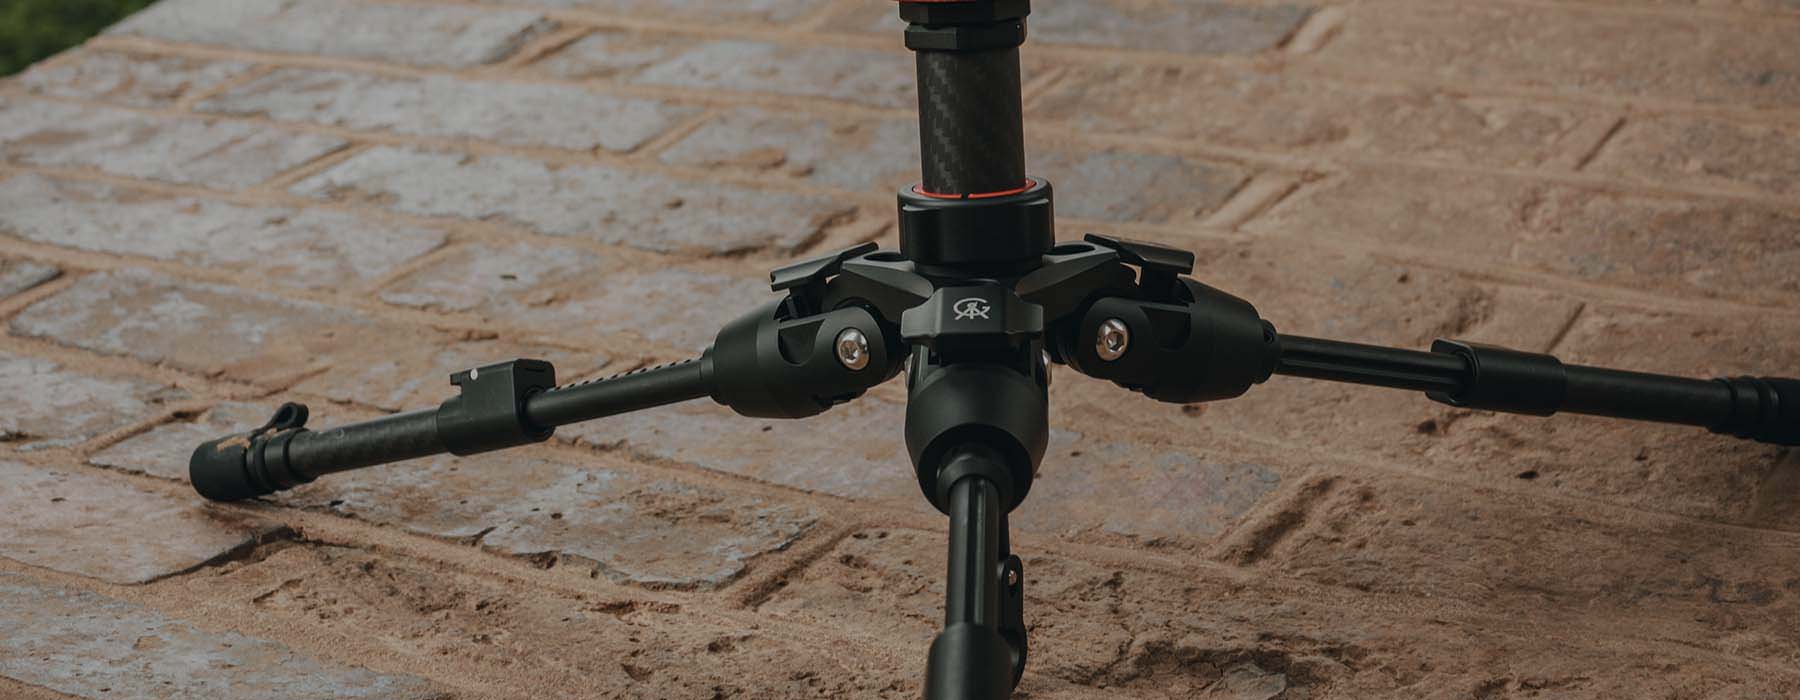
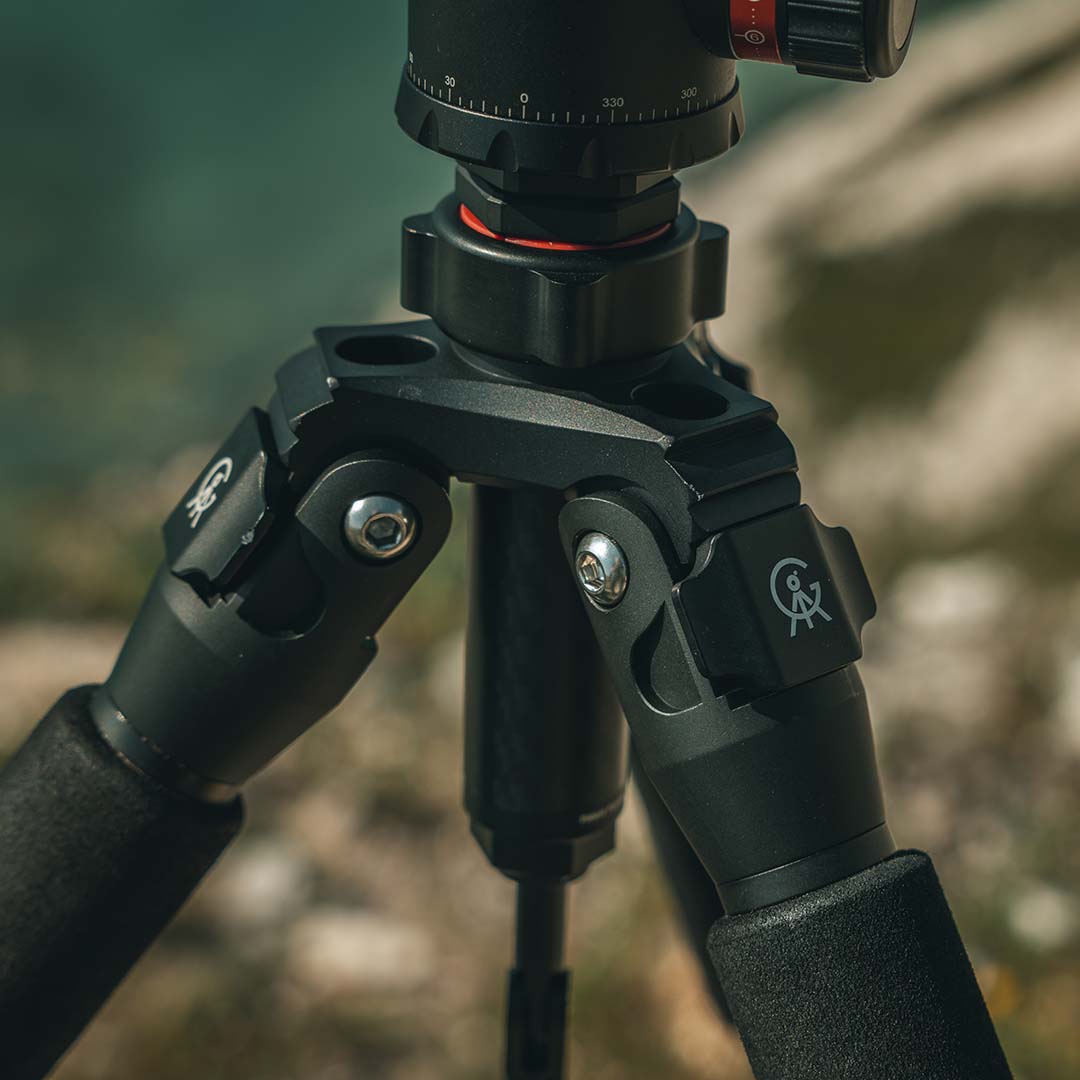
The heart of the Gearing tripod is relatively simple, with very little that can go wrong. Like the rest of the tripod, if needed it can be easily cleaned with running water. In the very unlikely case that you lose a screw that connects the legs to the body, we can replace these. They should also have a little loctite applied to ensure they are tight enough.
The tension of the hinge joints are factory set. However, if you wish to change this, you can adjust the tension by using a 4mm allen key. It is quite sensitive so we suggest you don’t go overboard.
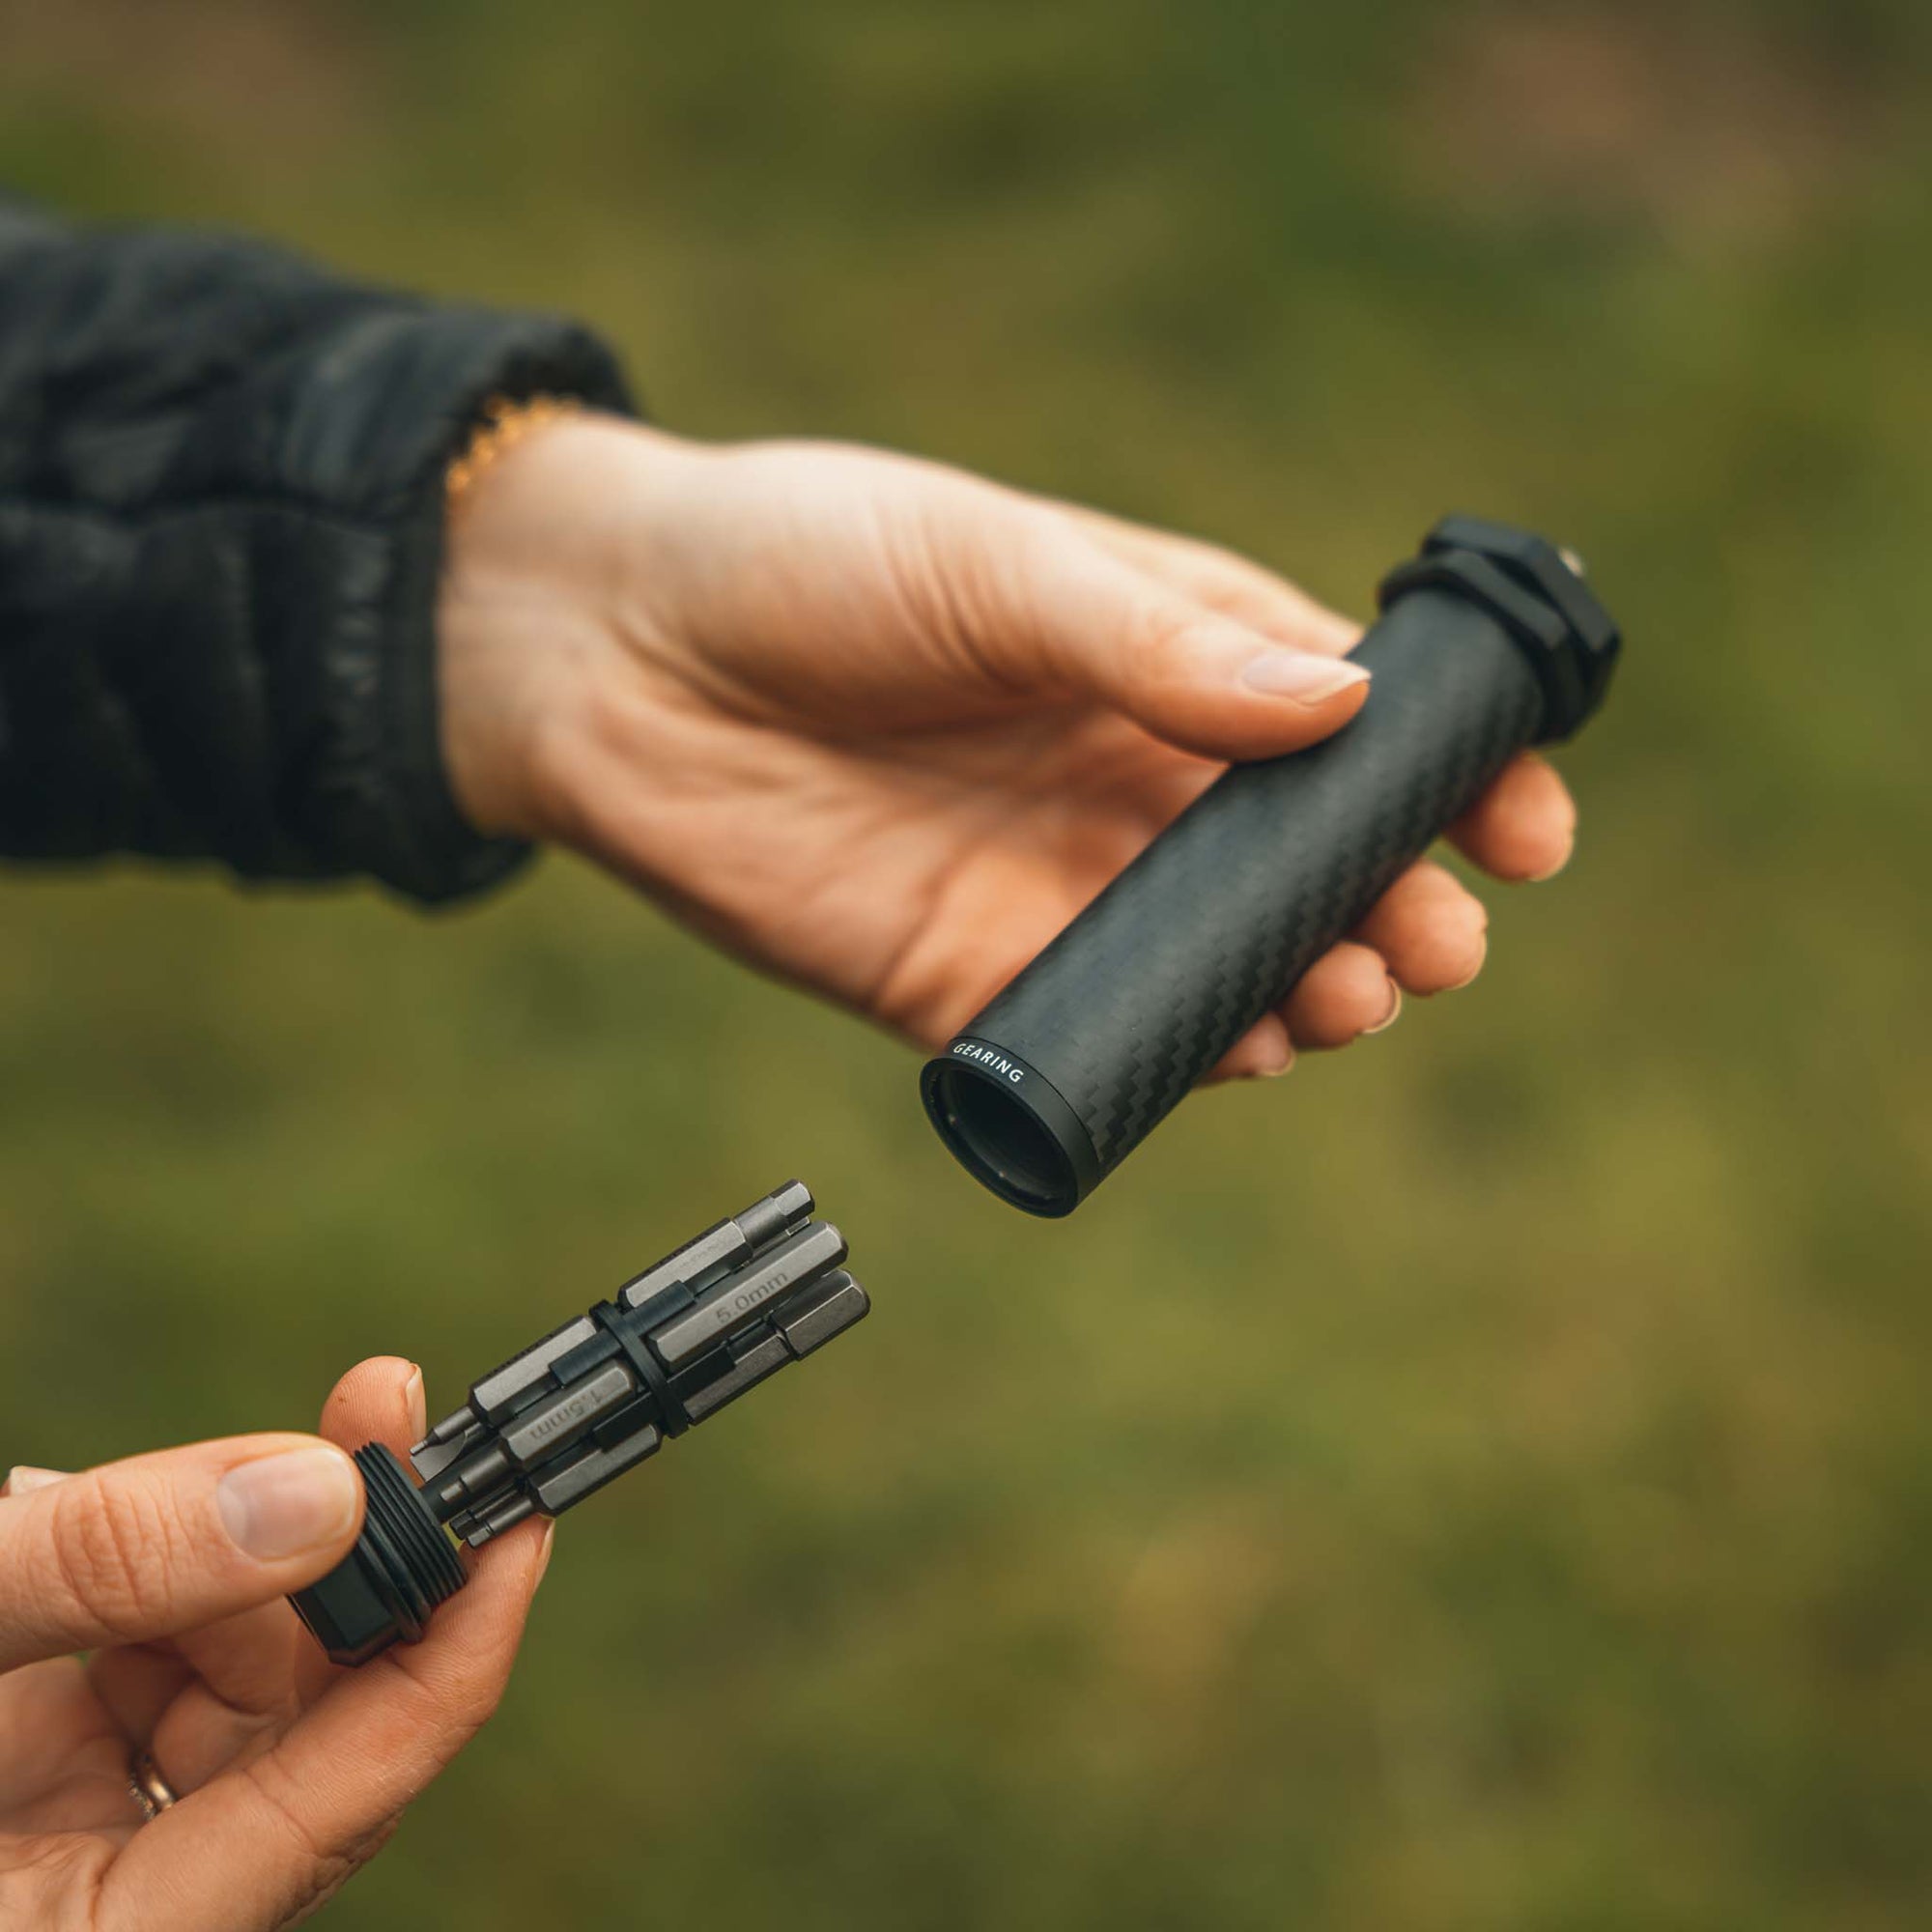
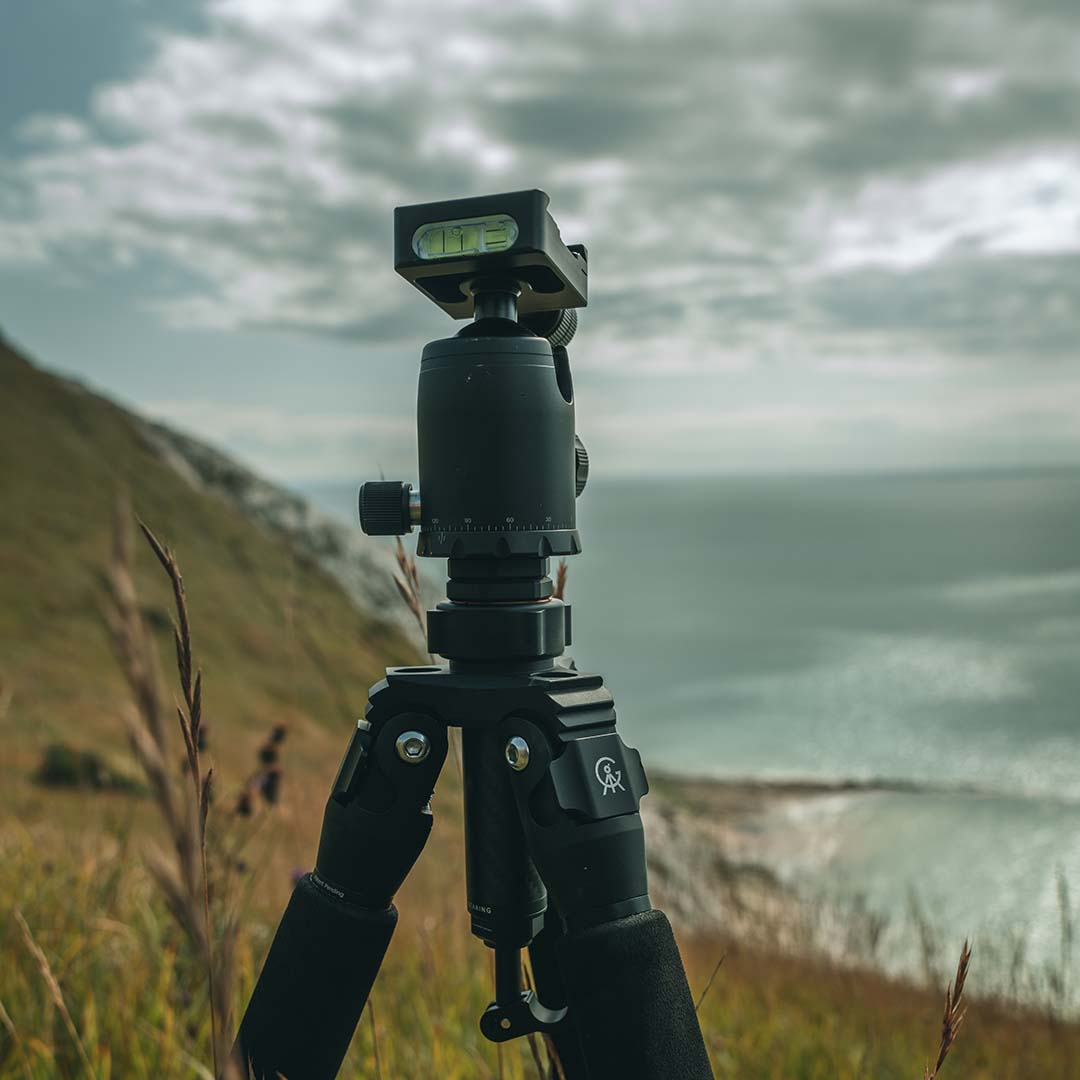
Our centre column is like no other; not only it does what all other centre columns do, but it is also a toolkit. Should you need to make adjustments to your tripod or camera gear, it is always available to you. This is an integral part of your repairs and one to keep safe! The hook attaches to the bottom of this and can be added and removed as desired. The hook has a hefty load capacity so you are able to hang your rucksack or a sandbag off it to increase the tripod's stability.
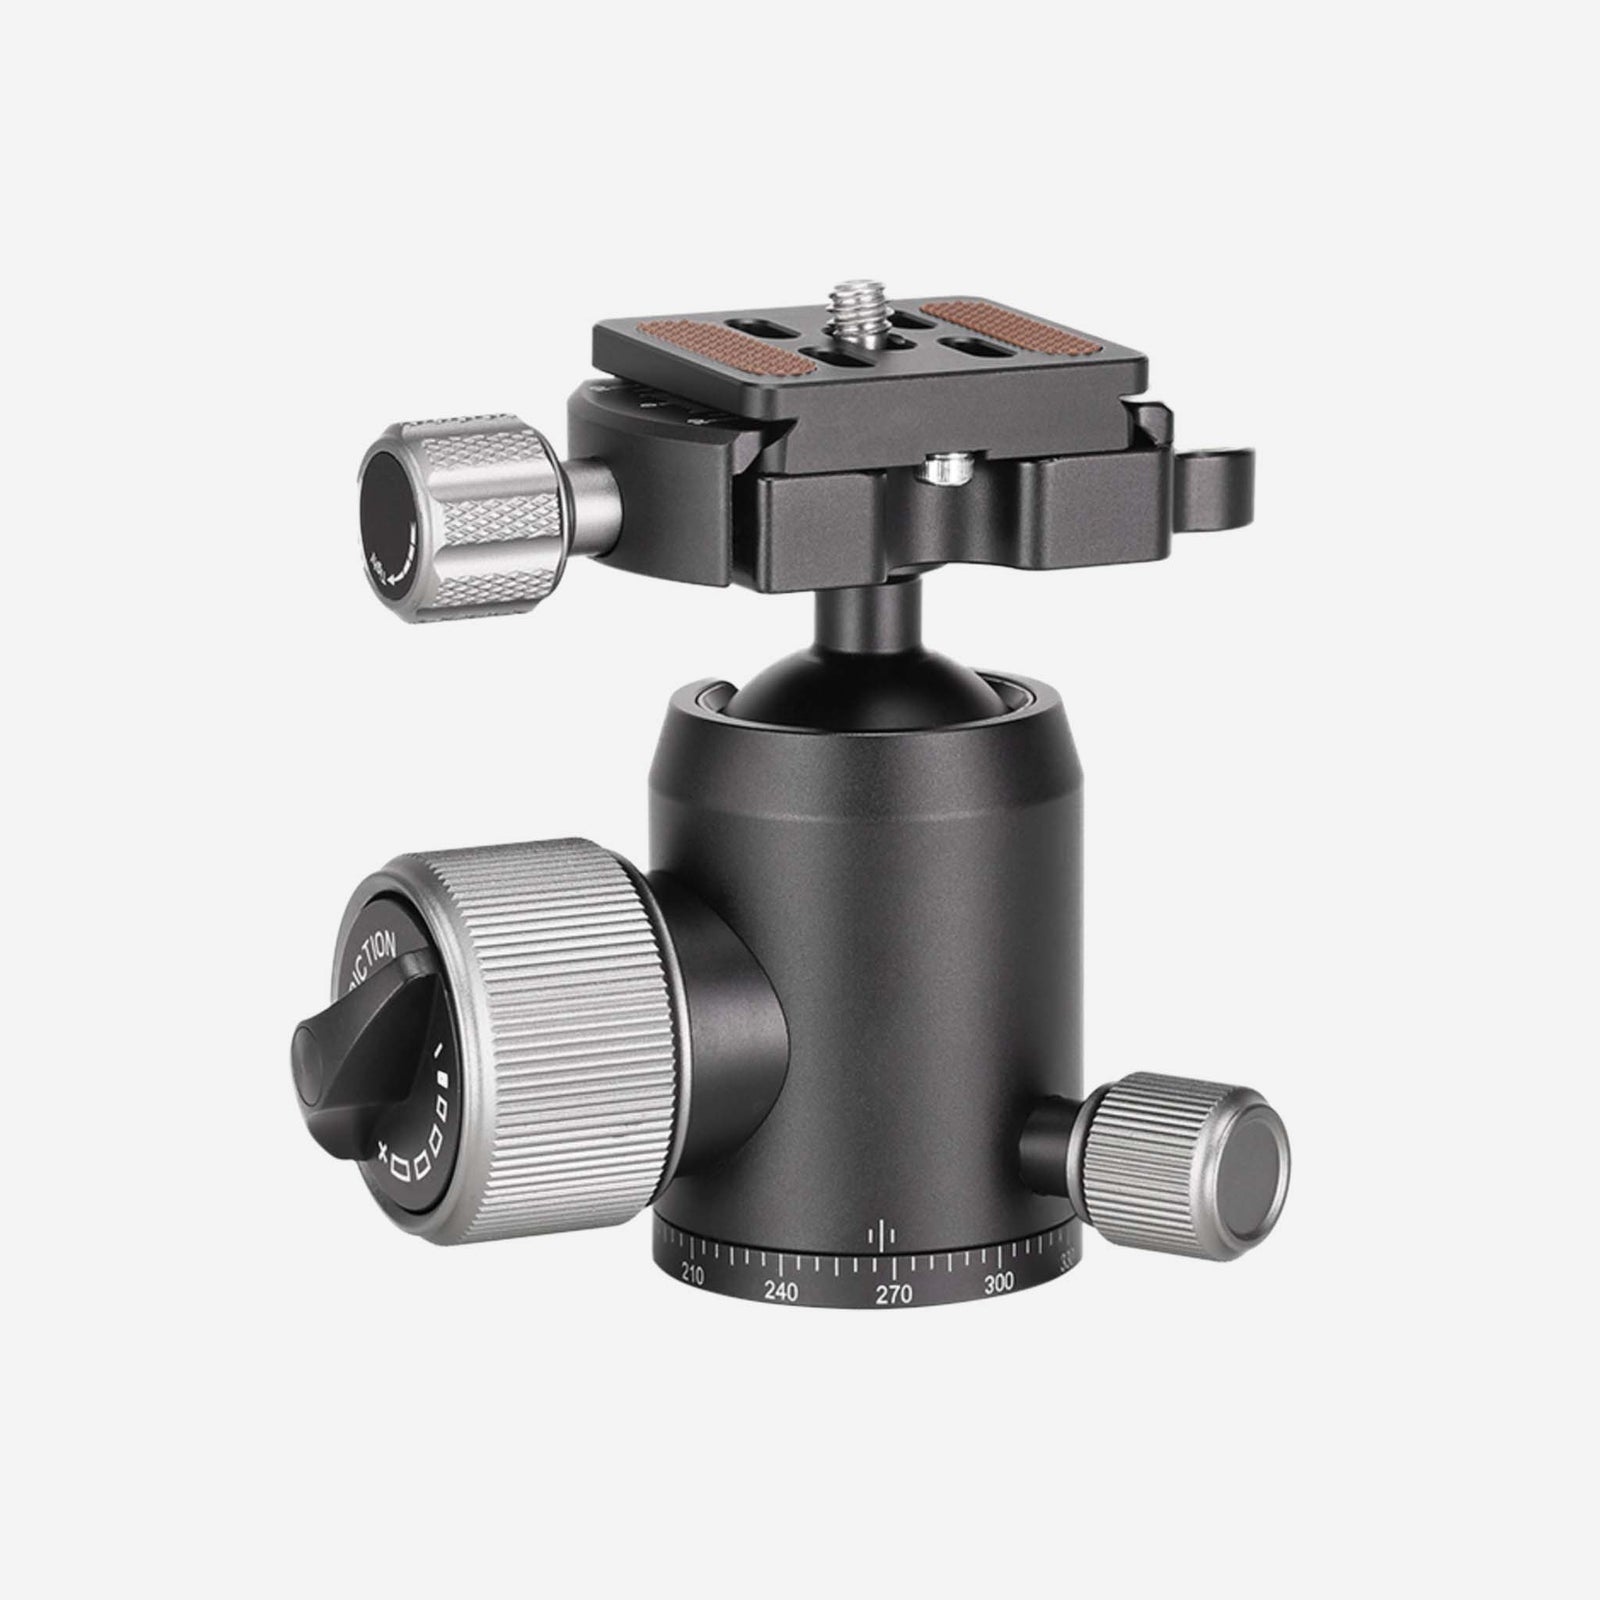
No grease or lubricants are needed to be added to the gear head. If any dirt, sand or dust are found on the gear head, simply wipe away with a cloth. If the ball head should get wet with seawater or dirty with mud, then wipe off with a wet cloth and dry thoroughly.
The ball head has a working temperature range of -30°C to 60°C. If the ball head is not used for an extended period of time, we recommend loosening all of the knobs prior to this. Whilst adjusting the ball head, we recommend keeping a hold of the camera to ensure its safety.
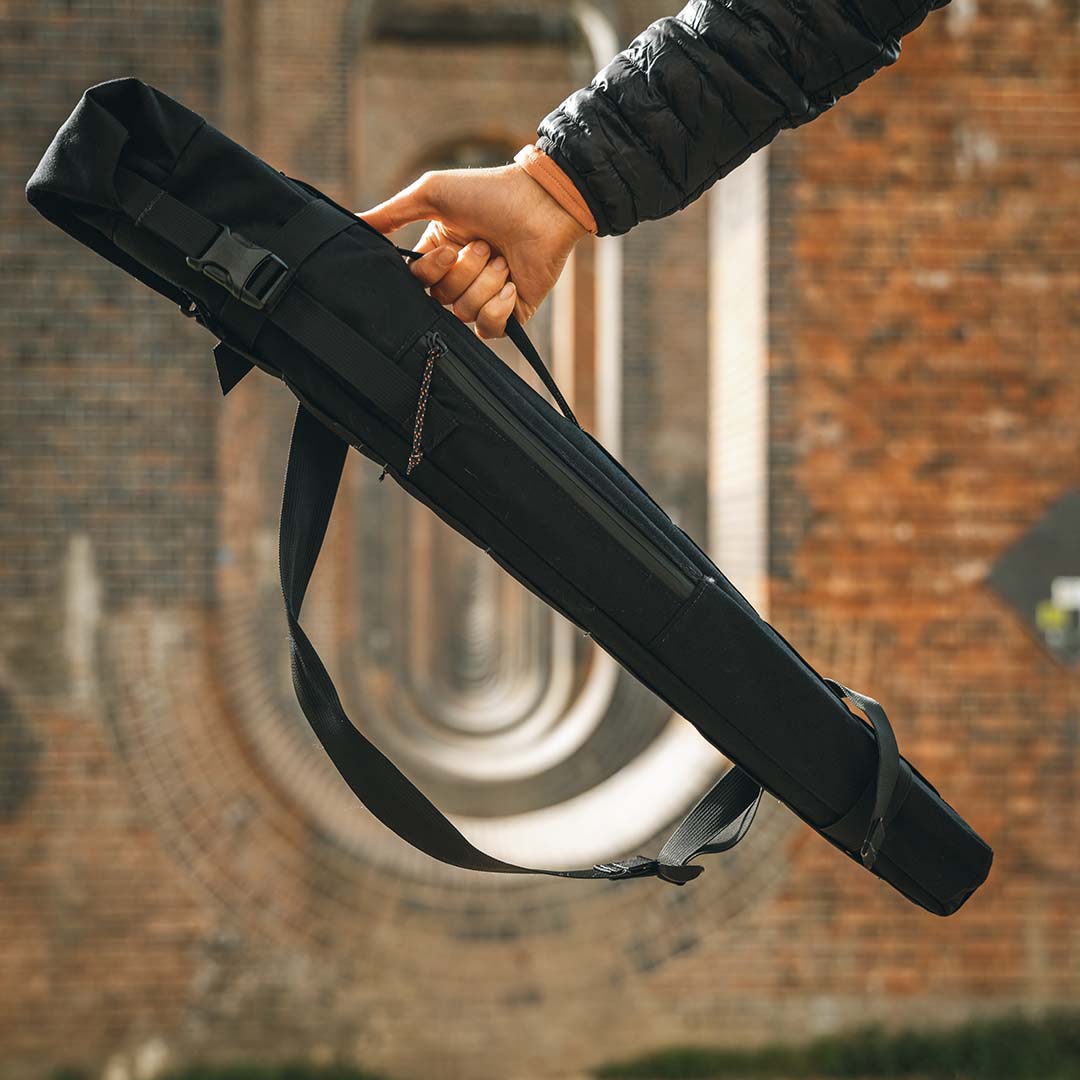
Our tripod bag has been specially designed by RedKettle for the Gearing tripod. This bag puts looks and functionality at the forefront, and features a rolled and clipped opening, a long strap for ease of transportation and is highly durable. Our tripod bag is the perfect partner for the adventure photographer.
Our heavy duty adapter is just that - heavy duty. It's pretty impossible to damage, but it's possible that one of the screws could come loose. The small grub screw that sits between the rubber gasket and the adapter is easily replaced, and comes fitted with loctite. The adapter is fully functional without this screw. The larger screw can be misplaced rather easily so make sure to keep a good eye on this. However, this can be easily replaced if lost.
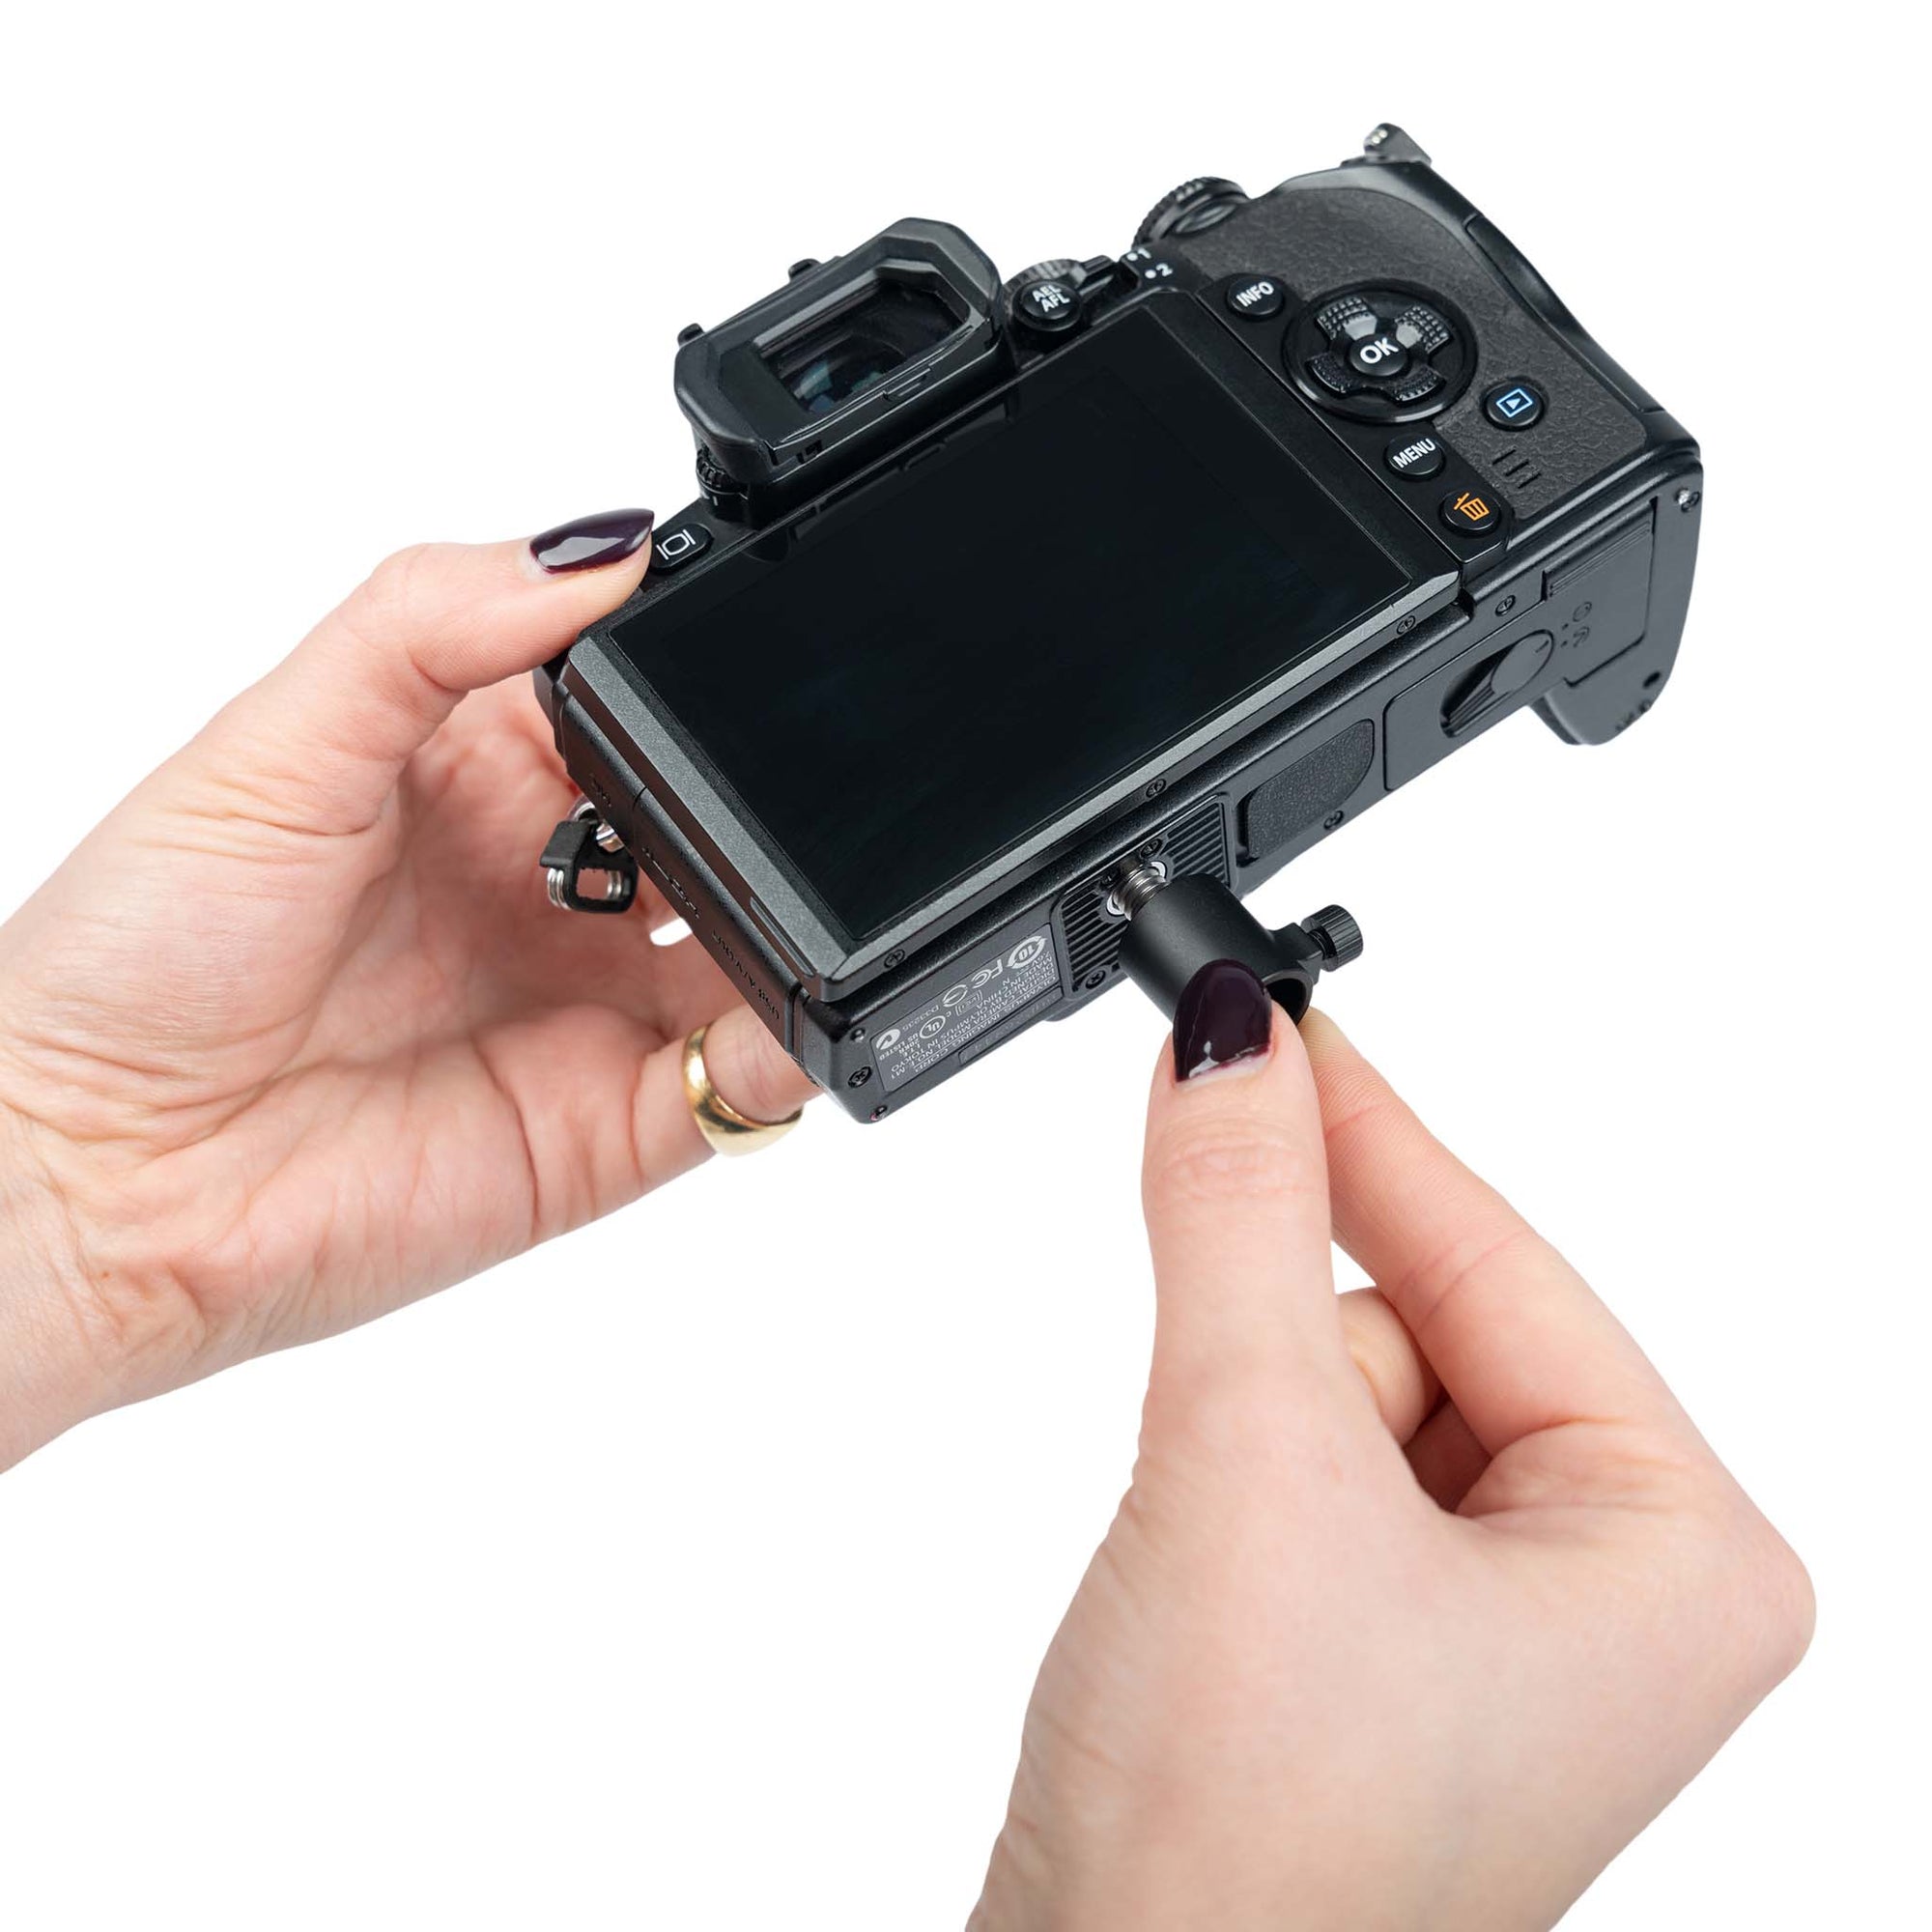
Our light duty adapter is the perfect adapter for your smaller cameras and spotting scopes. There isn't really anything to break, but it is a very small bit of kit that could be easy to lose. We recommend keeping it in a zipped pocket of your camera bag or tripod bag.
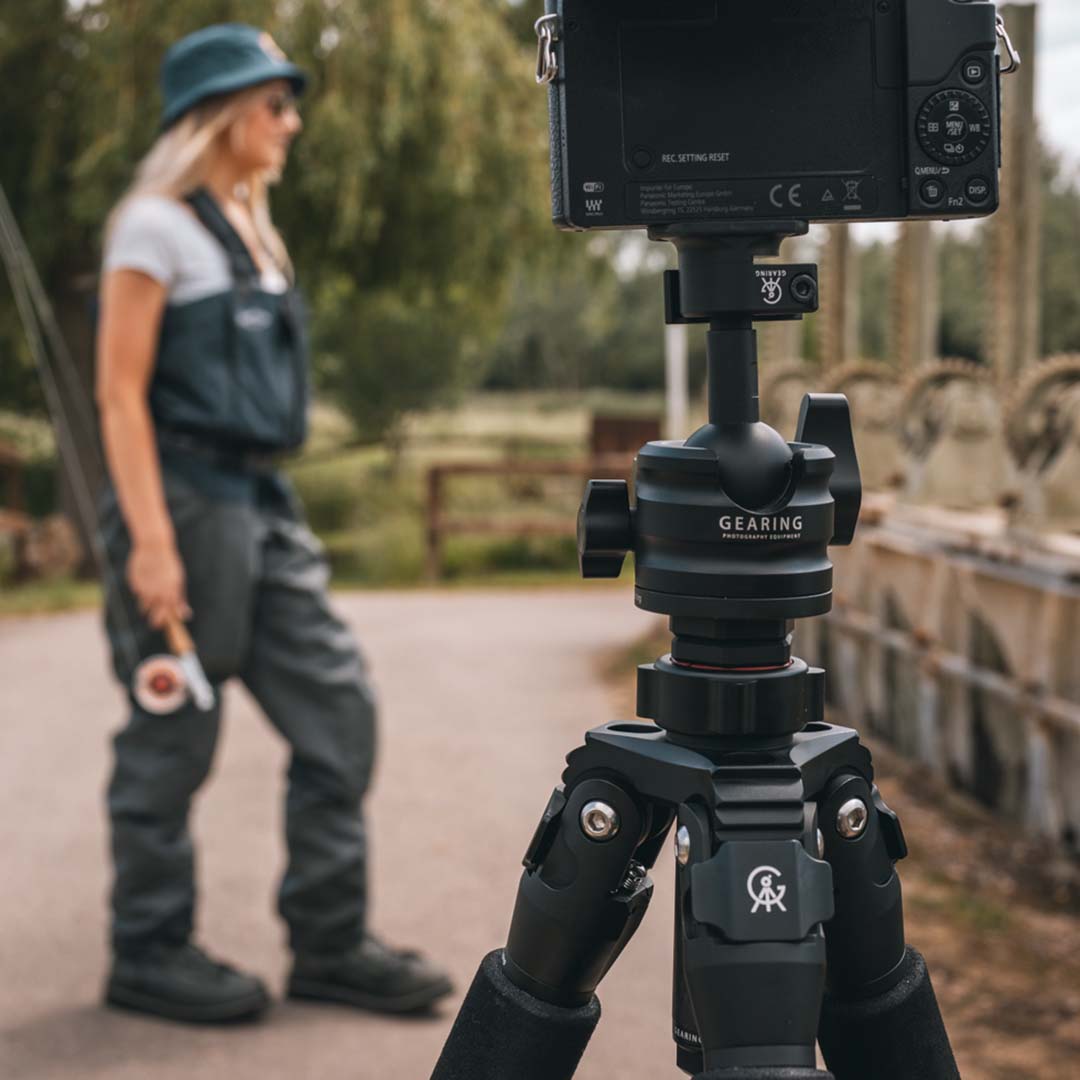
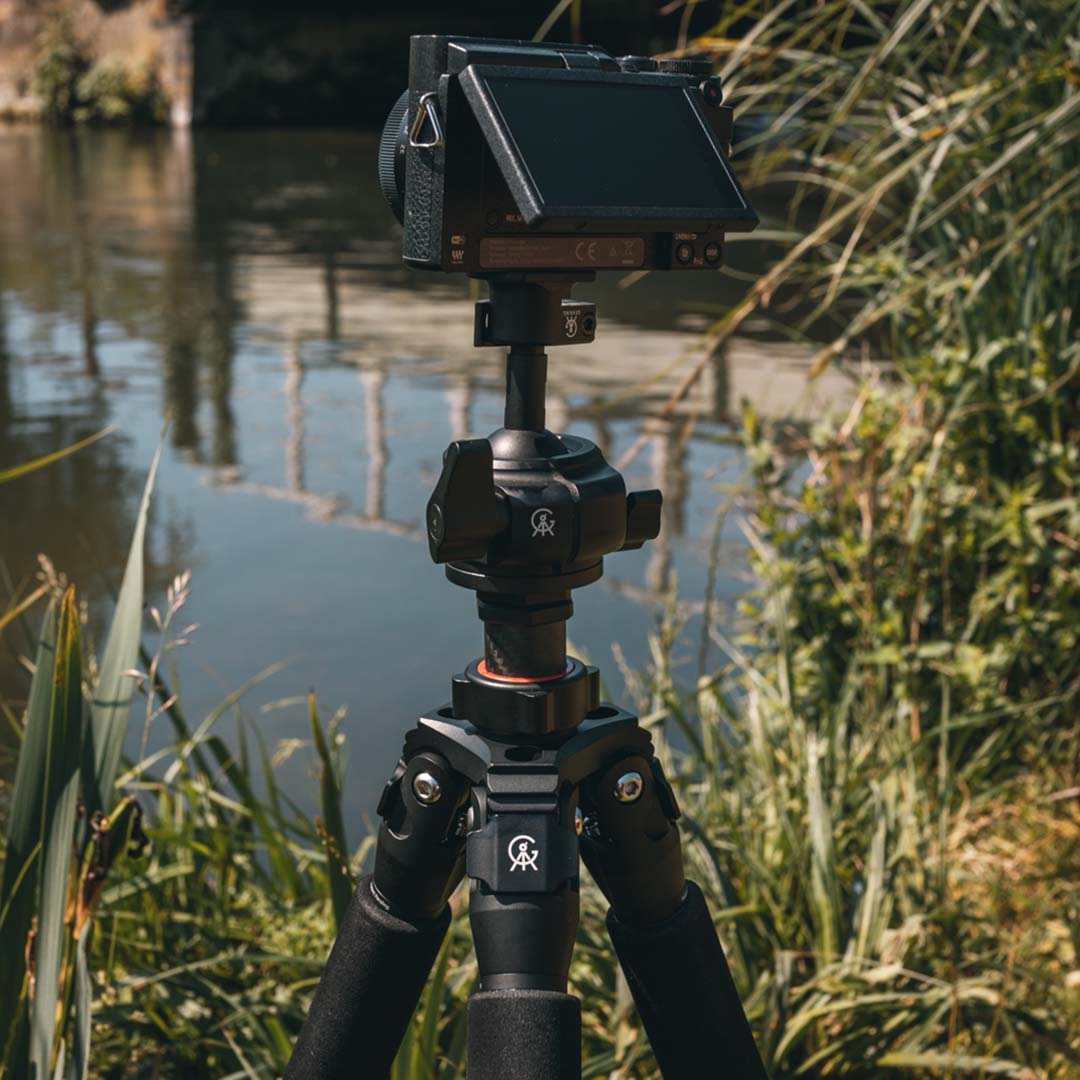
Our patented magnetic attachment system allows your camera to instantly attach to your Gearing tripod with ease and security. The ball head features both a ball tension knob and a pan tension knob, giving you a variety of angles as well as a strong locking mechanism, keeping your camera safe.
This little gadget allows you to carry your camera using the trekking pole handle and wrist strap. This handheld mode is perfect for those rapid on the go shots or even a selfie mode. This has threads that will need to be cleaned to ensure the connection to the trekking pole handle is not damaged. The Jakub connector is again rather small so it’s important you don’t lose this one!