


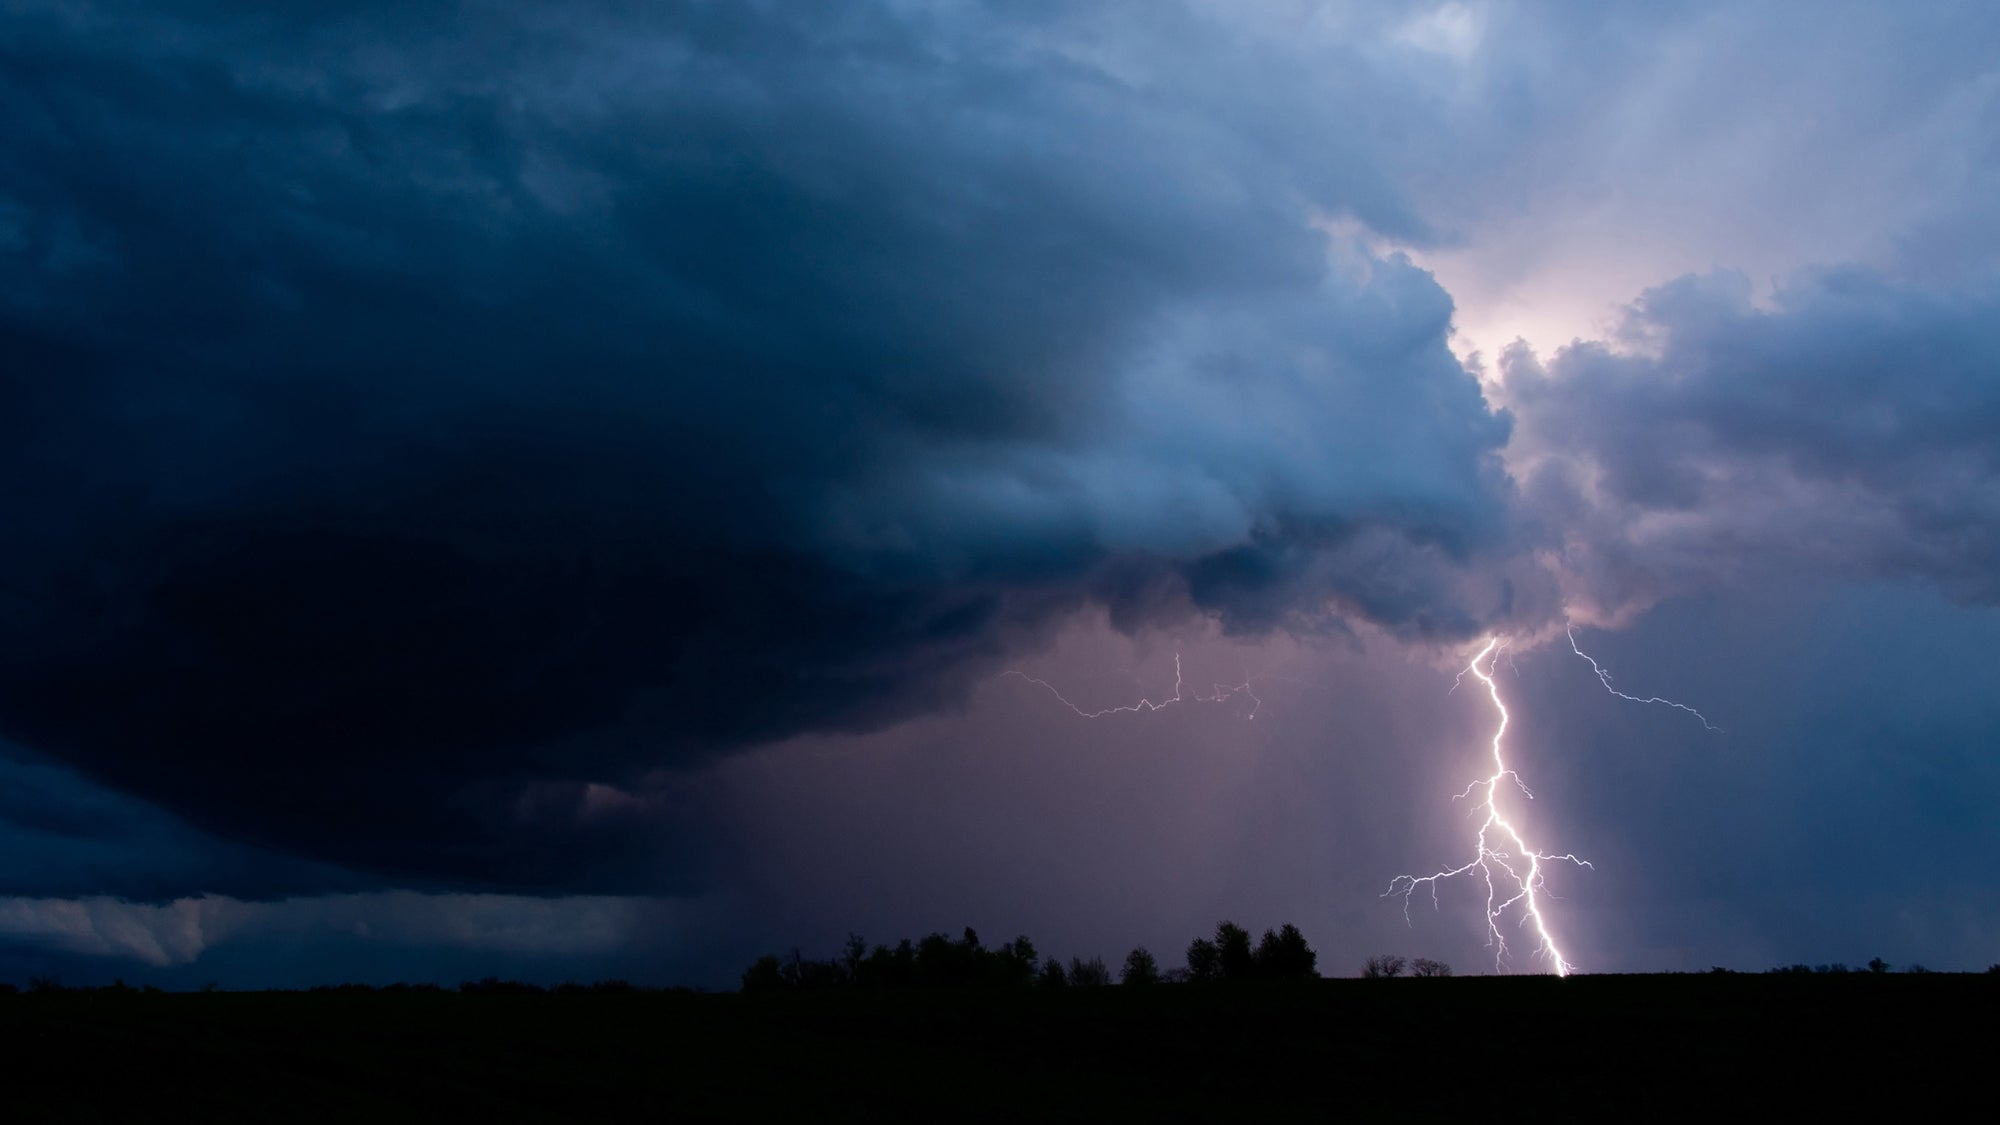
It appears to me that throughout and since the pandemic, there has been a real surge of nature photography, especially with people going to the extremes to reach their perfect image. Perhaps this was to counteract the mundanity of everyday life that we were stuck with for the past two years, but I was able to enjoy a real increase in storm photography and lightning photography. I guess with a huge lack of human encounters, people wanted to source some excitement from somewhere, and it had to come from the great outdoors. Thunderstorms produce some of the most incredible photography, really electrifying (sorry) photos that remind us of the power of nature and the respect it demands. Photographing them is a bit of skill, and there are some key things to note to ensure your images bring the flair you want them to.
Before I encourage you to head out in a lightning storm, there are definitely some major safety points to remember. Although you have a 1/500,000 chance of being struck by lightning, if you are going out looking for it your chance significantly increases. A rule to remember is that if you can hear thunder, you are at risk of being struck. Trust your gut, and if you don’t feel safe then leave. You should avoid very open spaces, as well as very tall objects. If you are standing next to a tree for example, lightning can go right through it, travel along the ground and hit you. Never, ever be near the tallest thing on the ground.
Rain is pretty common with thunder and lightning storms, so it's important to protect your camera gear. Back in our Christmas Gift Guide blog, we recommended the Aquapac Waterproof Camera Case, and we’re here to tell you again. It is a wholly worth it product, keeping your camera dry whilst giving you full control.
One nifty bit of kit that you cannot go without whilst photographing lightning is a lightning trigger. Lightning bolts can come and go before you have processed what you have seen. A lightning trigger removes the possibility of human error and our mental speed missing the shot, and takes it for you. The shutter is activated by a lightning bolt - you can then decide the shutter speed and overall composition of your image. It is also a much safer option for any lightning photographers out there. Simply set up your camera, attach your lightning trigger and head for cover.
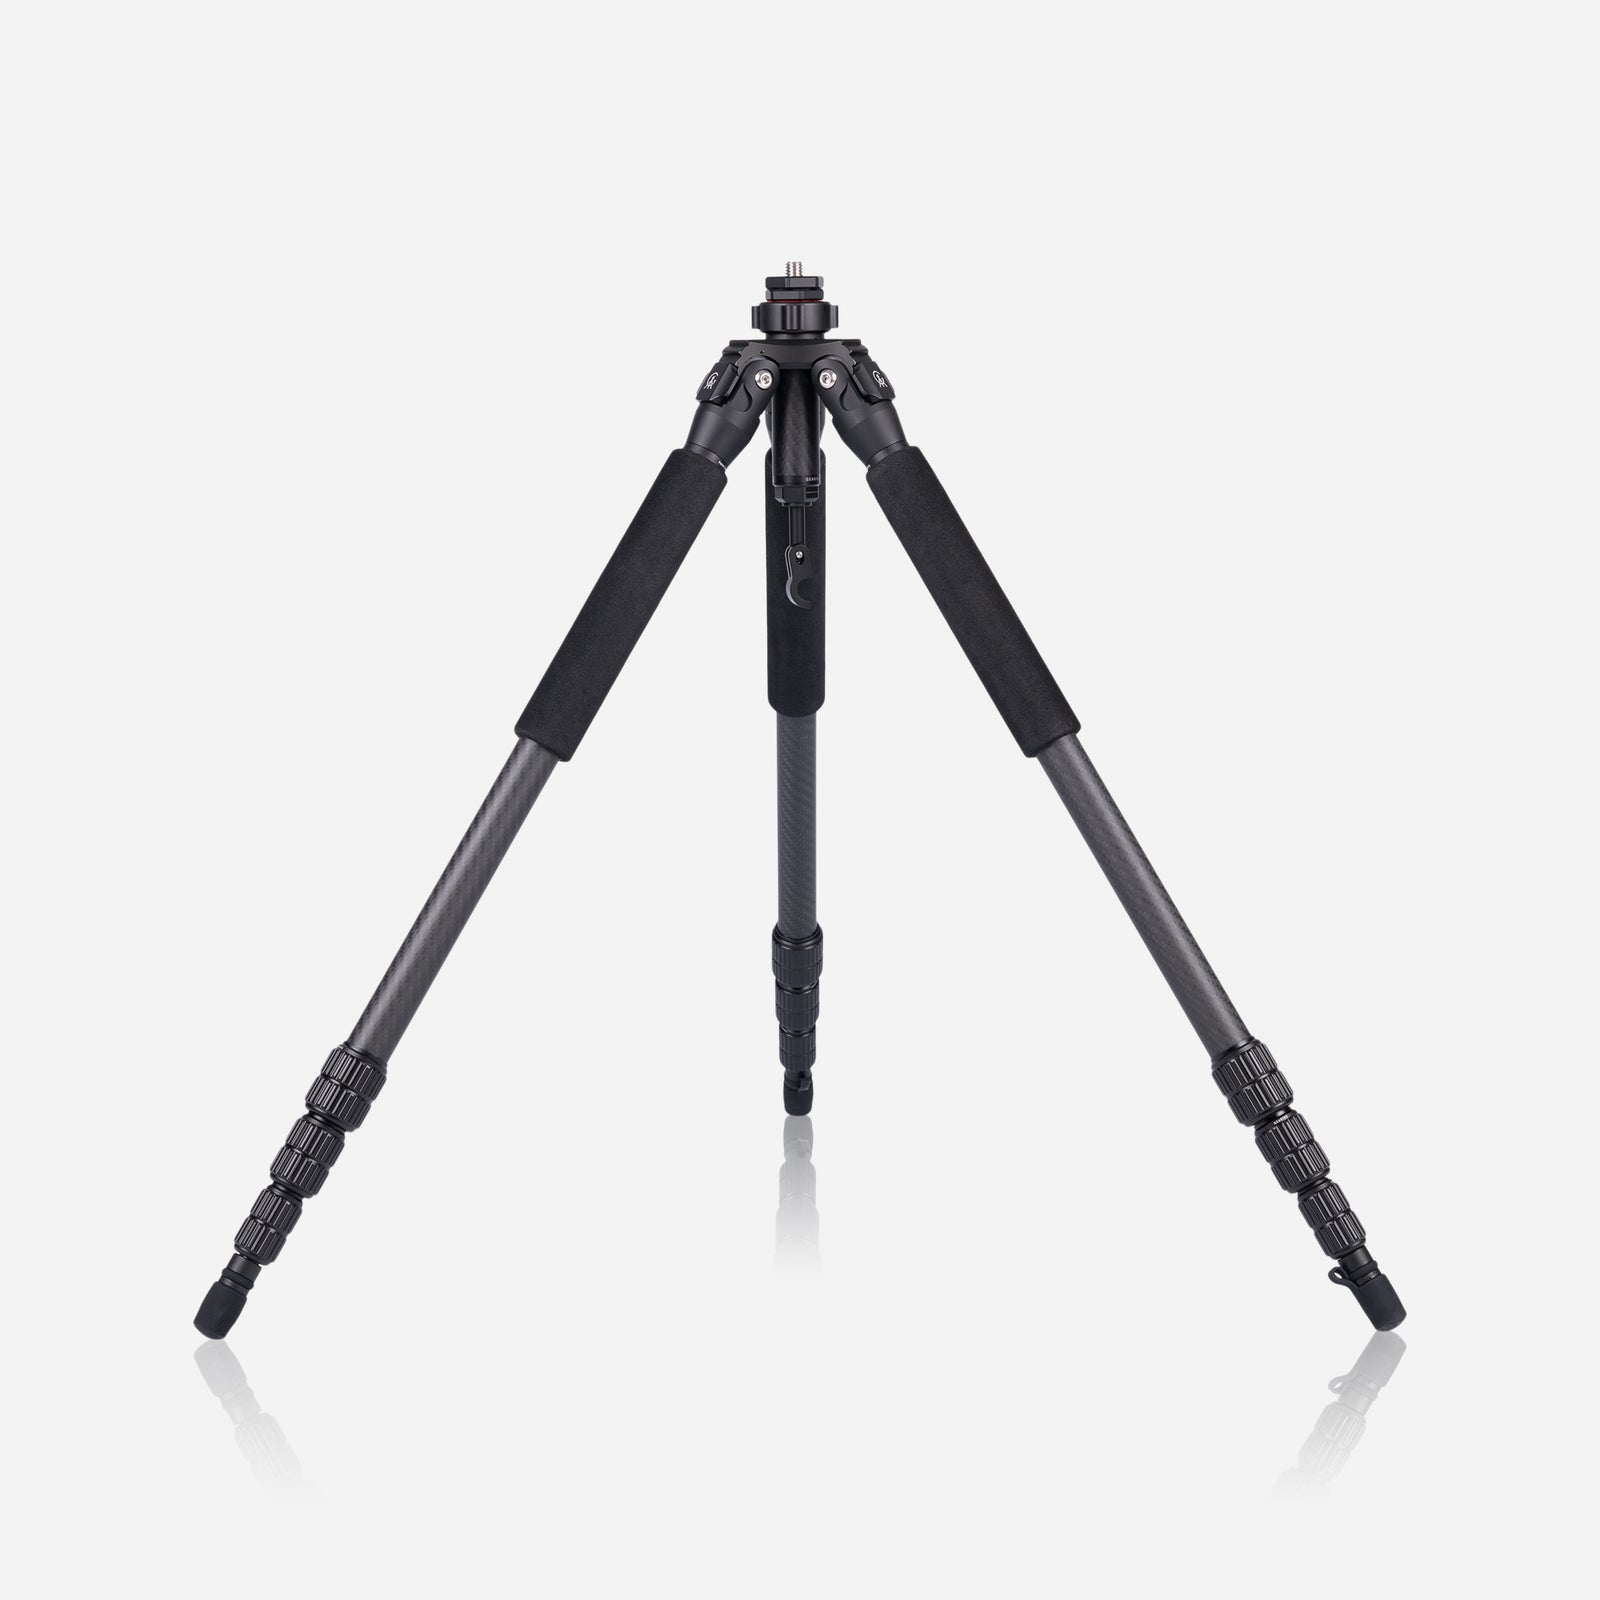
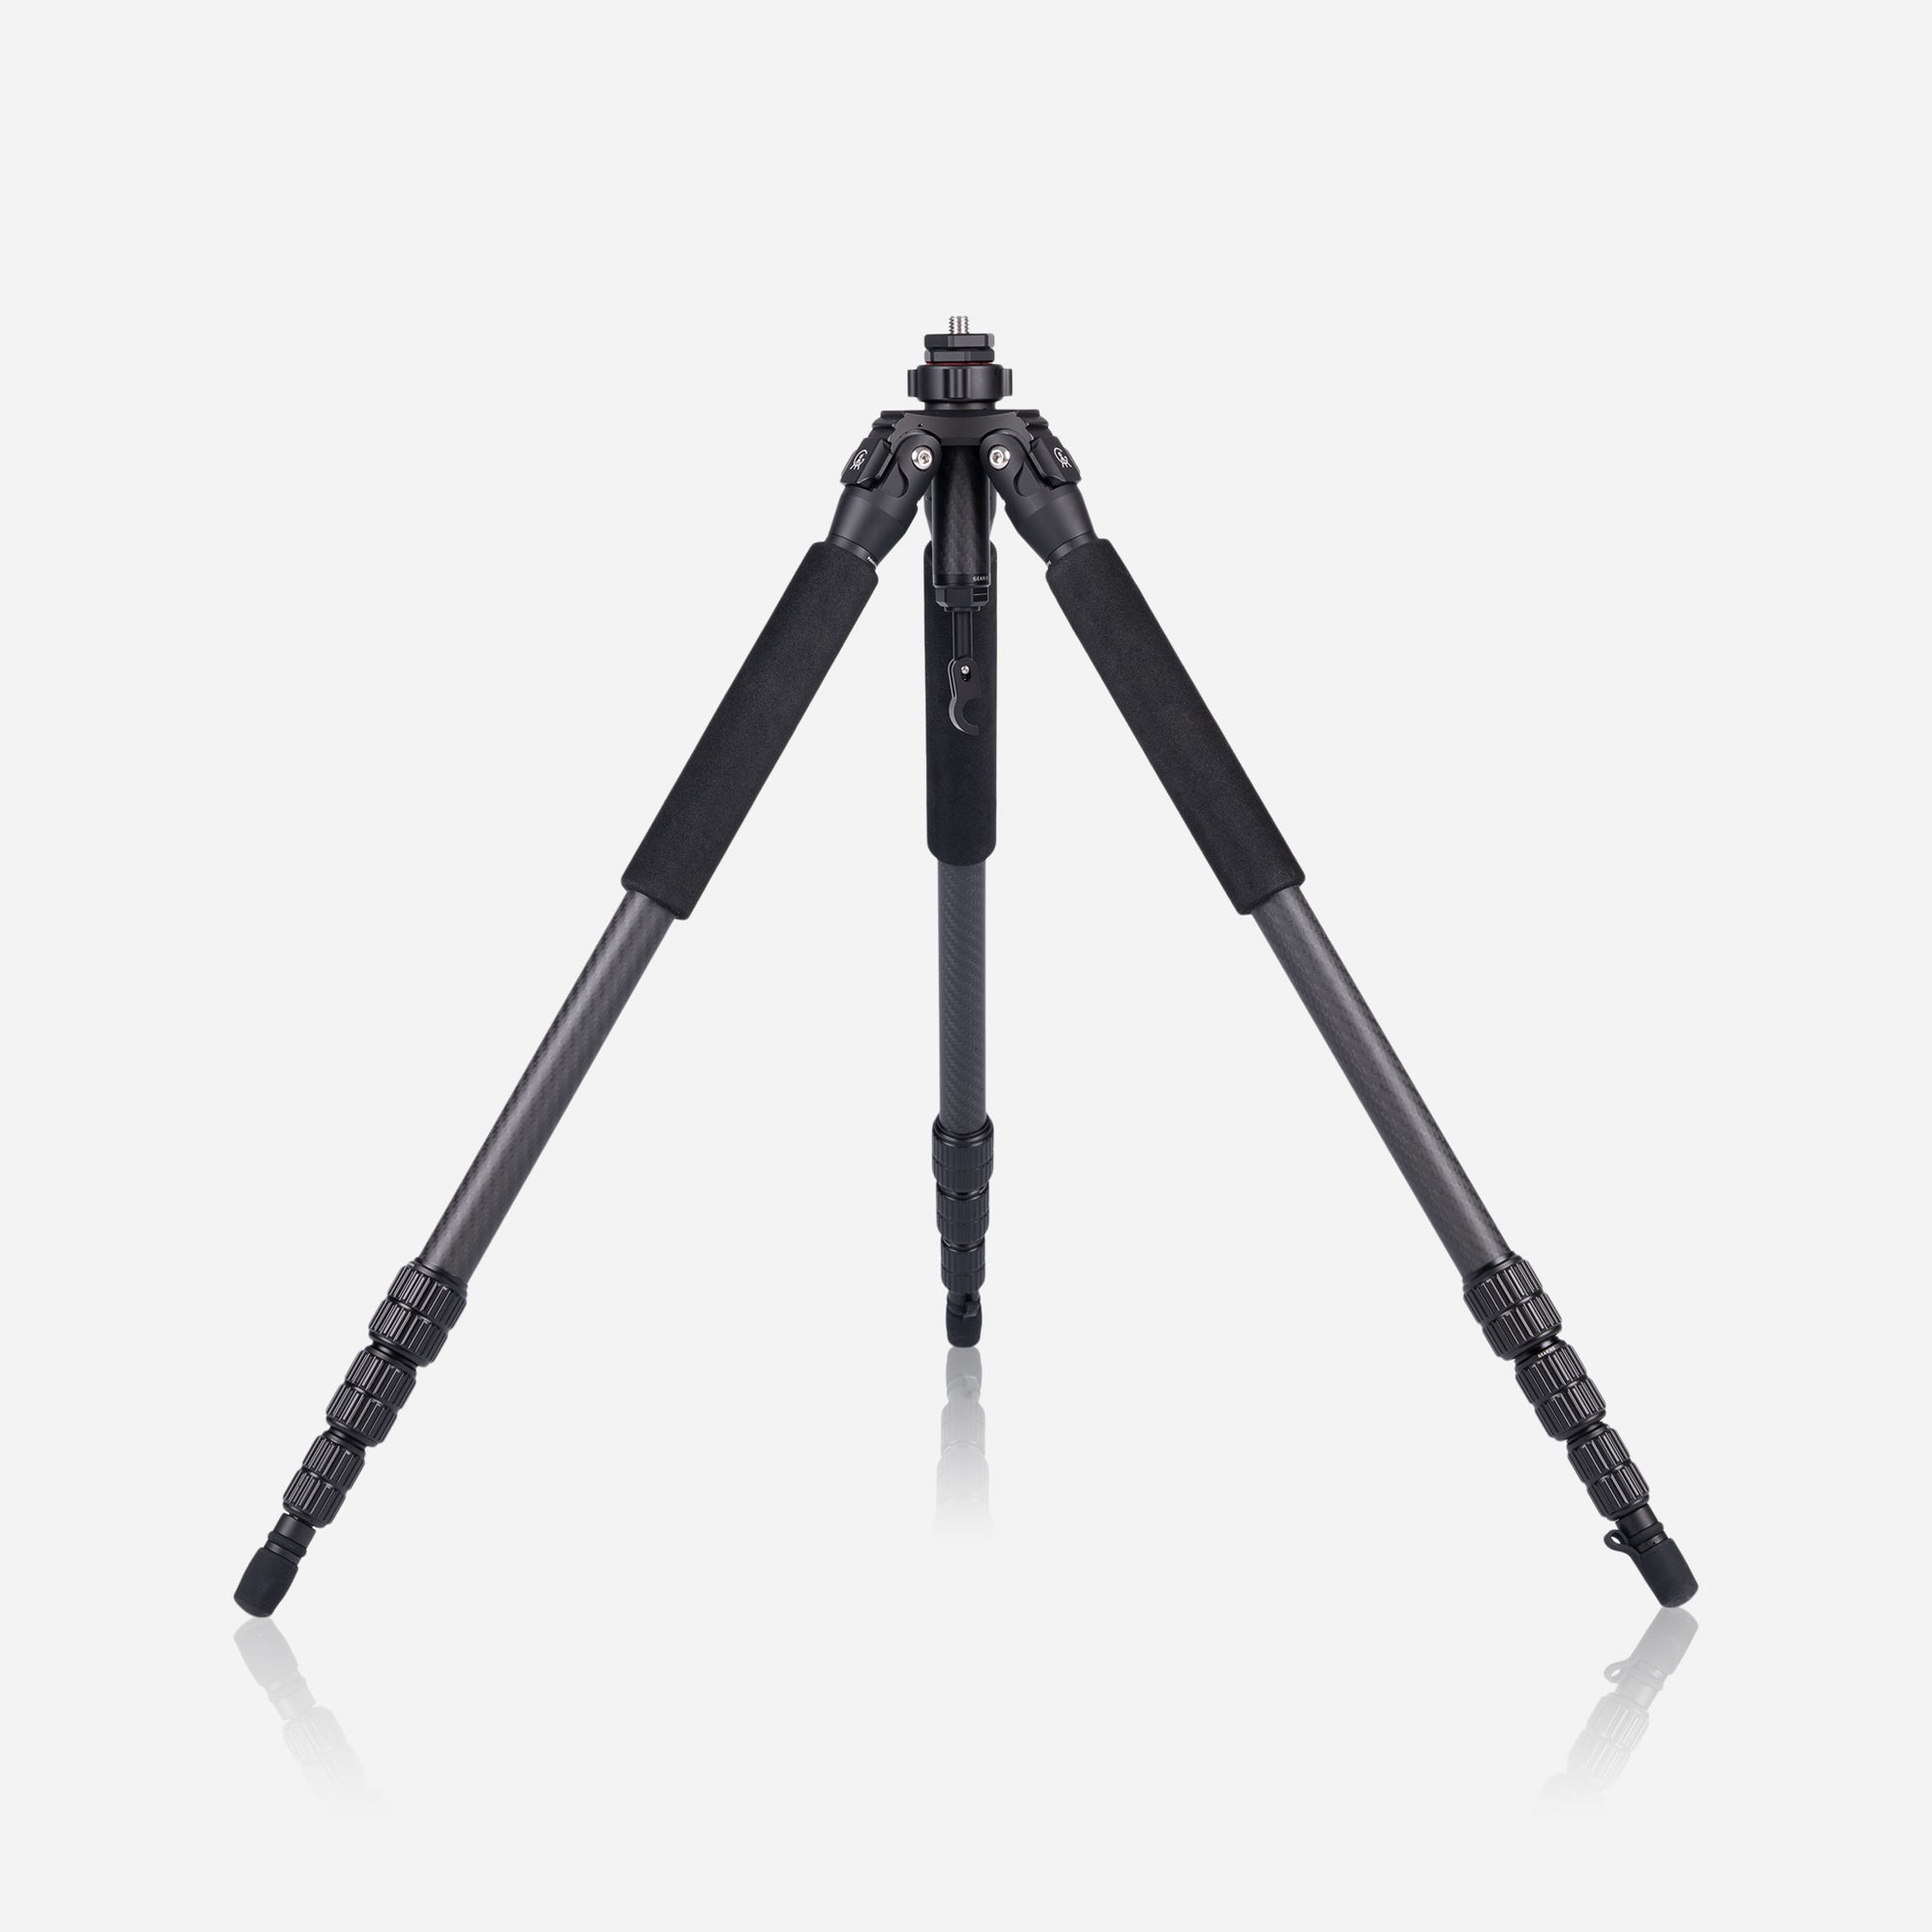
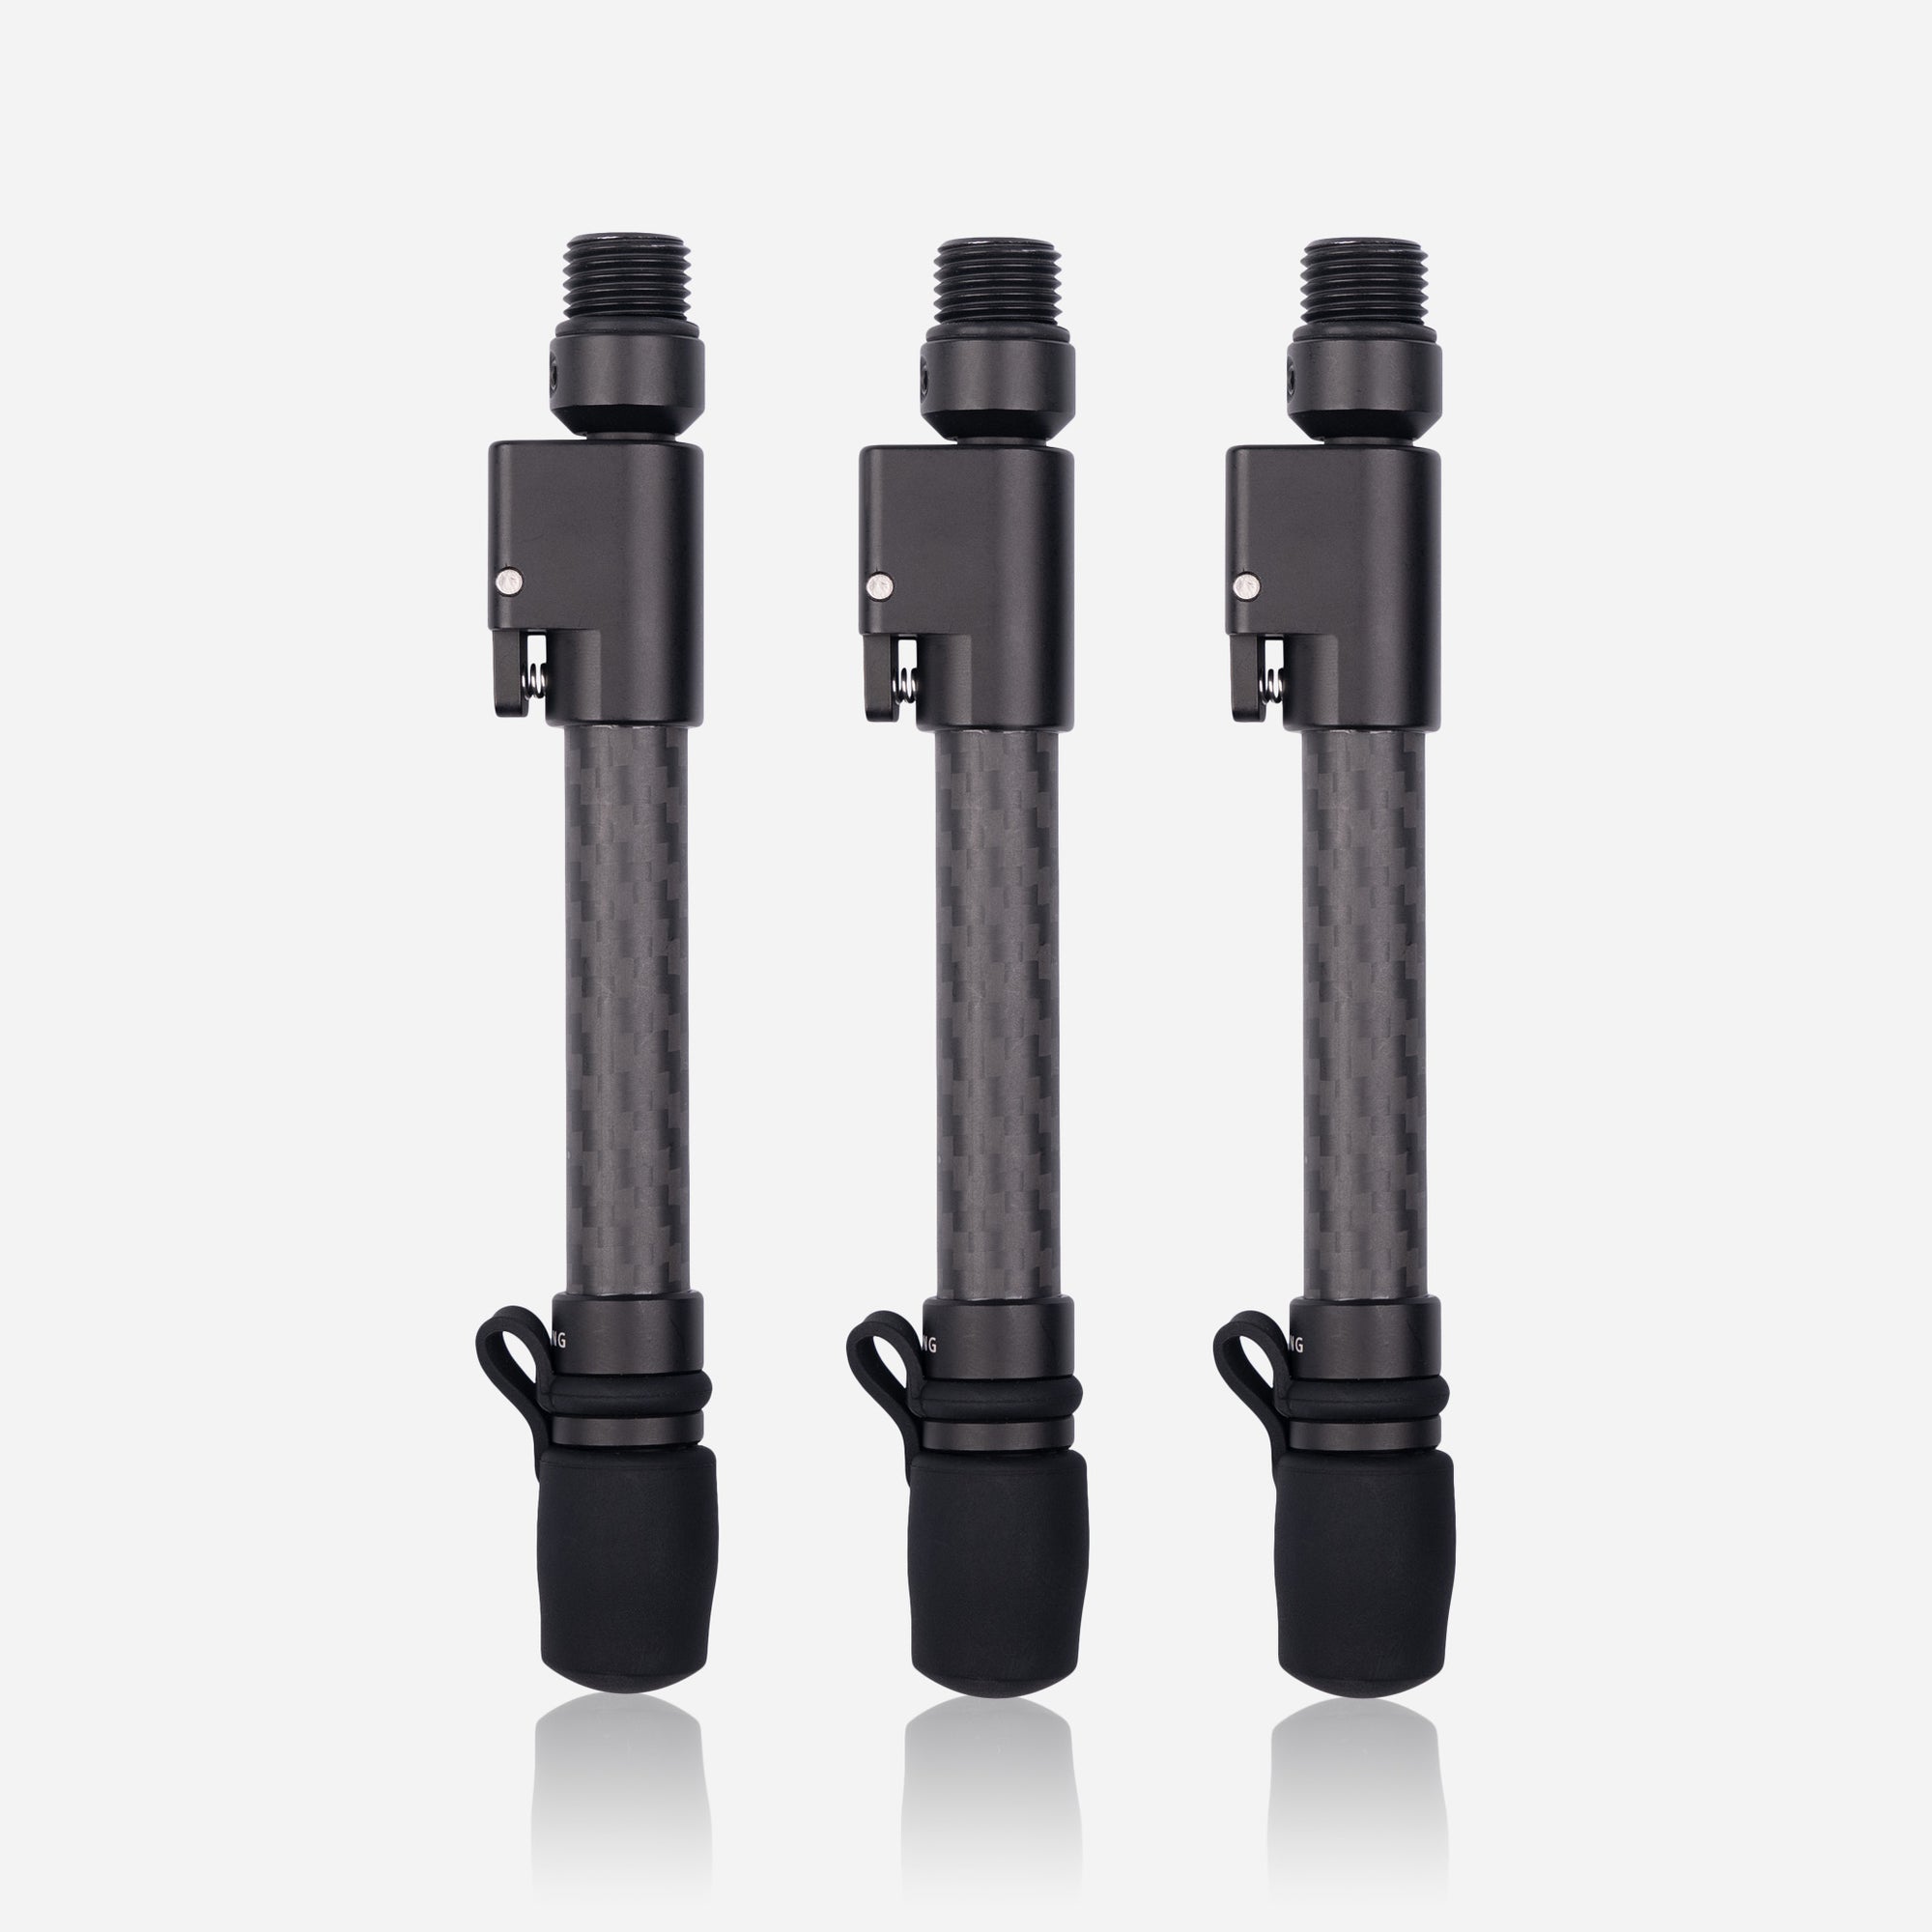
You know by now that if we’re writing a photography ‘how to’ blog post, we are going to mention the Gearing Company. And why wouldn't we - if we have a product that works perfectly for the task at hand, then we want to be able to help you achieve it with whatever we can. There is no point in even heading out into a storm if you haven’t got a tripod with you. To capture the entire lightning bolt, you need a slower shutter speed, which a human hand cannot provide the stability for, especially not in the presence of a storm. To ensure maximum stability, it would be best to attach a weight to the hook of the centre column. With a maximum payload of 20kg, you can add as much weight as you need to your Gearing tripod with the comfort that it can happily take the strain, keeping your camera safe and stable.
Now for the set up and setting. There are really three main options when it comes to time for your lightning - daytime, nighttime, sunrise and sunset. The most common time is at night for storms, and the contrast of the lightning against a black sky is really beautiful and bold. Daytime can be an interesting change, as you get to see the clouds more clearly as well as the unusual colours of the sky that a daytime storm brings. A white or grey sky can become filled with dark purple clouds, and adds another dimension with the flash of the lightning bolt. Finally, an orange sky is a spectacular setting. A sunset or sunrise storm is a real rarity, but if you get the opportunity to photograph one I highly recommend it - please show us your photos if you do! Almost all thunderstorms produce rainfall - it is needed to generate the storm. If you are in the centre of the storm, you can find yourself in too much rain and it can ruin the photos. For maximum clarity in your images, you want to be positioned on the edge of the storm. That way, you will stay as dry as possible, and the rain won't affect your shots.
It is imperative that you shoot in RAW instead of JPEG. It can be really difficult to get the balance right when shooting lightning - it is often over exposed as you can not give the lightning enough credit for the brightness it will bring to the photo. If you shoot in RAW, you give yourself the option to edit much more afterwards. For your focus, you want to have your lens set on infinity. This sounds like a bit of an abstract construct, and is one that we haven't touched on before. All it means is that every single thing in frame will be in focus, rather than having a narrow depth of field. It is a good trick to use in landscape photography, as well as at night. You also need your ISO to be on the lowest it can go. These settings are necessary for both daytime and nighttime storms. However, with your aperture, you want the lens to be on f16 at the most during the day, but take it down to f8 at the most during the night. This will give you a longer shutter speed in both settings, which will help you capture more of the thunderstorm. Before you begin shooting, take a test shot with your current set up and see if you are happy with the results. You can tweak them - the results will be more unpredictable at night. When it is dark you can use a camera shutter speed between 5 and 20 seconds, to get as much of the lightning in as possible.
As we always say, the best way to improve is to get out in the field and try things out yourself. After a few go's, you'll get the hang of what exposure you are looking for, and you can really dramatise your photos in post production. You will also learn the exact position you are looking to shoot from, as well as exactly where you want to photograph. If you get any thunderstorm photos with your Gearing tripod, please send them to us! We love seeing what you are able to produce with Gearing.