


Portrait photography is the one area of photography that always terrified me. The inability to hide, the depth of knowledge about your camera that you need, coupled with the oversaturation of the market meant that I never dared to stray towards it. Since joining the Gearing Company in April, with the snippets of information that I pick up every day, I have found myself nudging towards the dreaded portrait, allowing myself to be interested. I thought that coming into this specific sphere as such a beginner, I could share some of what I have learned, and hopefully help some of you too.
My first recommendation would be if you haven’t got a professional camera, to invest in one. Although mobile phone cameras have improved exponentially over recent years, they still aren’t up to the mark of a DSLR. The control that a professional camera gives you over every part of the end image is unparalleled and therefore an absolute necessity. After a lot of practice, you should be able to remove all of the preset controls on your camera and manually adjust to get your perfect shot. But for now, there's no shame in using the suggested controls for portrait photography.

Lighting is arguably the most important part of portrait photography, in which you can convey the strongest emotion. A dimly lit indoor photo, or a golden hour snap in a field - the lighting tells the story. A lot of people find the greatest confidence in a particular lighting style, so make sure you give it a go both inside ad out. One continuous light source provides the best lighting in my opinion, so this is something to take into consideration when shooting indoors. Getting set up with professional lights doesn't have to cost you an arm and a leg - you can find them for £40 - and this will make a huge difference to your results. When shooting outside, it is best to avoid super direct sunlight, or photographing at the sun's peak. This can really affect the outcome of your photos, adding in strange shadows and flattening skin tones. We wouldn’t be two basic girls in the photography industry if we didn’t tell you to get out and enjoy golden hour. That hour or so before sunrise and before sunset creates the most stunning golden glow on everything the light touches. Everything looks so beautiful at this time, so it can be a great place to begin taking portraits.
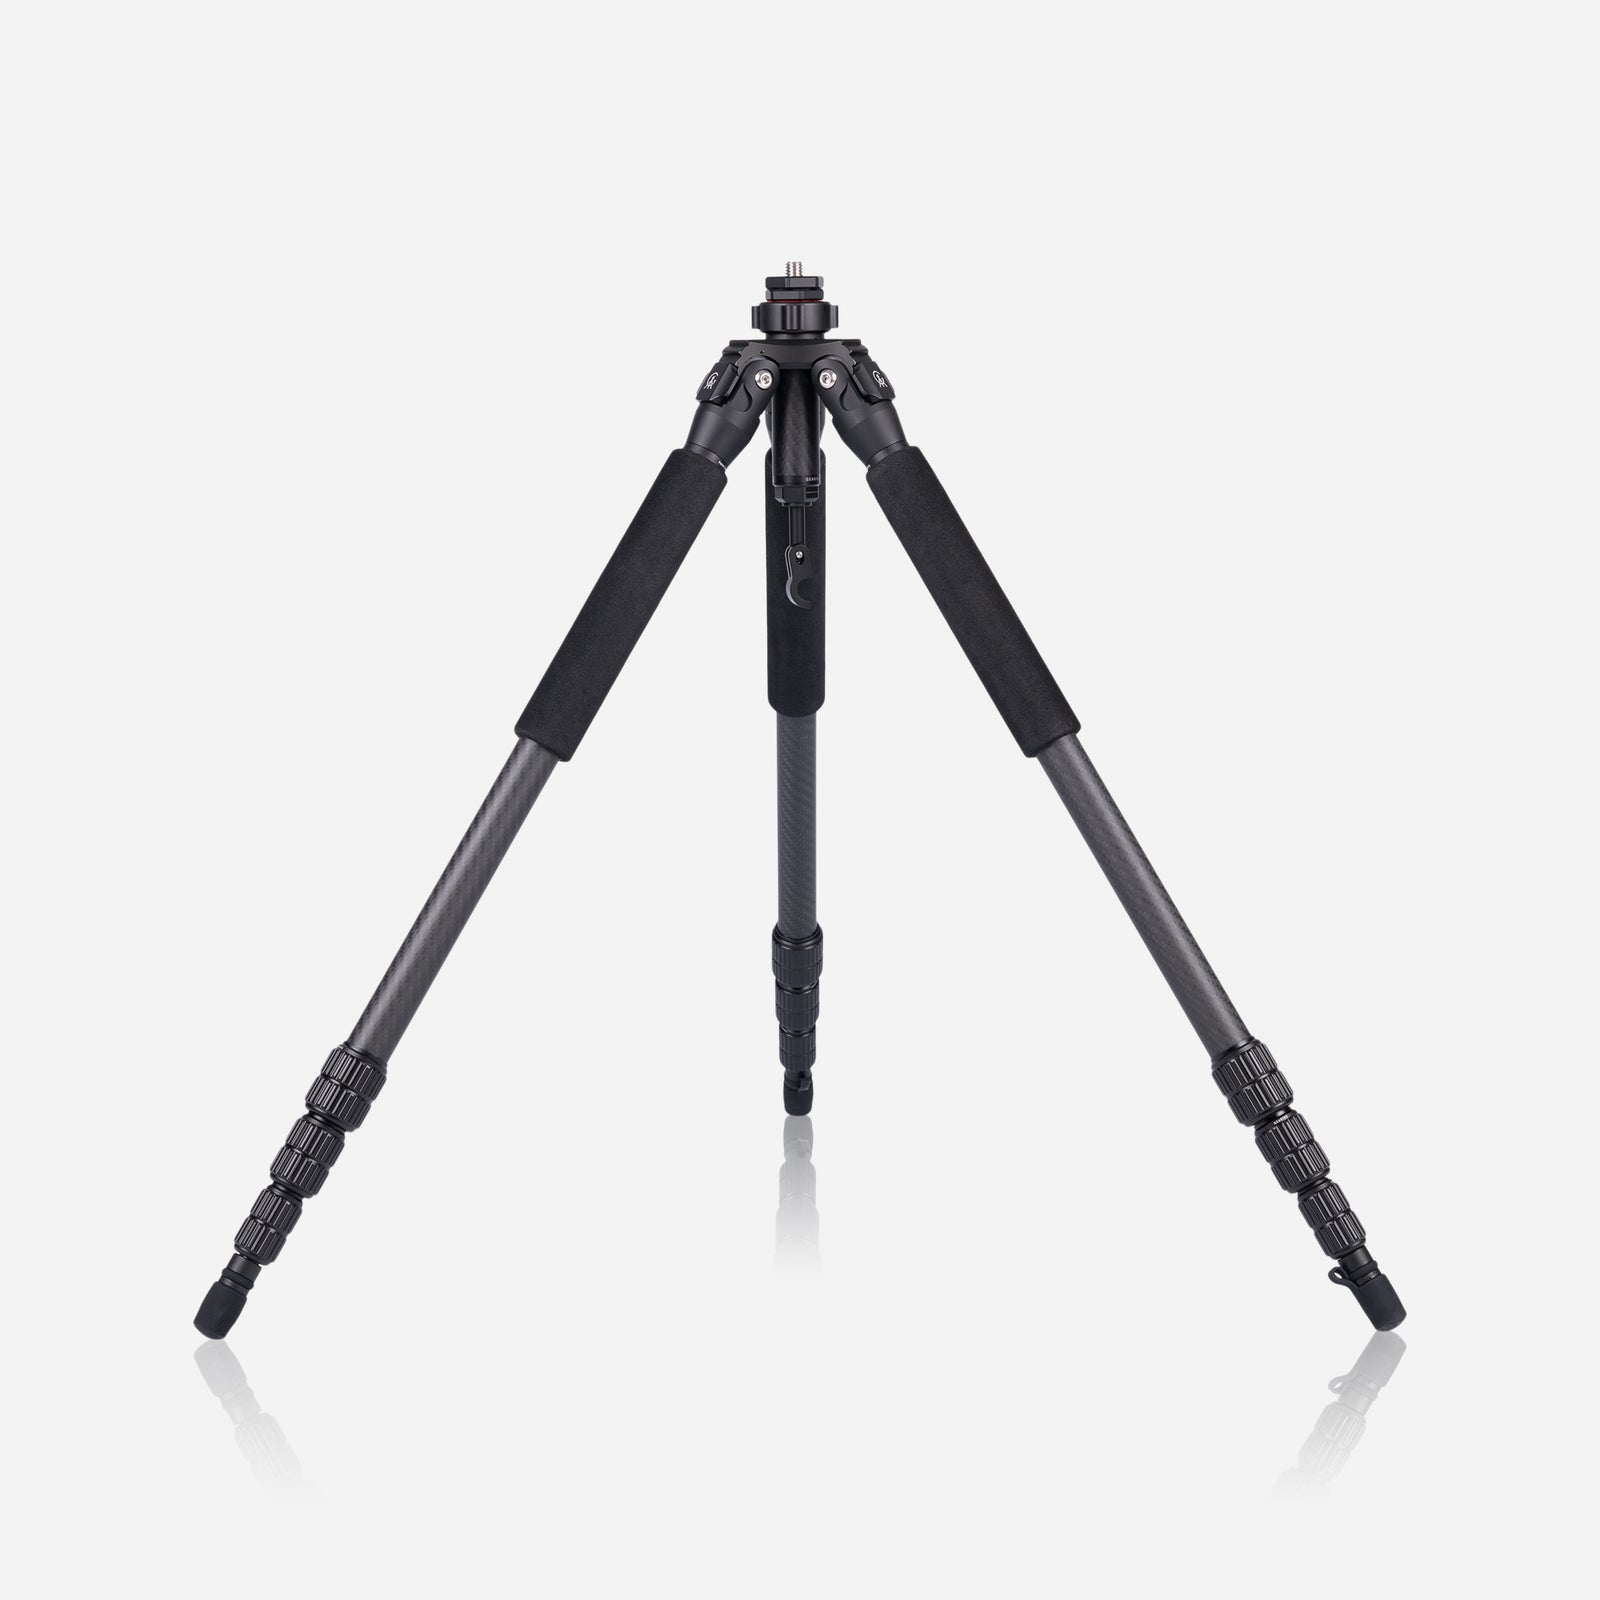
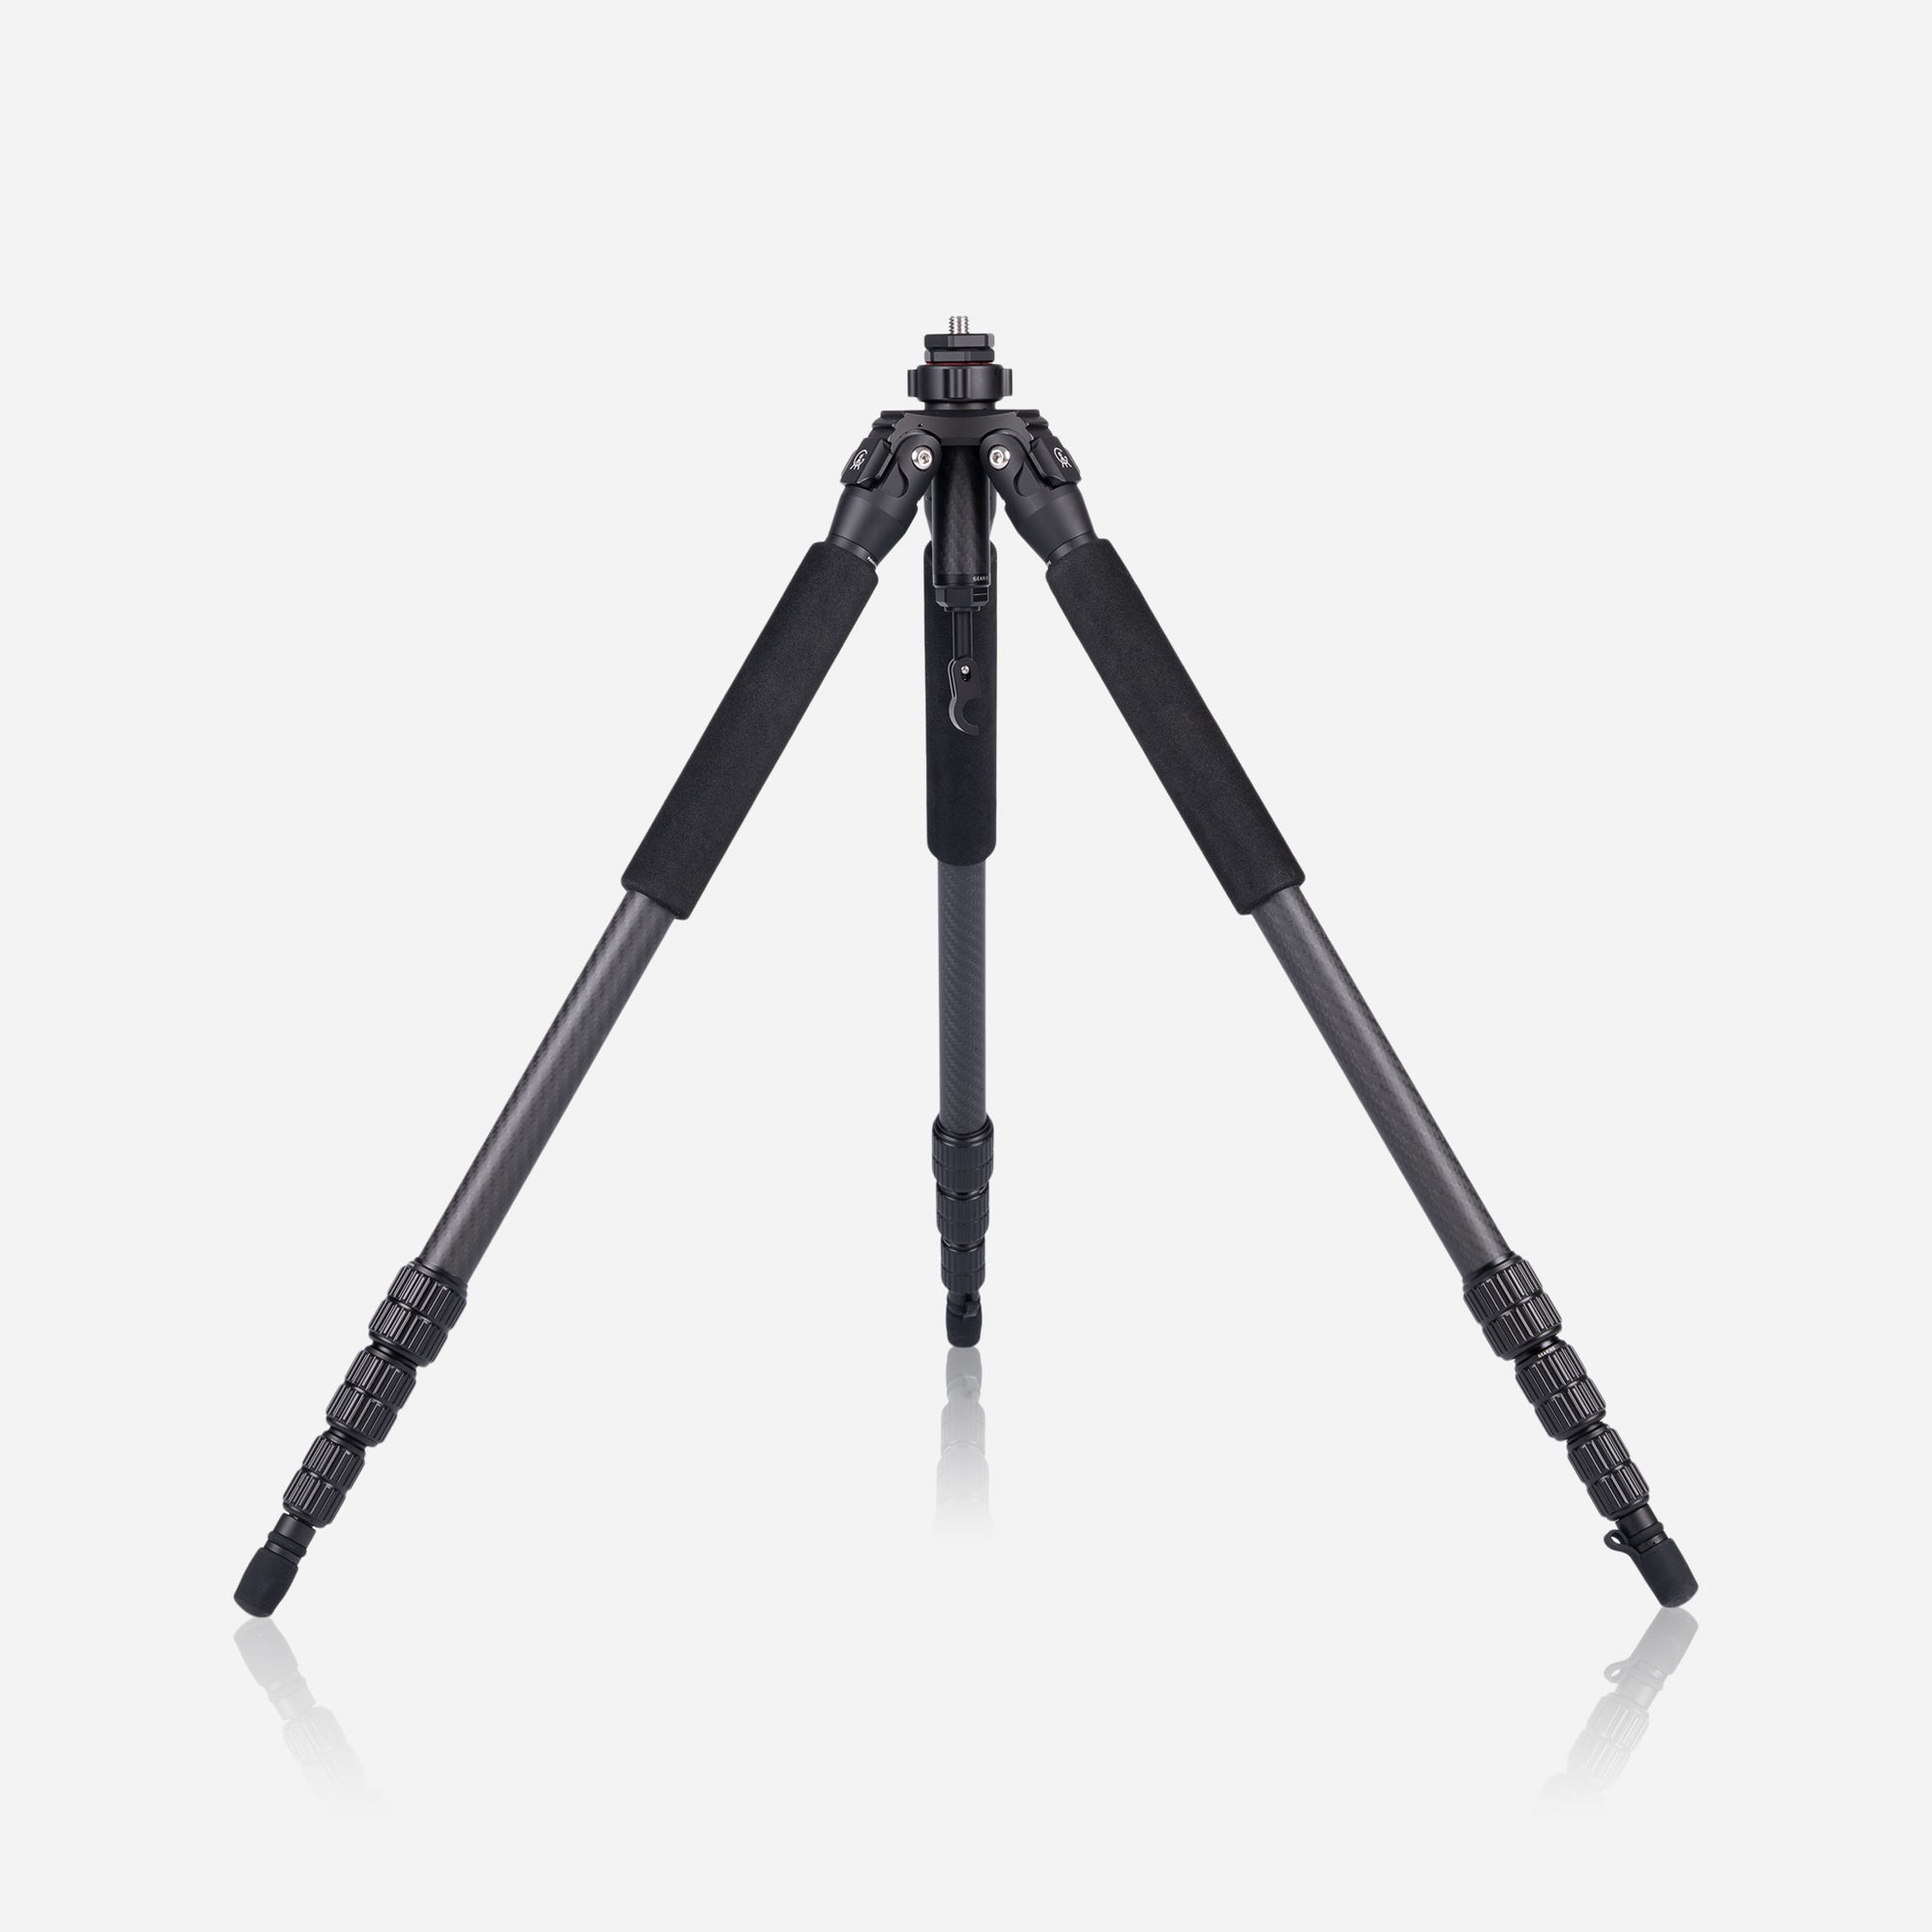
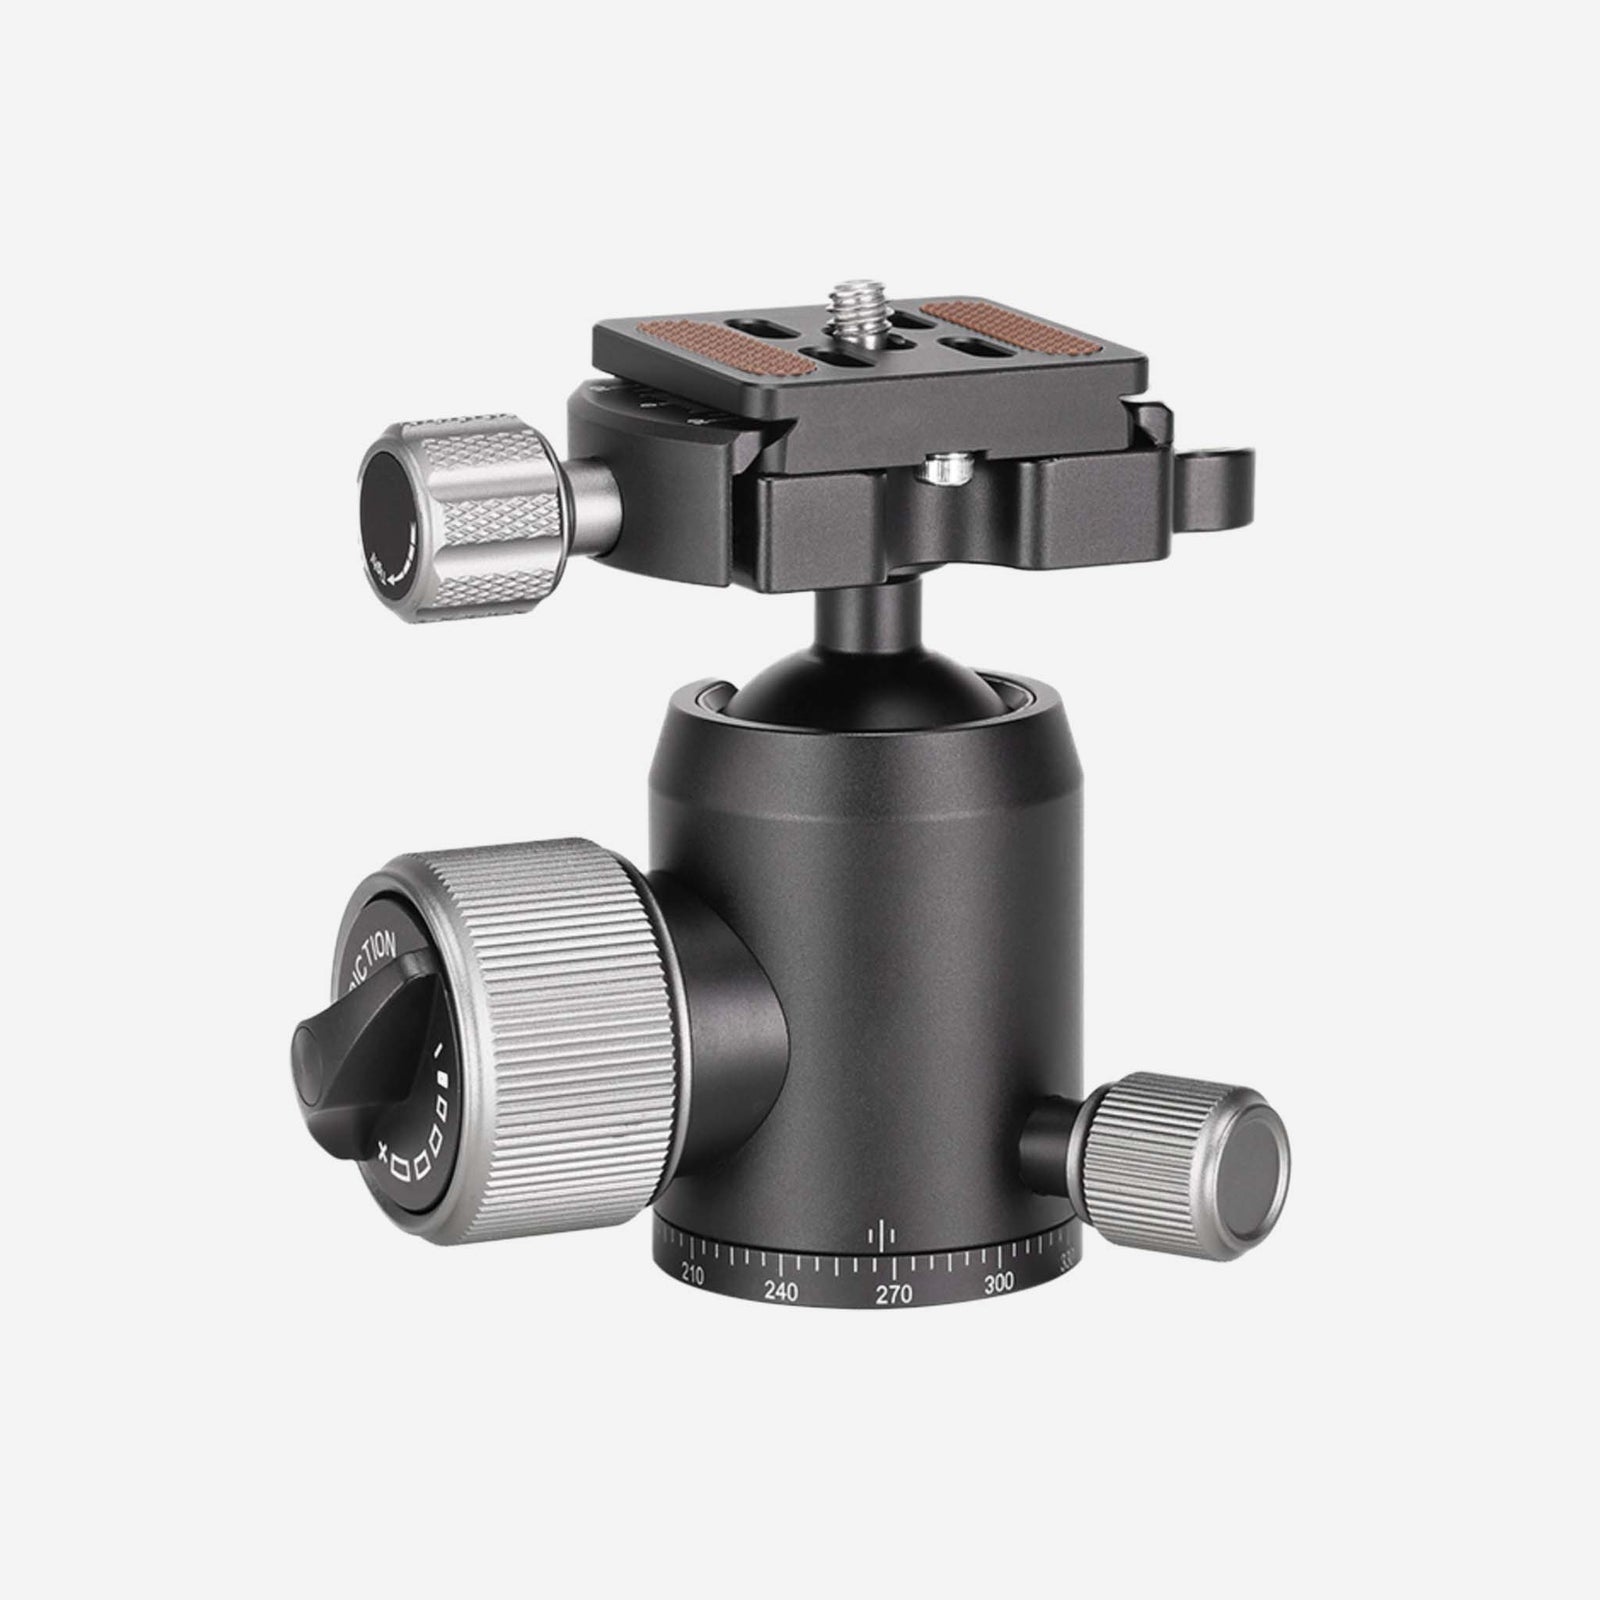
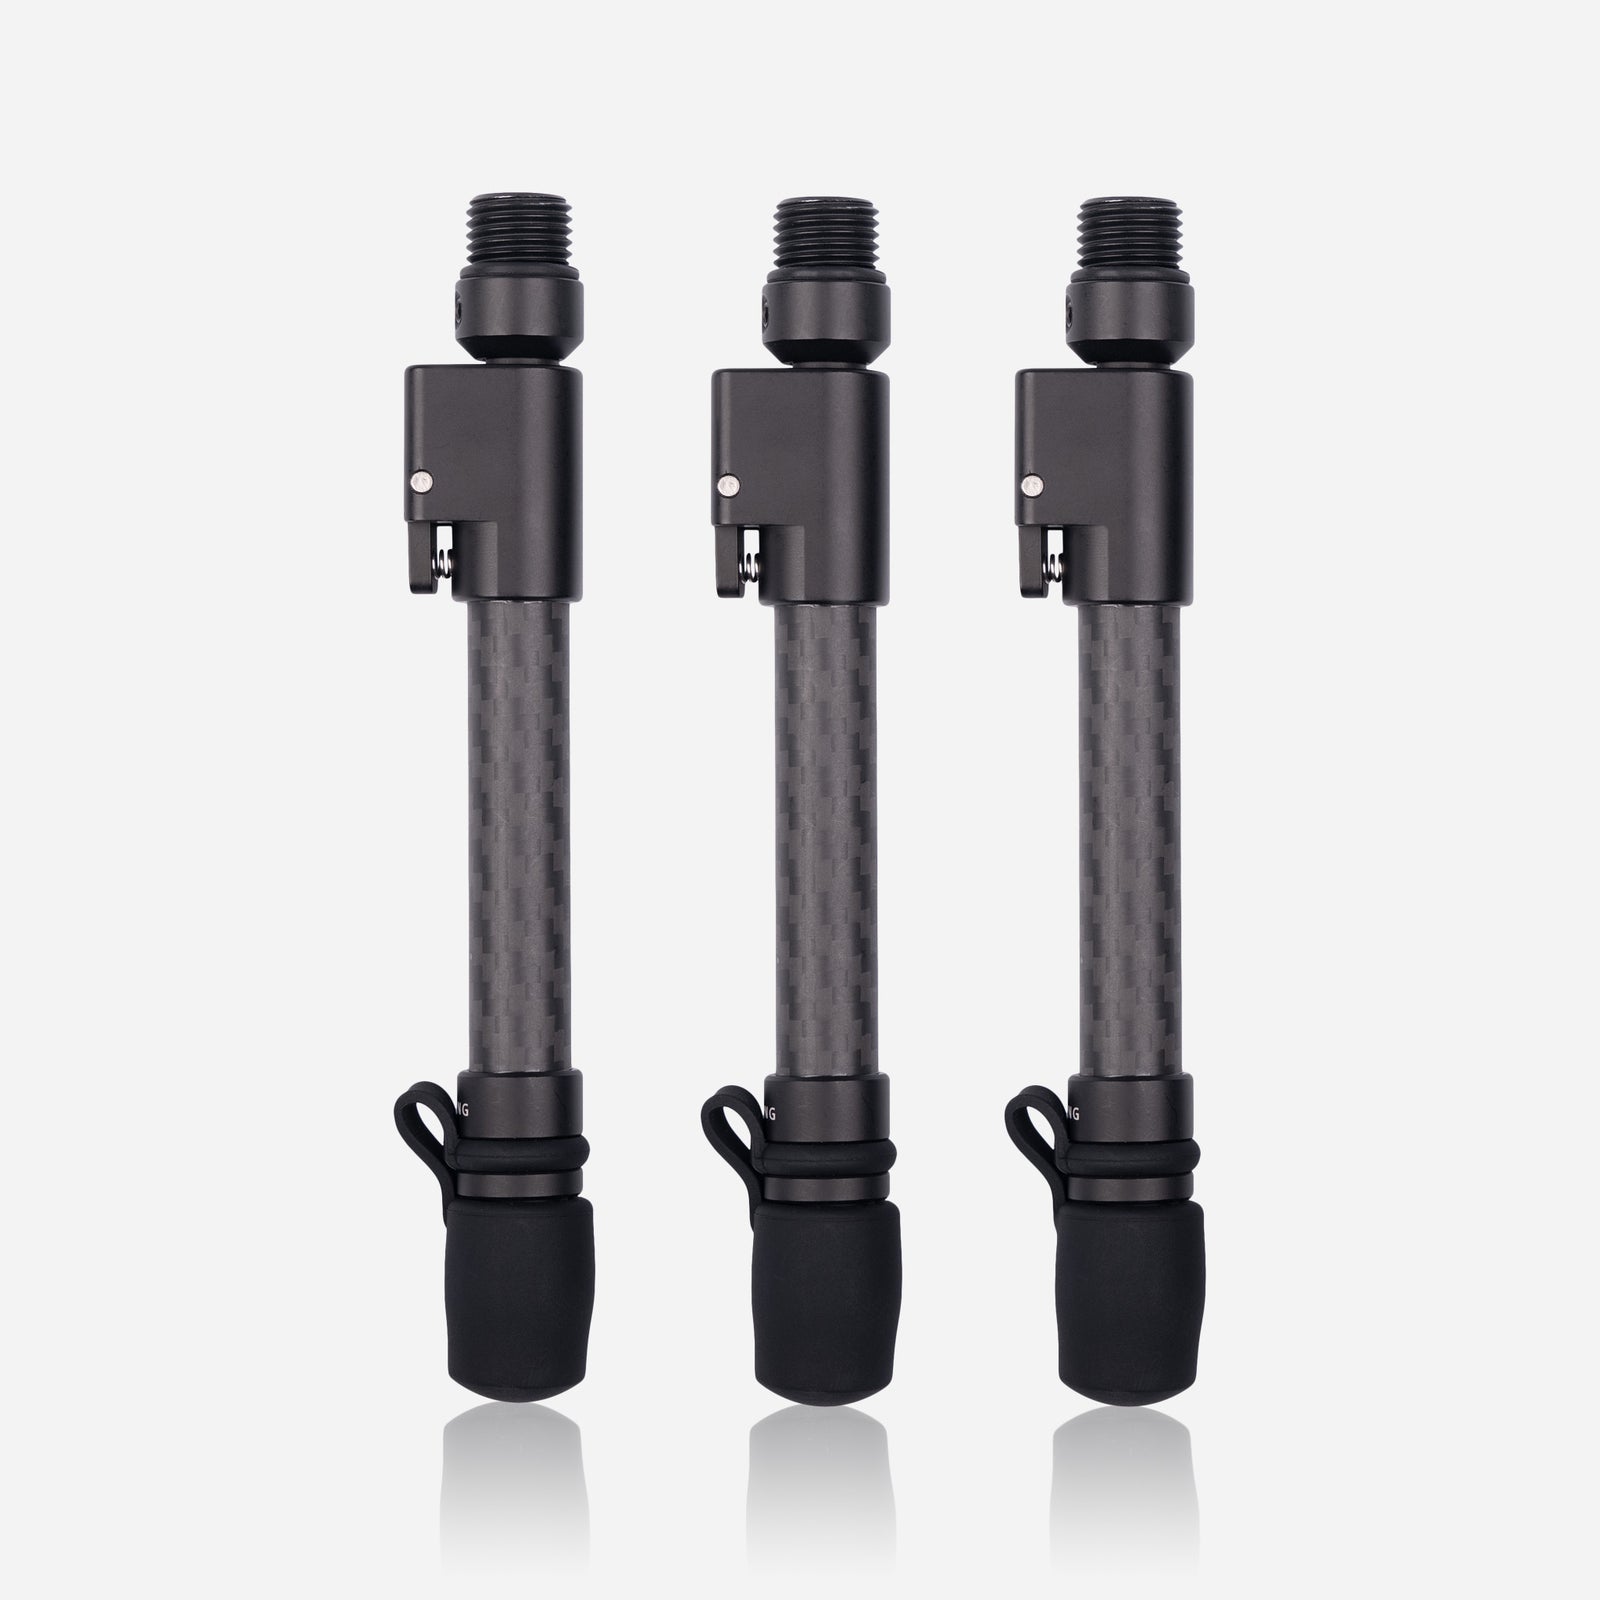
As you might have imagined, a tripod is as important as a camera when taking portraits. The fundamental use of it is to improve stability, which is paramount in portrait photography. You want the model to be in the clearest focus you can, whilst the background can be blurred to further enhance the model. This brings me into my next point of Aperture, and how to use it when shooting portraits. A wide aperture will soften the background and sharpen the foreground, which is exactly what you’re looking for. Bouncing back to tripods, would we be a camera accessory company if we didn't promote our tripod at every opportunity? I think not. The Gearing tripod provides you with unmatched stability due to its huge payload, with the added bonus of different feet options for both indoor and outdoor photography. A tripod also gives you the freedom to interact more with your model. If you are just starting out this will likely be a friend or family member, but this will allow you to demonstrate positions and poses more freely, without worrying about losing your exact location or altering light.

The benefits of using a DSLR camera are the editing opportunities it can bring at the end of the shoot. RAW is the one to use in terms of professional photography - this is a file format that captures all of the data from when the shutter is pressed - the image is completely unprocessed and comes out at the highest quality. When you are shooting in JPEG, the image is compressed and so quality is lost. In number terms, a JPEG image records 256 levels of brightness, while a RAW image records up to 16,384 levels, so the difference in your editing process is astounding. A downside of RAW imaging is the massive increase in size compared to JPEG - three times the size - which means that you have a third of the storage on your SD card, and it will also slow down the speed of your camera. It is crucial to remember to bring a spare battery and more SD cards for your shoot days if you are using RAW.
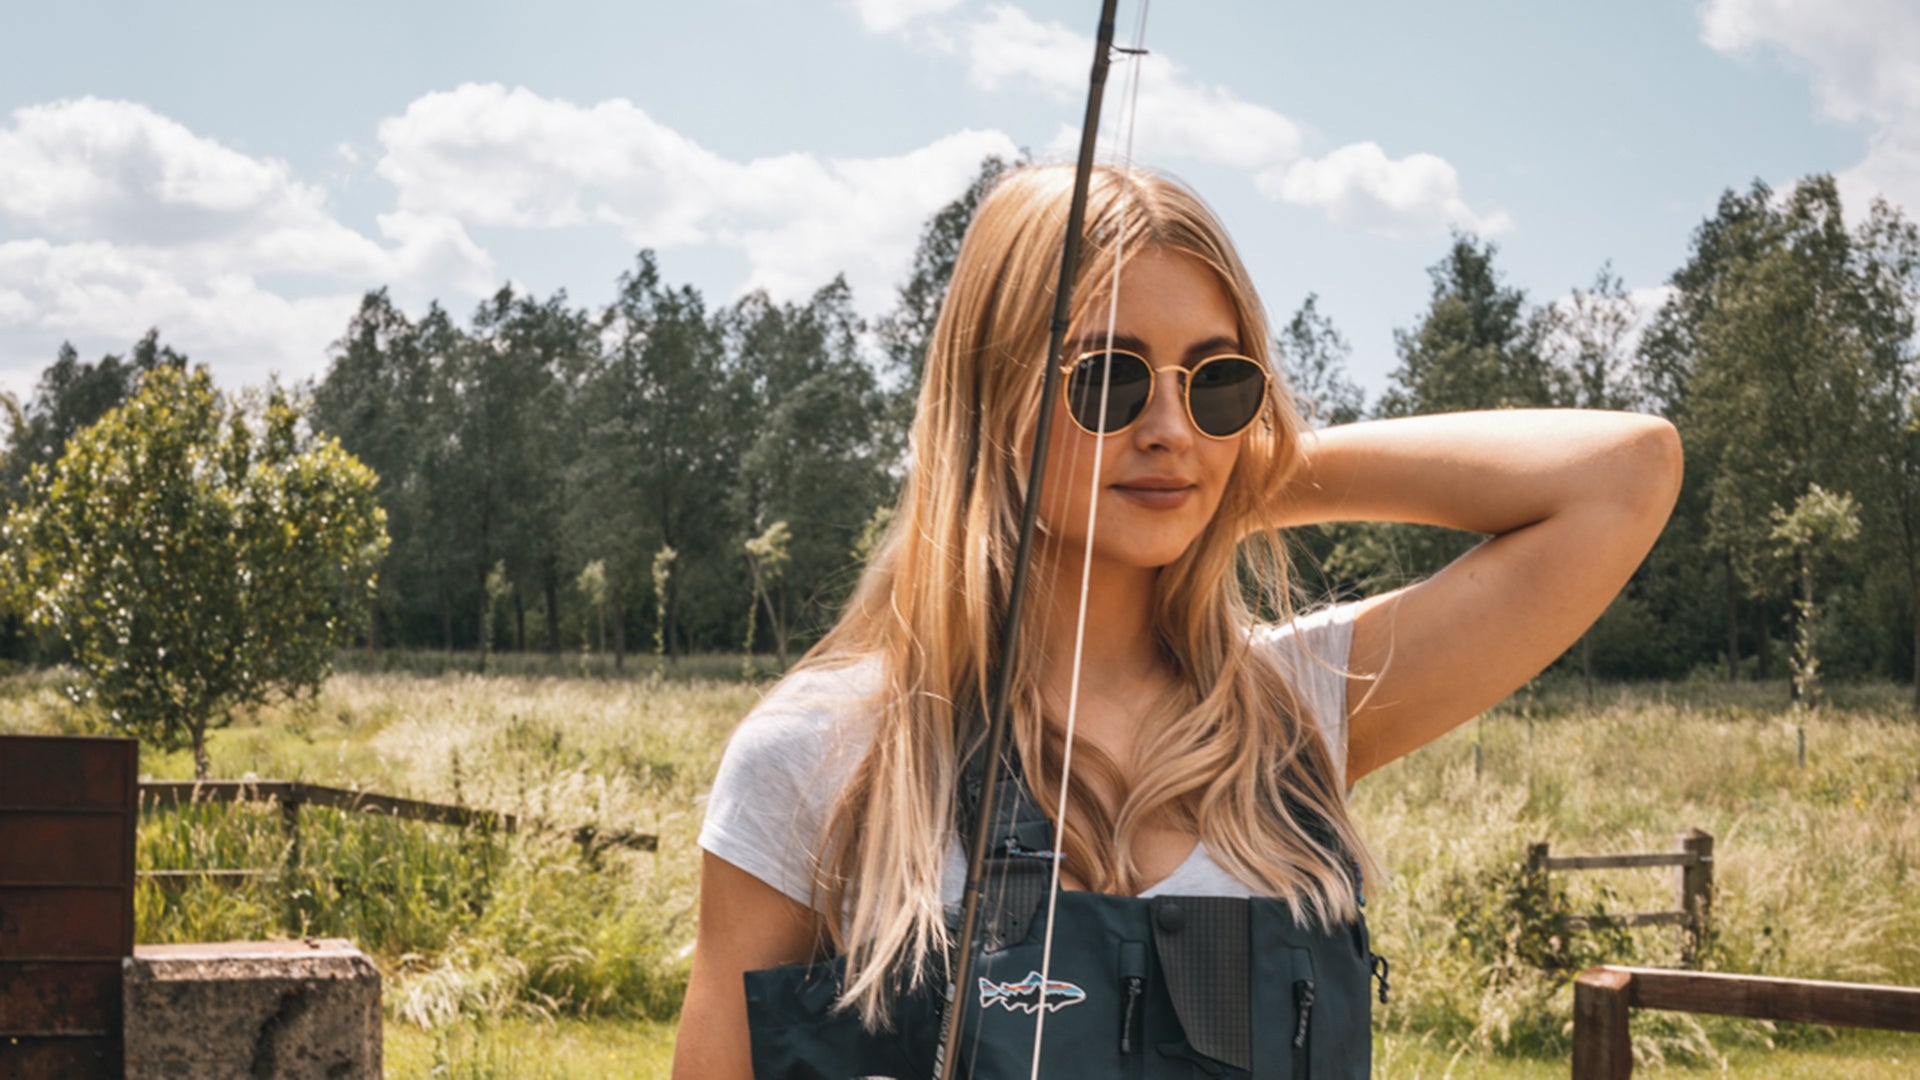
A change of perspective can make you see things in a completely different way - and in portrait photography this stands especially true. When starting out in portrait photography, you want to make sure you give every angle and distance a chance; you might be pleasantly surprised. Getting down low or photographing from above gives you a great range of new angles to work with, and allows you to capture your subject in a variety of lighting opportunities. A great way to switch up your photos is to bring in some props, which we did with Elle's portrait shoot back in the summer. Changing clothing, holding something and moving locations can all help ignite some creative fires and bring a new and unexpected dimension to your photos.

However, one of the golden rules of portrait photography is to break the rules. By going against the grain, you can guarantee that your photos will be different to everyone else's, and why would you want to blend in when you can stand out? Try out as many different lighting styles as you can, completely ignore the rule of thirds, and bring out the most unusual compositions you can think of. You never know what will happen - you could create something incredible! Let us know if you give it a go and if you have any suggestions, I am always looking to learn.